---
title: "How to Build a Blog with Next 9.4, Netlify, and Markdown"
description: "Check out this post to learn how to build a Next-powered Markdown blog and deploy it to Netlify. A great project for getting started with Next.js (tutorial using latest 9.4.4)."
source: "https://www.netlify.com/blog/2020/05/04/building-a-markdown-blog-with-next-9.4-and-netlify/"
last_updated: "2026-07-09T13:24:48.000Z"
---
**This guide was most recently updated on Wed, June 3rd, 2020 to be compatible with Next 9.4+.**
What’s Next? Well, it’s not in the past, amirite? Ha! Ha ha! Okay but for real, [Next.js](https://nextjs.org/) is a framework for building React applications, and you can bet your bottom that you can make great [Jamstack applications](https://www.netlify.com/jamstack/) on Netlify with it! Next has become rather popular because of its file-based routing, how easy it is to get started, and how flexible it is. In fact, it’s so flexible that there aren’t many “rules” in place for how you want to implement your projects and sites. That being said, here’s how to build a Markdown blog with the latest Next (9.4.4, at the time of writing), and how to deploy it to Netlify.
If you’d like to skip all of the jabber and just go straight to deploying, go ahead and [check out the repo for this project](https://github.com/cassidoo/next-netlify-blog-starter). It’s got a nice **[Deploy to Netlify](https://app.netlify.com/start/deploy?repository=https://github.com/cassidoo/next-netlify-blog-starter&utm_source=github&utm_medium=blogstarter-cs&utm_campaign=devex)** button that’ll do all of the hard work for you, and you can get right to customizing it to your heart’s content!
Heads up, this tutorial assumes you know React, JavaScript, and CSS. If you need help on any of those fronts, feel free to ask questions in the [Netlify Community](https://community.netlify.com/)!
## Setting up our Next.js project
When you want to start a new Next app, open up your terminal and run:
```
npm init next-app
```
You’ll be prompted for your project name, as well as a starting template. Go ahead and pick the “Default starter app” for this one.
Now, navigate inside your project, and add a `siteconfig.json` at the top level. Fill it in with a title and description, here’s what mine looks like:
```
{ "title": "Demo Blog", "description": "This is a simple blog built with Next, easily deployable to Netlify!"}
```
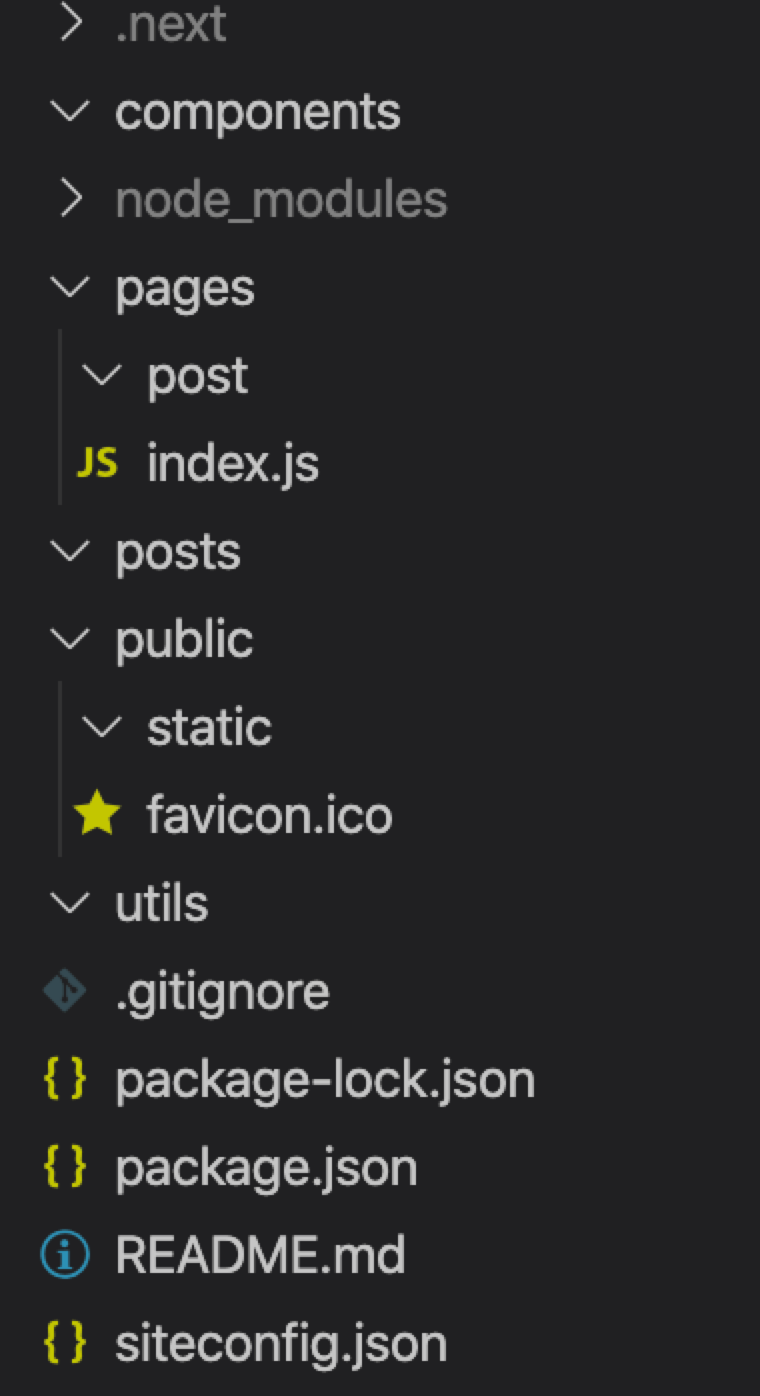
Luckily Next doesn’t add too much bloat to their starter, and the only directory that exists at first is a simple `pages/` and `public/` directory. Go ahead and set up your folder structure so it looks like this:
```
components/pages/ post/posts/public/ static/
```
This is how it should look in your editor all together:
## Let’s code!
Now that we have everything set up, go and replace everything in your `index.js` with this:
```
const Index = ({ title, description, ...props }) => { return Hello, world!
}
export default Index
export async function getStaticProps() { const configData = await import(`../siteconfig.json`)
return { props: { title: configData.default.title, description: configData.default.description, }, }}
```
If you’d like, at this point you can stick your own custom favicon in the `public` folder and replace the one that came with the code. I have a little Netlify logo as one, so I’ll use that. If you’re not sure how to do this, I personally use this [Favicon & App Icon Generator](https://www.favicon-generator.org/) site.
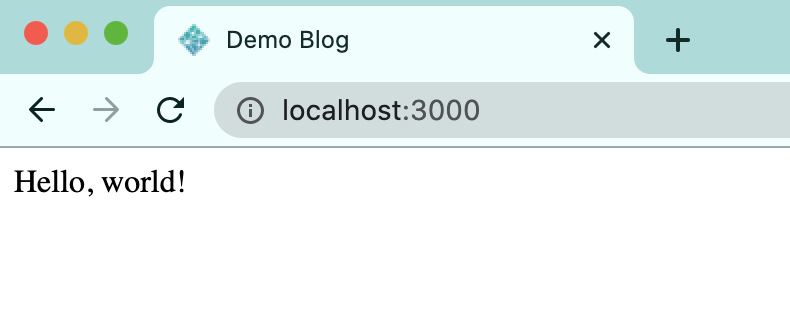
In your terminal, run `npm run dev`, and voila! You have a Next app up and running!
Chances are if you know React, this `index.js` file isn’t too surprising. I’d like to explain that `getStaticProps` function for you, though. It was released in Next 9.3. That function lets you fetch data, and return it as props to the page component. You can use `getStaticProps` to fetch local data (as you can see here, fetching from the `siteconfig.json` file), or external APIs and libraries. This function will only work on page components in the `pages` directory! The page will be rendered at build time, and you can pass that data to its child components. Let’s implement some of those child components now, so you can see it work in action.
## Components!
Now, we want to get some real routing and components showing up here. Let’s start with components, and make three JS files inside our `components` folder, called `Header.js`, `Layout.js`, and `PostList.js`.
- The `Header.js` file will contain our site header and navigation.
- The `PostList.js` file will, as you can guess, list our blog posts.
- The `Layout.js` file is the juicy one. It’s going to pull in our Header, populate the `` HTML tag, contain all content that the site holds, and throw a footer in there as well.
Let’s implement `Layout.js` first, and get it on our homepage. Open up `Layout.js` and put this in there:
```
import Head from 'next/head'import Header from './Header'
export default function Layout({ children, pageTitle, ...props }) { return ( <> {pageTitle} )}
```
Notice the `Head` component from `next/head` here. In Next, whenever you want to include tags in the `` of your rendered HTML page, you use this element! I only included one `` tag and the `` in this example, but you can populate it to your heart’s content.
The rest of the file is just rendering some basic blocks for our layout. Now, let’s head over to `index.js` and replace our “hello world” `<div>` with this:
```
const Index = ({ title, description, ...props }) => {+ return (+ <Layout pageTitle={title}>+ <h1 className="title">Welcome to my blog!</h1>+ <p className="description">+ {description}+ </p>+ <main>+ Posts go here!+ </main>+ </Layout>)}
```