---
title: "Integrating Netlify Identity into your Next.js apps"
description: "Realize the speed, agility and performance of a scalable, composable web architecture with Netlify. Explore the composable web platform now!"
source: "https://www.netlify.com/blog/2020/07/15/integrating-netlify-identity-into-your-next.js-apps/"
last_updated: "2026-07-11T03:08:33.000Z"
---
Today I’d like to show you how to add login/logout functionality in a Next.js application!
What’s great about the [Netlify Identity Widget](https://github.com/netlify/netlify-identity-widget) is that it’s open source, and super easy to drop in to most frameworks to enable authentication in your Jamstack apps.
## Starting fresh
You can follow this tutorial with your own projects, but if you’d like to start from the ground up, you can use this [Next.js + Netlify starter project](https://github.com/netlify-templates/next-netlify-starter)! It sets up your `netlify.toml` file and some very basic starter components that you can work off of.
Once you’ve deployed your project, you have to enable Netlify Identity! Head over to your project on Netlify and click “Identity”:
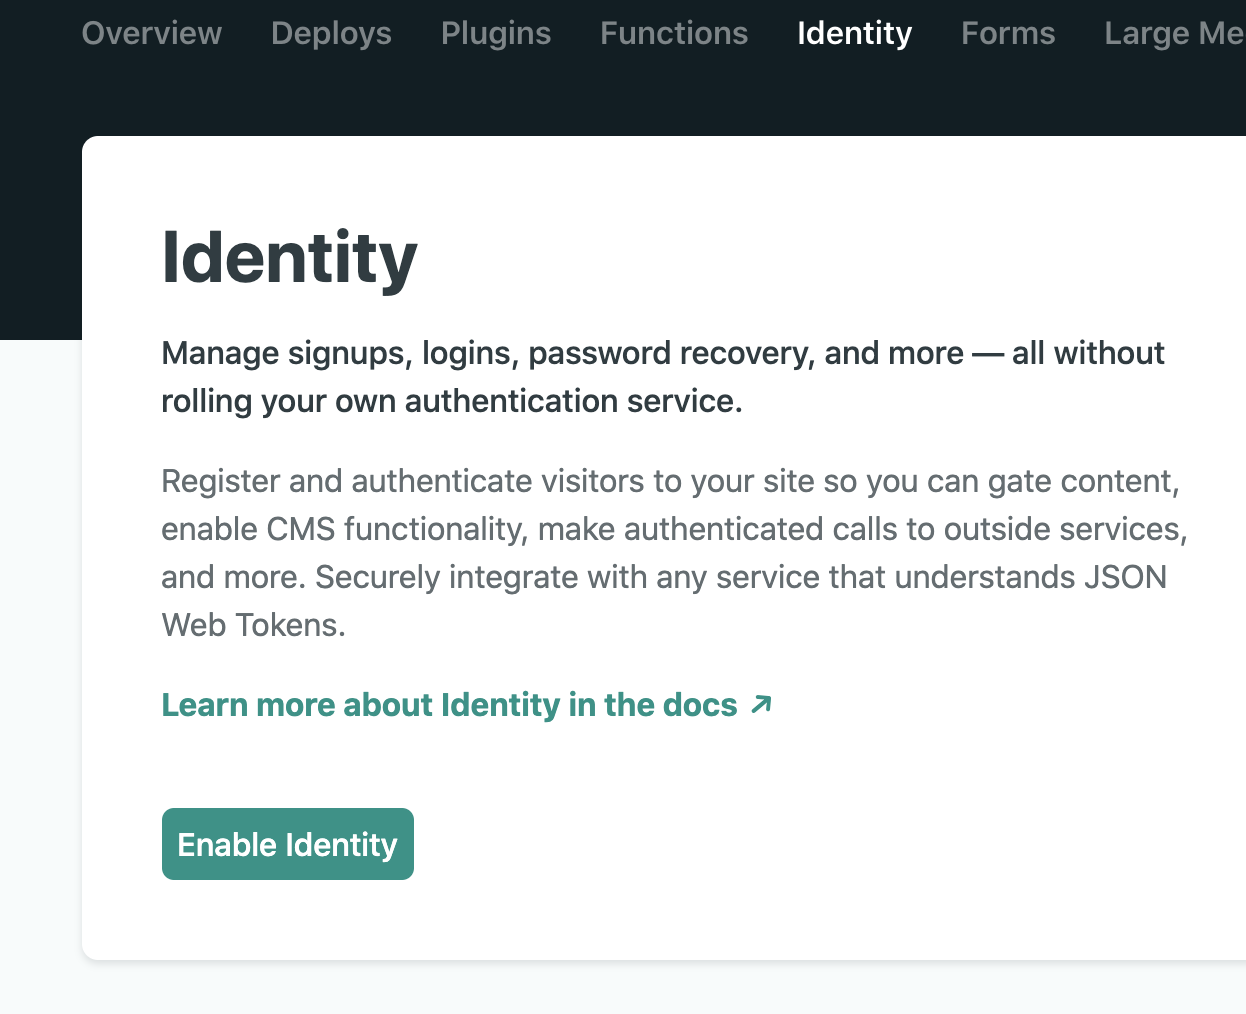
Click “Enable Identity” and then click the “Settings and usage” button that appears on the next page.
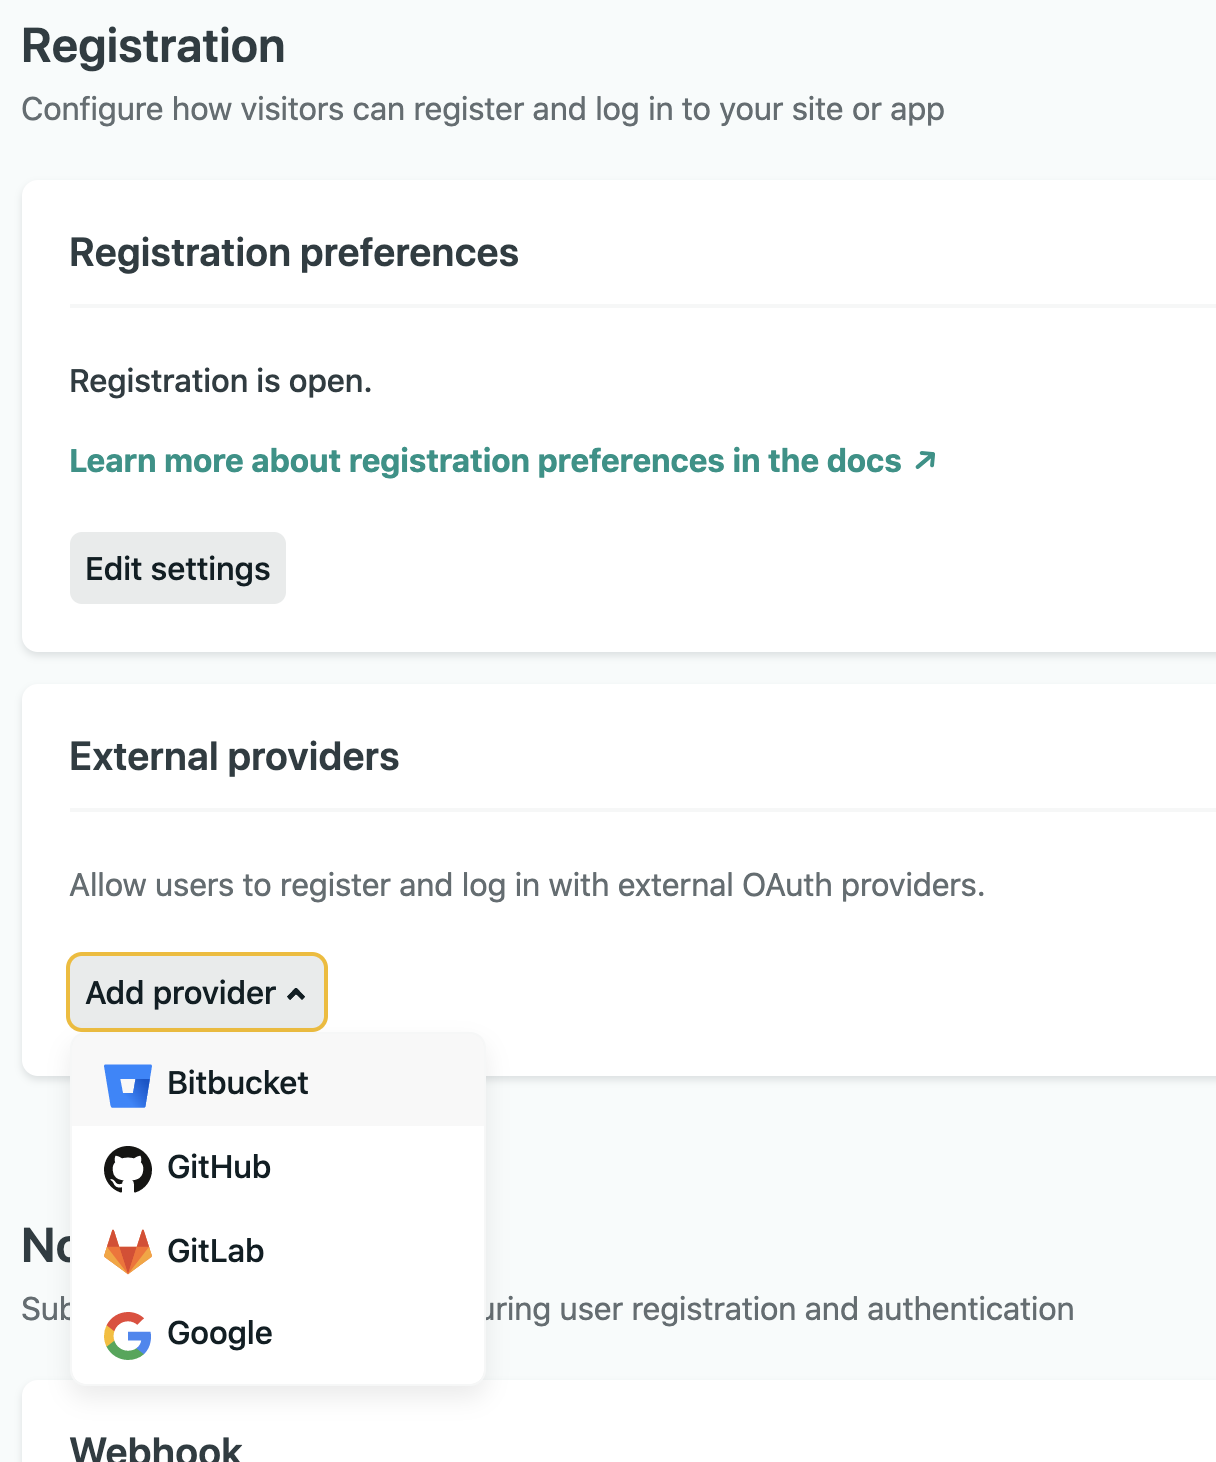
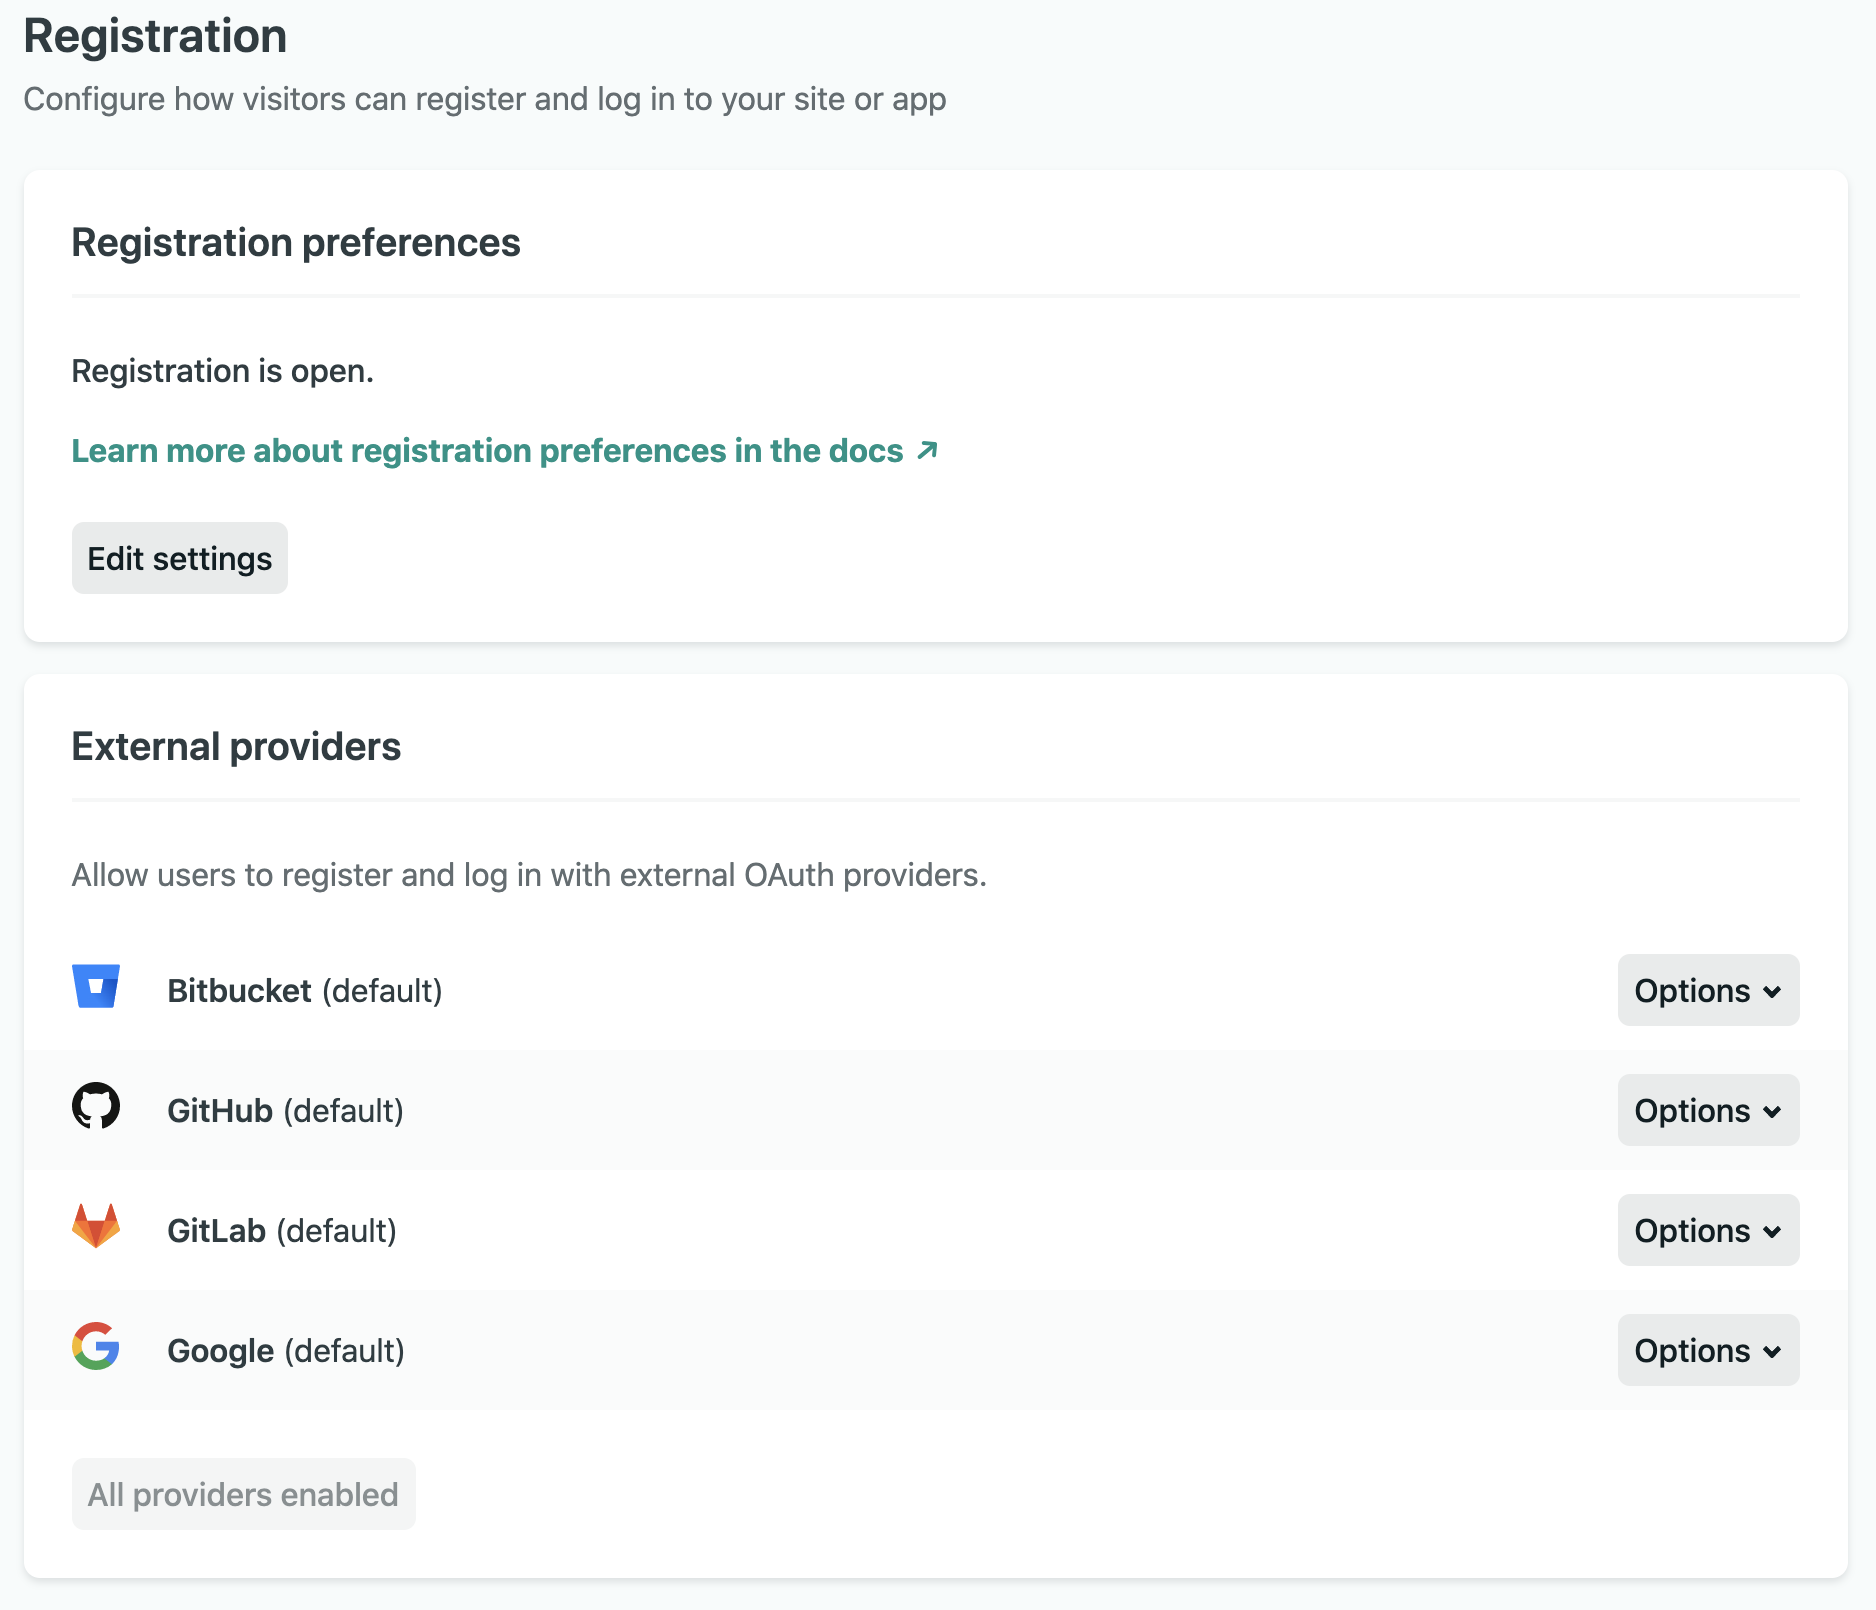
There are plenty of options here for adding in certain OAuth providers, limiting registration, setting up confirmation emails, and more. You can leave all of this to the defaults if you’d like, but it’s worth checking out if you haven’t used it before.
Once this is set up, save your site’s URL, because you’ll need it later! Now let’s jump to your code.
## Installing the Netlify Identity Widget
Installing the widget into your application is one install command, using `yarn` or `npm` depending on your preference:
```
yarn add netlify-identity-widget# ornpm install netlify-identity-widget
```
## Adding a `netlifyAuth` object
Create a `netlifyAuth.js` file at the top level of your application (or whatever you’d prefer), and stick this code in there:
```
import netlifyIdentity from 'netlify-identity-widget'
const netlifyAuth = { isAuthenticated: false, user: null, initialize(callback) { window.netlifyIdentity = netlifyIdentity netlifyIdentity.on('init', (user) => { callback(user) }) netlifyIdentity.init() }, authenticate(callback) { this.isAuthenticated = true netlifyIdentity.open() netlifyIdentity.on('login', (user) => { this.user = user callback(user) netlifyIdentity.close() }) }, signout(callback) { this.isAuthenticated = false netlifyIdentity.logout() netlifyIdentity.on('logout', () => { this.user = null callback() }) },}
export default netlifyAuth
```
This will make it a little easier for us to use the functions built in to the widget. There’s several different events that you can use, and you can [check out the docs here](https://github.com/netlify/netlify-identity-widget#module-api) if you’d like to read more.
## Using the widget
Import `useState`, `useEffect`, and our auth module at the top of your file:
```
import { useEffect, useState } from 'react'import netlifyAuth from '../netlifyAuth.js'
```
Now, set up a logged in state, and an effect for initializing the widget on the page.
```
let [loggedIn, setLoggedIn] = useState(netlifyAuth.isAuthenticated)
useEffect(() => { netlifyAuth.initialize((user) => { setLoggedIn(!!user) })}, [loggedIn])
```
This calls the `initialize` function that we set up in our auth module as soon as the page is mounted. If a user is logged in already, it sets the `loggedIn` state to `true`, otherwise it’s `false`.
Now, inside of your return, you can use the `loggedIn` state to render different content for logged in and logged out users:
```
{loggedIn ? (
You are logged in!
) : ( )}
```
## Add login and logout functionality
Add a state variable to the top of your component for the user’s data:
```
let [user, setUser] = useState(null)
```
Then, add these functions to your component:
```
let login = () => { netlifyAuth.authenticate((user) => { setLoggedIn(!!user) setUser(user) netlifyAuth.closeModal() })}
let logout = () => { netlifyAuth.signout(() => { setLoggedIn(false) setUser(null) })}
```
And an `onClick` to your button:
```
+
```
Now, you can log in! You’ll have to add your site’s URL in the modal the first time you run it locally and actually register with an email.
You can update your conditional rendering a little more now, too, to include user data and a sign-out button as well.
```
{loggedIn ? (
You are logged in!+ {user && <>Welcome {user?.user_metadata.full_name}!} +
) : ( )}
```
You can also now update your initial `useEffect` that we made to include the `user` state as well, if you’d like:
```
useEffect(() => { netlifyAuth.initialize((user) => { setLoggedIn(!!user)+ setUser(user) })}, [loggedIn])
```
## Seeing it in action
This is just the tip of the iceberg for how much you can do with the Netlify Identity Widget in Next.js. You can add routing/redirects based on login state, or custom hooks for widget functionality, you can style the modal to match your website’s theme, and even set your site’s locale based on the user.
Once you’ve pushed your project live to Netlify, you can go to your app’s Identity Settings where you can add as many auth providers as you’d like, limit registration, add CMS settings, and customize emails sent to your users.
I put together a [demo project](https://members-only.netlify.app/) using the Identity Widget if you’d like to see how it works and roll your own:
[](https://app.netlify.com/start/deploy?repository=https://github.com/cassidoo/members-only&utm_source=github&utm_medium=identitystarter-cs&utm_campaign=devex)
(This will open up a dialog for you to start a new Netlify website based on [this project](https://github.com/cassidoo/members-only), and will make a new repository based on this project in your account.)
### Share
- [X (fka Twitter)](https://twitter.com/intent/tweet?text=Integrating Netlify Identity into your Next.js apps&url=https://www.netlify.com/blog/2020/07/15/integrating-netlify-identity-into-your-next.js-apps//)
- [LinkedIn](https://www.linkedin.com/shareArticle?mini=true&url=https%3A%2F%2Fwww.netlify.com%2Fblog%2F2020%2F07%2F15%2Fintegrating-netlify-identity-into-your-next.js-apps%2F%2F)
- [Facebook](https://www.facebook.com/sharer.php?u=https://www.netlify.com/blog/2020/07/15/integrating-netlify-identity-into-your-next.js-apps//)
- [Bluesky](https://bsky.app/intent/compose?text=Integrating Netlify Identity into your Next.js apps+https://www.netlify.com/blog/2020/07/15/integrating-netlify-identity-into-your-next.js-apps//)
* * *
### Tags
- [Next.js](/blog/tags/next.js/)
## Keep reading

Guides & Tutorials May 15, 2026
[
### How to build a real-time AI chatbot in minutes with Netlify Agent Runners (no backend)
](/blog/how-to-build-a-real-time-ai-chatbot-in-minutes-with-netlify-agent-runners-no-backend)
- 
Nahrin Jalal

Guides & Tutorials May 15, 2026
[
### Tracking AI search traffic: how to use Netlify Log Drains to maximize AEO
](/blog/tracking-ai-search-traffic)
- 
Nahrin Jalal
## Recent posts
News & Announcements June 25, 2026
[
### Netlify Functions, designed for Agent Experience
](/blog/netlify-functions-designed-for-agent-experience)
- 
Eduardo Bouças
News & Announcements June 24, 2026
[
### How we measure Netlify’s Agent Experience
](/blog/how-we-measure-netlify-agent-experience)
- 
Sean Roberts
Guides & Tutorials May 15, 2026
[
### How to build a real-time AI chatbot in minutes with Netlify Agent Runners (no backend)
](/blog/how-to-build-a-real-time-ai-chatbot-in-minutes-with-netlify-agent-runners-no-backend)
- 
Nahrin Jalal

### How do the best dev and marketing teams work together?
[Access the report](https://www.netlify.com/reports/2024-leadership-trend-report/access/)