Guides & Tutorials
Environment variables in Next.js and Netlify
Welcome to Blogvent, day 10!
If you'd like to use environment variables in Next.js, make a .env.local file at the root and you can use them all there! It might look something like this:
// .env.local
SITE_URL=localhost
SITE_KEY=hahabusiness
That being said, these variables are only exposed to the Node.js environment like this, not the browser. If you want to use them, you'll have to use them only in your API routes, or in the data fetching methods like getStaticProps in your page components. For example, it might look like this:
// pages/index.js

export default function Home(props) {
  return (
    // ...
  )
}

// ...

export async function getStaticProps() {
  const siteData = await someService({
    url: process.env.SITE_URL,
    key: process.env.SITE_KEY
  })
  // ...
}
If you want your environment variables to be exposed to the browser and be usable in your client-facing components, in your .env.local you have to prefix the variable with NEXT_PUBLIC_.
// .env.local
SITE_URL=localhost
SITE_KEY=hahabusiness
NEXT_PUBLIC_PAYMENT_TOKEN=thisispublic // this one is exposed to the browser
Setting environment variables in the Netlify UI
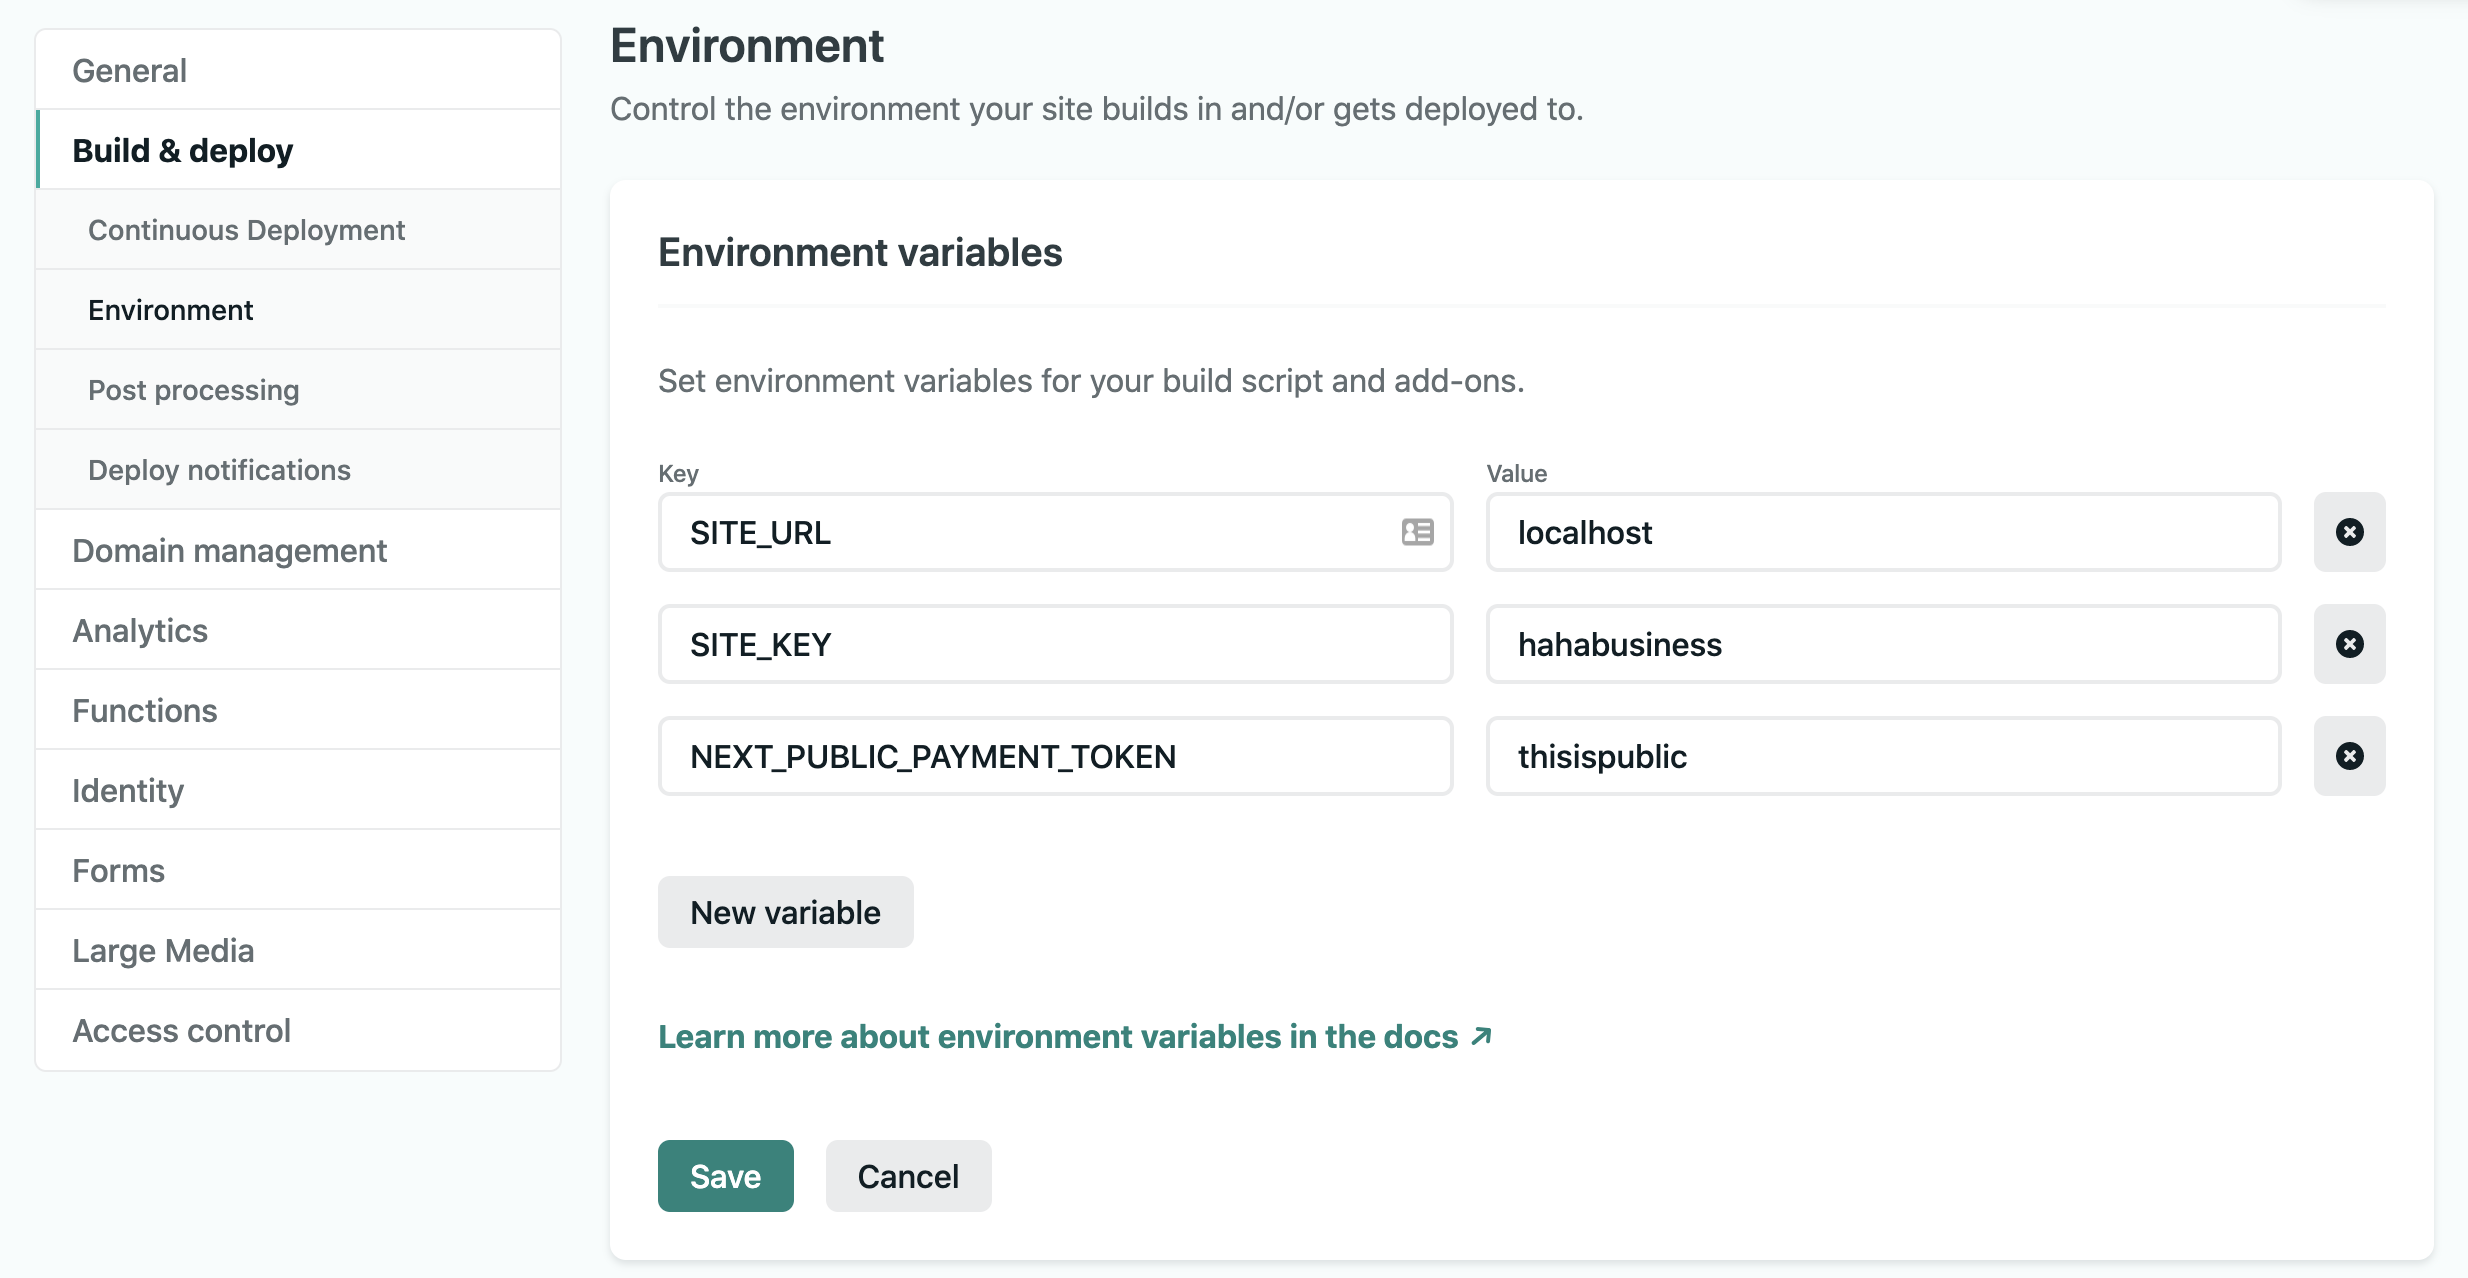
When you've deployed your site, you can set your environment variables in the Netlify UI. Head over to the Build & Deploy settings in your Site Settings, and then plug your values in under "Environment variables":

You can also use the Netlify CLI to use environment variables set in the UI (or even set them from the CLI, too)!
Is there more?
There's always more! There's so many things that you can do with environment variables on Netlify. Here's some useful docs and guides for how to take full advantage of them:


