Today, we’re going to look at how to host a photo and video portfolio built with Exposé on Netlify, including setting up continuous deployment.
Exposé is a Bash script that turns images and videos into a photoessay similar to jack.ventures or jack.works—the author’s personal blogs.
With a few simple tweaks, Exposé can work with Netlify to continually and consistently update your photo and video content.
Installing Exposé
Let’s begin by creating your project directory. For the purposes of this tutorial, let’s call it exposenetlify:
$ mkdir PATH/TO/exposenetlifyNavigate to your newly created directory:
$ cd PATH/TO/exposenetlifyNow let’s put Exposé in that directory. The easiest way to do it is by adding Exposé as a git submodule. This way, if the maintainer of Exposé updates it, Netlify will automatically use the updated version of Exposé:
$ git init$ git submodule add https://github.com/Jack000/Expose.git exposeNext, we need to create a new subdirectory, which we’ll call images:
$ mkdir ./imagesObviously, all your images will go into the images directory. You can add as many subfolders to the images directory as you’d like, nested any number of times. To arbitrarily order folders, add a numerical prefix to the folder name. Any numerical prefixes are stripped from the url.
Captions and stories for specific images can be created by adding a .txt file to the folder where an image is contained. So breakfast.jpg and breakfast.txt should be in the same subdirectory, with identical names (apart from the file extension).
Once you’ve chosen your images and added captions, change to the images directory in the terminal:
$ cd imagesNow, you want to run the expose.sh script from the expose submodule directory, which you can do by running this command:
images $ ../expose/expose.shSit back and relax. This will probably take a while, depending on the number of photos you have.
Exposé will compile your site into the images/_site folder. Inside it, you’ll find each of your images in its own separate folder, containing each image in multiple sizes. In the folder containing the image subfolders, you’ll also find a file called index.html. Double click index.html to get a preview of your new site.
Like what you see? Great. Let’s move on!
We’re almost ready to push to Git. Before we do, make sure you are in the exposenetlify folder:
$ cd PATH/TO/exposenetlifyWe want to make sure that the images/_site directory is not version controlled by Git, so we’ll create a .gitignore file in the root directory and add _site to it:
$ echo "images/_site" >> .gitignoreNow it’s time to push it to your repo of choice. Directions for GitHub follow here.
Creating your Git Repo
Create a new repository on GitHub. To avoid errors, do not initialize the new repository with README, license, or gitignore files. You can add these files after your project has been pushed to GitHub.
Open Terminal (for Mac users) or the command prompt (for Windows and Linux users).
For our purposes, let’s call your new repo “expose”.
Change the current working directory to your local project.
$ cd ~/PATH/TO/exposenetlify/You already initialized the directory as a local Git repository when you installed the expose submodule, so you just need to add your files to the remote repository:
$ git add .Commit the files that you’ve staged in your local repository.
$ git commit -m 'First commit'At the top of your GitHub repository’s Quick Setup page, click the clipboard icon to copy the remote repository URL.
In Terminal, add the URL for the remote repository where your local repository will be pushed.
git remote add origin Git_Repository_URLVerify your URL
git remote -vNow, it’s time to push the changes in your local repository to GitHub.
git push -u origin masterNow that your assets are up and running on GitHub, let’s connect them to Netlify.
Connecting to Netlify
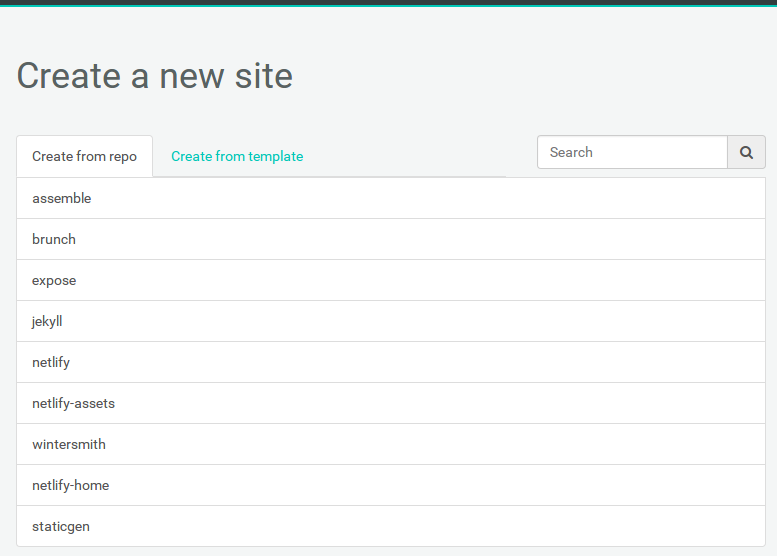
Step 1: Add Your New Site
 Creating a new site on Netlify is simple. Once you’ve logged in, you’ll be taken to https://app.netlify.com/sites. If you’re just starting out, there’s only one option.
Step 2: Link to Your GitHub
Clicking “New Site” brings you to this screen:

When you push to GitHub, Netlify does all the work. No more manual deploying of updates or changes!
Since your assets are hosted on GitHub, we’ll need to link Netlify to GitHub. Click “Link to GitHub”.
Step 3: Authorize Netlify

It’s time to allow Netlify and GitHub to talk to each other. Clicking the “Authorize Application” button will do just that. Like it says in the image below, Netlify doesn’t store your GitHub access token on our servers. If you’d like to know more about the permissions Netlify requests and why we need them, you can visit our documentation on Git provider permissions.
Step 4: Choose Your Repo
Now that you’ve connected Netlify and GitHub, you can see a list of your Git repos. There’s the “expose” repo we just pushed to GitHub. Let’s select it.
Step 5: Configure Your Settings
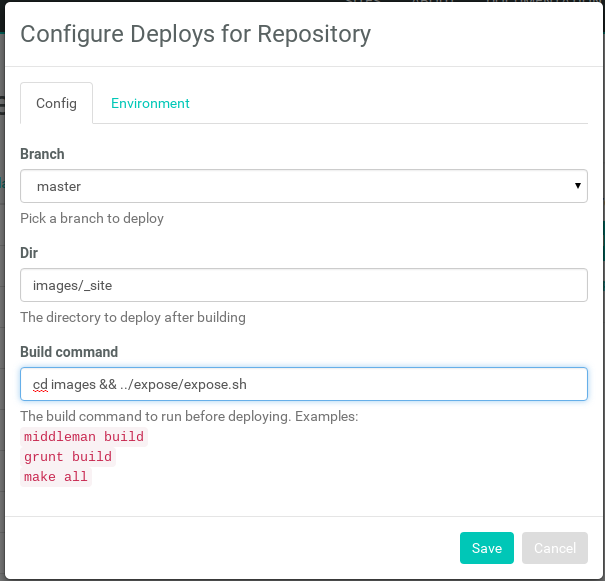
Here you can configure your options. For the purposes of this tutorial, make sure your configuration matches the screenshot, then click “Save”.
Step 6: Build Your Site

Now it’s time to sit back and relax. Go grab something cold to drink, scratch the dog behind the ears, or just get up and walk around (you’ve probably been in front of the computer for too long today, right?). Netlify will do the rest, and you can watch the progress.
Step 7: Done
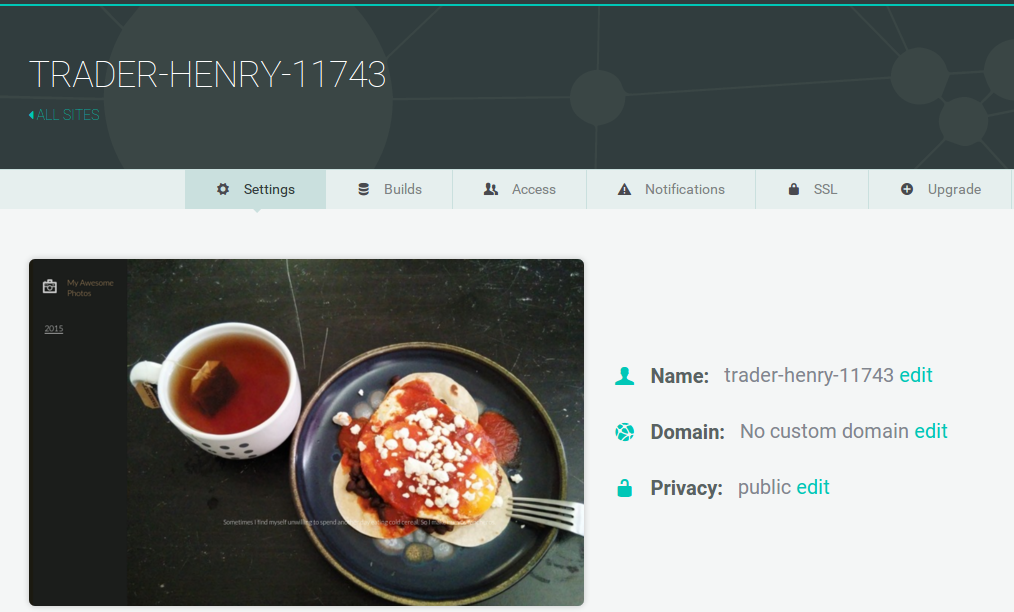
Wait, you thought there was going to be more? Nope! Netlify has done it all for you, including giving your site a temporary name. Now you can add your custom domain, and your site will be live for your adoring public to view. Congratulations, and thanks for using Netlify!


