What happens when you take one of the most hated green vegetables and one of the most popular Mexican dishes and you mix them?
Well one of two things might happen—either you get a healthy Mexican lunch (according to Google at least) or you end up with a new tool for generating static sites and not only that, but static sites powered by Broccoli Taco can be dynamically generated, based on data!
This is indeed very interesting since it used to be one of the big draw backs of static site generators — the lack of dynamically generated sites from various data sources. Yet here there’s a static site generator who sells itself with this as a feature
Let’s take a closer look at this odd mix, the Broccoli Taco site generator.
Broccoli Taco is build on Broccoli and the Broccoli part is, in the words of its author, a “browser compilation library – an asset pipeline for applications that run in the browser”. This makes the site generator fast and not just fast, but super fast.
It’s also simple and very flexible, where each page is a folder and the only required file in a folder is an index.hbs file, but can also include data.js, page.js and page.css files. The flexibility comes from its ability to define data for pages as functions, promises or JSON files.
If you want to find out more about Broccoli Taco, head over to Broccoli Taco’s web page before trying it out in this step-by-step guide or check out the detailed documentation here.
Please note that this guide assumes you have node installed!
Reportedly broccoli-taco is having issues with newer versions of node, so we switched to 0.12.7, after checking that it’s available on Netlify’s build image. This image file is invaluable in determining how you build in a given project, as it defines what versions of the various package managers are available.
For information about installing and handling node.js using nvm please see this guide.
How to cook a proper Broccoli Taco
We’ll lead you through the simple steps of installing broccoli-taco, as well as creating and building a site with a basic setup.
If you’ve already made a Broccoli Taco site, but need help pushing it to GitHub, start here.
If you’ve already got your Broccoli Taco site on GitHub and only wish to connect, start here.
If you’re completely new to Broccoli Taco, simply continue this guide below.
1. Install broccoli-taco
Open up a terminal window or if you’re using a Microsoft OS, a command prompt and then use the following command:
npm install -g broccoli-taco
This will likely take a few minutes, just enough time to cook a couple of delicious Broccoli Tacos.
For convenience sake, keep the terminal window/command prompt open throughout this guide
2. Create a Site
Once broccoli-taco has installed with its dependencies, we use the following command to create a new site in our site directory named whatever you like (change my-site-name to your liking — we used the name broccoli-taco-demo):
broccoli-taco new my-site-name
Notice the user friendly guide, and how well organized broccoli-taco is in terminal. I consider this lacking with many engines and so it’s a major bonus.
3. Install Dependencies
As stated under “Next steps” in our terminal window, we need to install certain dependencies with the following command:
cd my-site-name && npm install
First we cd into our new site directory and next we install the dependencies listed in the package.json file using npm install.
Again please note that this may take a few minutes, so perhaps this is a good time to eat those Tacos.
4. Serve Site for Development
In the root of your broccoli-taco, run the following command:
broccoli-taco serve
Check out the site thus far at http://localhost:4200/.
5. Build Site into Folder
Again in the root of your broccoli-taco site, run the following command:
broccoli-taco build dist
6.
7.
Setup your GitHub Repository
We want to set up an online GitHub repository with our local environment and push our local files to this repository. Next, we’ll connect Netlify to the repository for our automatic build (i.e. whenever you push to GitHub, Netlify will rebuild your site).
1. Create your Git Repo
We start by creating a GitHub repository for our broccoli-taco site and generator.
We’re naming ours broccoli-taco-demo and we’ll skip adding files to the repository until after its creation, as this can sometimes create problems (The README, license and gitignore files).
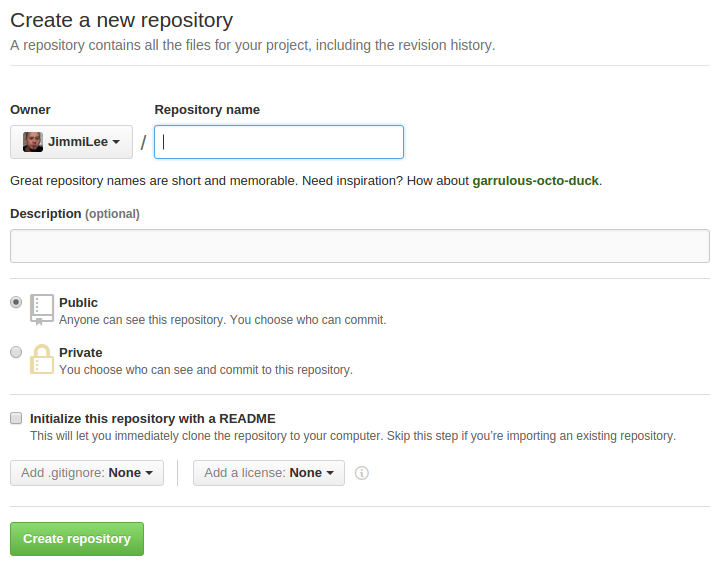
Once the repository has been named and created we’ll return to local environment.
2. Prepare the Site for GitHub
We need to set the local site up as a git repository with the git init command, then we’ll add all the files and subdirectories to the repository with the git add . command and finally stage them for the first commit with the git commit -m 'First commit' command.
In quick succession in a terminal window (the command prompt on a Windows OS):
cd my-broccoli-taco-site
git init
git add .
git commit -m 'First commit'
Once the files are committed, it’s time to connect with the GitHub repository online.
3. Get & Add Remote URL

We return to the GitHub repository created earlier and retrieve the URL for the remote repository, since this is where our local repository will be pushed. Either copy paste the whole command or use the button as depicted above, to copy just the path to your clipboard. Return to the Terminal window/Command prompt and paste the remote repository URL inside the following line (instead of My-Repository-URL):
git remote add origin My-Repository-URL
Optional: To check that it’s set up correctly, you can use the following command:
git remote -v
If it looks all right, we’re ready to push the files.
4. Push to GitHub.
The final task before we’re done setting up, is to use the push command with git, as in the following line in Terminal:
git push -u origin master
All your files will be copied to your online repository. Once it’s done, take a look at the repository online to check if everything looks correct.
It’s time to connect it with Netlify.
Connecting to Netlify
Creating a new site on Netlify is intuitive and once you’ve created an account and logged in, you’ll be taken to https://app.netlify.com/sites.
Step 1: Add Your New Site
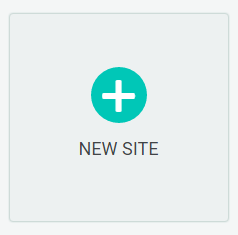 Click the “New Site” button (as seen above) to get started.
Step 2: Link to Your GitHub
Clicking “New Site” brings you to this screen: 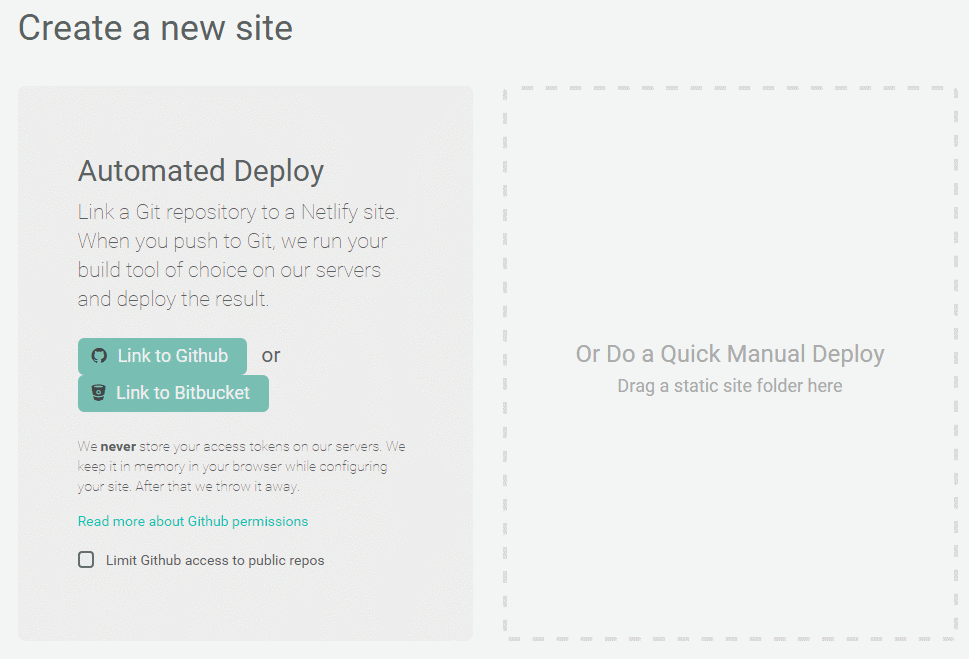 When you push to GitHub, Netlify does all the work. No more wasting time on manual deploying of updates or changes!
Since we’re hosting the site assets on GitHub, we’ll need to link Netlify with GitHub. Click the button “Link to GitHub”.
Step 3: Authorize Netlify
You can skip this step, if you already have an account with Netlify set up to automatically login!
You will be asked to provide your GitHub login details: 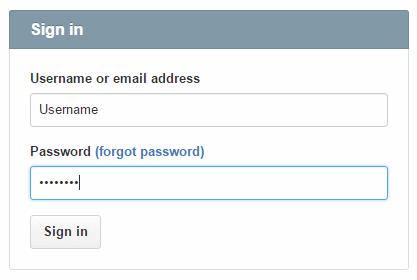
We need to let Netlify and GitHub talk to each other, so review the permissions and then click authorize application. 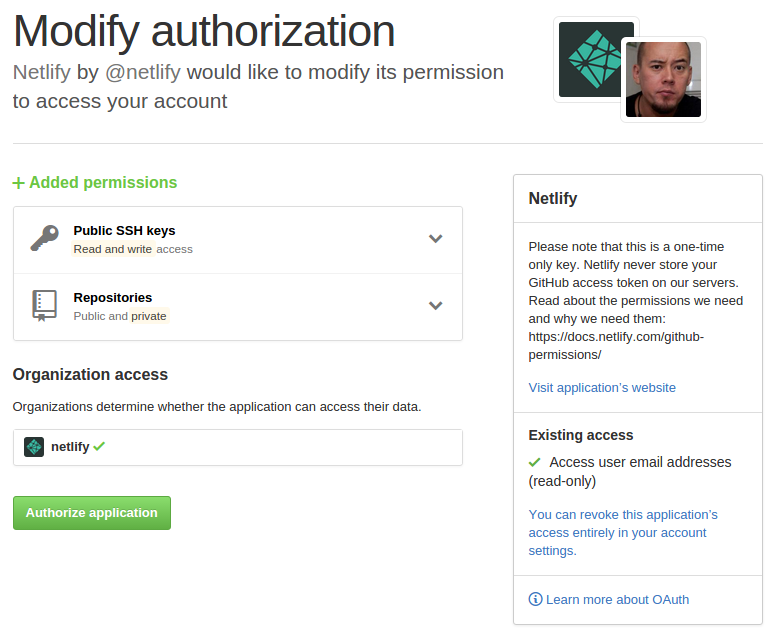
Like it says in the image above on the right, Netlify doesn’t store your GitHub access token on our servers!
If you’d like to know more about the permissions Netlify requests and why we need them, you can check out our documentation on GitHub Permissions.
Step 4: Choose Your Repo
<PICTURE — ADD choose repo broccoli-taco-demo PIC> Once you’re connected to GitHub, Netlify will show you a list of your GitHub repositories, as seen above. For the purpose of this tutorial we’ll select the “broccoli-taco-demo” repo we just pushed to GitHub.
Step 5: Configure Your Settings
Fill in the configuration settings as seen in the screen shot below: <PICTURE — ADD broccoli-taco settings PIC>
Click the ‘Save’ button and watch the magic unfold.
Step 6: Build Your Site
<PICTURE — ADD site building PIC> Once you click save, Netlify will step in and take over, though it will let you know what’s happening along the way. This may take a few minutes, so take a break and Netlify will do the rest, while you watch the progress.
Step 7: The End
That’s it.
Once Netlify has build your site, it will assign a random name to it and you’ll be presented with the site and the control panel for the site, ready for additional cusomizing. <PICTURE — ADD DONE PIC>
You can change the site to be private and password protected, which is great for work in progress. You can also assign a custom domain name and it’s easy to change settings for your site in general and gives you a good quick overview.


