Today we’ll take a look at Punch.
Punch is a static site generator that bills itself as “a simple, intuitive web publishing framework that will delight both designers and developers.”
Punch is written in JavaScript with node.js and what immediately stands out, is its user friendliness and good basic documentation to get you started, while it takes only a few minutes to set up. It’s not much too different from other node.js based generators and uses Mustache as its template engine, with content in JSON format, though Markdown and other possibilities exist.
The aim for Punch, as defined by Mr. Lakshan Perera, is to “help anyone to build (and maintain) modern websites using only HTML, CSS and JavaScript” and while it’s largely inspired by Jekyll it is NOT a blog engine.
Even without a boilerplate, Punch comes with a basic setup, so it’s fast and easy to get started with and there are several good examples here.
Today’s Guide
In our guide today, we’ll set up a basic Punch site, verify that it works, and then push our site to GitHub and deploy it on Netlify.
If you’re all set with a Punch repo or site of your own and all you want to do is see how we connect and build a Punch site on Netlify, you can skip the majority of this guide and start here instead. However, if you need a bit of help with regards to hooking your local Punch site up with GitHub, starting here will make more sense.
Please note that this guide assumes you have node.js and Git installed
For a very detailed guide about installing and handling node.js using nvm please see this guide.
1. Install Punch
In the terminal, enter the following command:
npm install -g punchThis should install Punch as a global npm package, at least if you’re using nvm to control and handle your node.js versions.
If you’re not using nvm and/or if the command hasn’t got the right privileges, you will need to add sudo to the front like this: sudo npm install -g punch
2. Create Site
Let’s create a site using the punch setup command in a terminal window like this:
punch setup my-punch-siteEasy enough. The punch setup command will setup a site at the present location, with the name my-punch-site (substitute with your own site name).
Please note that Punch installs into a directory named default, so that you will find it in /my-punch-site/default/.
You might want to keep the terminal window open between steps for your own convenience
3. Run the Punch server
Punch comes with a built-in server that allows you to check your work in your browser (super convenient for making sure things work properly).
Change into the default directory with this command:
cd my-punch-site/defaultNow you can launch the server with this command:
punch sIn your terminal, you’ll see the message Running Punch server on localhost:9009. That means your Punch server is running. Open your browser and visit http://localhost:9009 and see for yourself.
If this is your first time using Punch, we highly suggest that you do the hands-on tutorial that launches, as it will quickly cover the basics and get the ball rolling. It’s not a necessity for this tutorial, but it will help you get comfortable with Punch.
It’s time to go to GitHub, but just before we do, we need to configure Punch for our local folder as well.
Install Punch in local directory
To make sure that Netlify knows exactly what tools it needs to build your site, we need to run the following commands:
cd my-punch-site/defaultnpm initYou’ll be asked a few questions. You can answer however you’d like, but the default answer for each will be in the parentheses, and will be selected if you just hit enter. The important thing here is that npm will create a local package.json file.
Next we install Punch into our local project (unlike the global installation earlier) like this:
npm install punch --saveWe use the --save flag to make sure Punch is added to the package.json file as a dependency. This way, when Netlify looks at the project, it knows it will need Punch and will include it at build time.
You may get a few warnings that Punch should be installed globally and while this is ordinarily true, we need it both ways–globally for you to use it on your home computer, and locally in our site to give Netlify something to build with online.
Pushing Punch to GitHub
We want to set up an online GitHub repository with our local environment and push our local files to this repository. After this, we’ll connect Netlify to the repository for our automatic build (i.e. whenever you push to GitHub, Netlify will rebuild your site).
1. Create your Git Repo
We start by creating a GitHub repository for our Punch site and generator.
We’re naming ours punch-demo and we’ll skip adding files to the repository until after its creation, as this can sometimes create problems (The README, license and gitignore files).
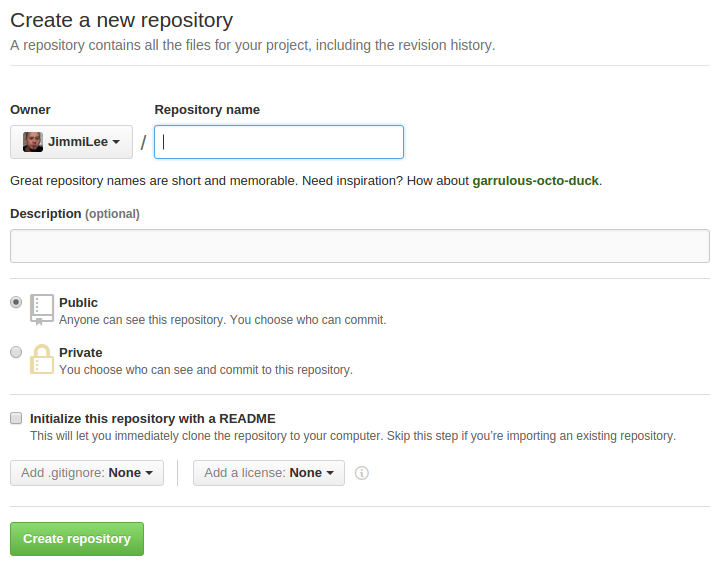
Once the repository has been named and created we’ll return to local environment.
2. Create .gitignore
Since we don’t want our local output directory to be pushed to GitHub (instead we’ll let Netlify build and take care of this directory) we’ll create a .gitignore file in the default directory and fill it in like this:
# disregard the output folder with contents–we don’t want the build output folder on GitHub!ouput/*
# disregard the node_modules folder with contents!node_modules/*
This will prevent the output and node_modules directories from being pushed to Git.
3. Prepare the Site for GitHub
We need to set the local site up as a git repository with this command:
git initNext, we’ll add all the files and subdirectories to the repository with this:
git add .Finally, we’ll stage them for the first commit with this:
git commit -m 'First commit'Once the files are committed, it’s time to connect with the GitHub repository online.
4. Get & Add Remote URL

We return to the GitHub repository we just created and retrieve the URL for the remote repository. This will be the location of all of our site assets and is where our local repository will be pushed or uploaded to. Either copy paste the whole command or use the button as depicted above, to copy just the path to your clipboard. Return to the Terminal window and paste the remote repository URL inside the following line (instead of My-Repository-URL):
git remote add origin My-Repository-URLOptional: To check that it’s set up correctly, you can use the following command:
git remote -vIf it looks all right, we’re ready to push the files.
5. Push to GitHub.
The final task before we’re done setting up, is to use the push command with git, as in the following line in terminal:
git push -u origin masterAll your files will be copied to your online repository. Once it’s done, take a look at the repository online to check if everything looks correct.
It’s time to connect it with Netlify.
Connect with Netlify
Creating a new site on Netlify can be done with a few clicks, it’s intuitive and once you’ve created an account and logged in, you’ll be taken to https://app.netlify.com/sites.
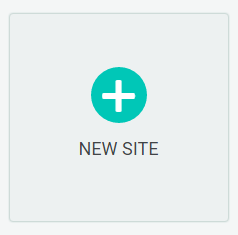
Click the New Site button (as seen above) to get started.
Step 1: Link to Your GitHub
Clicking New Site brings you to this screen:
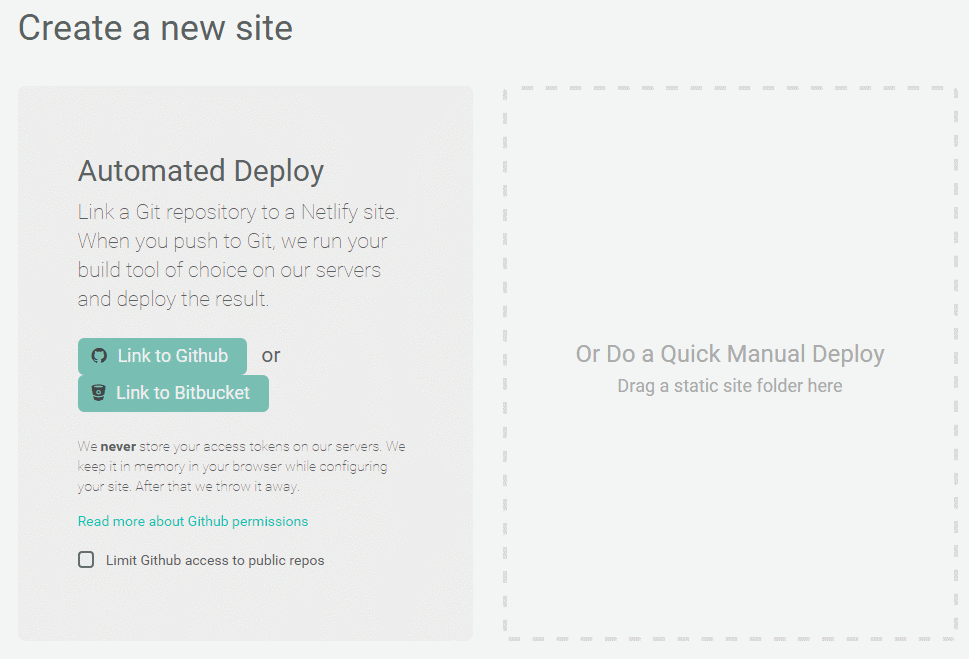
When you push to GitHub, Netlify does all the work. No more wasting time on manual deploying of updates or changes!
Since we’re hosting the site assets on GitHub, we’ll need to link Netlify with GitHub. Click the Link to GitHub button.
Step 2: Authorize Netlify
You can skip this step, if you already have an account with Netlify set up to automatically login!
You will be asked to provide your GitHub login details:
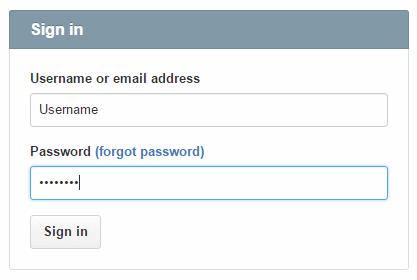
We need to let Netlify and GitHub talk to each other, so review the permissions and then click authorize application.
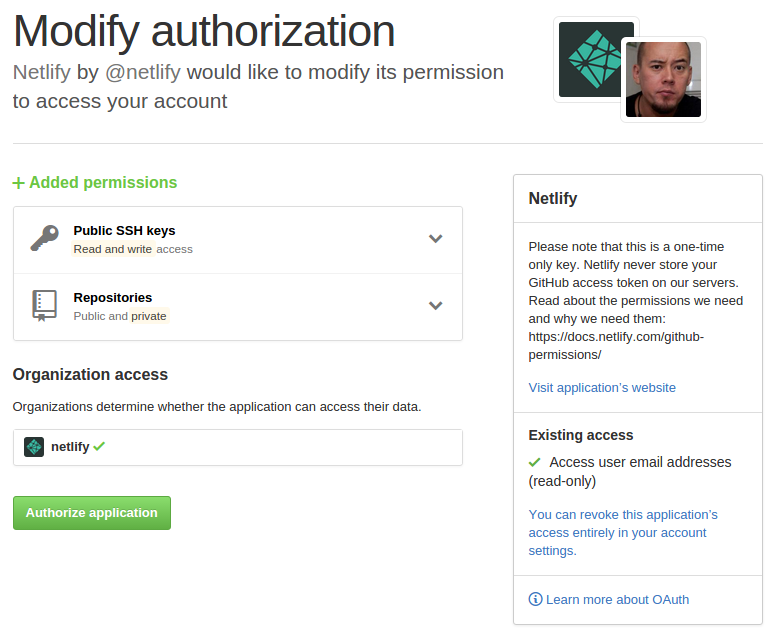
Like it says in the image above on the right, Netlify doesn’t store your GitHub access token on our servers!
If you’d like to know more about the permissions Netlify requests and why we need them, you can check out our documentation on GitHub Permissions.
Step 3: Choose Your Repo
Once you’re connected to GitHub, Netlify will show you a list of your GitHub repositories–simply choose the one you created a moment ago.
Step 4: Configure Your Settings
Fill in the configuration settings as seen in the screen shot below:
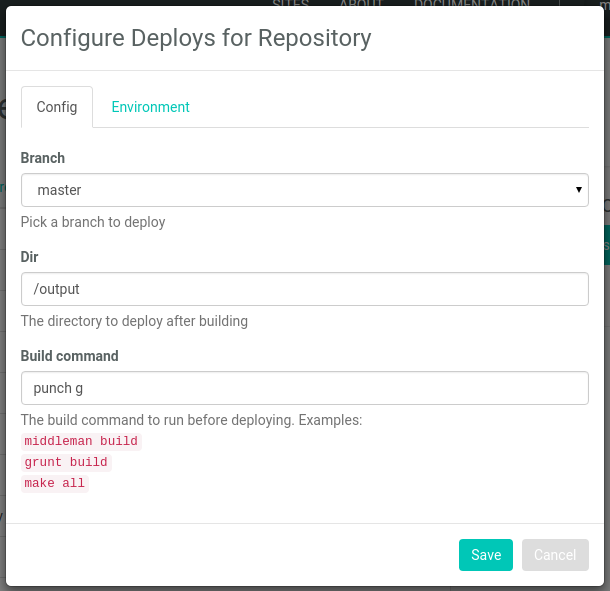
Click the Save button and watch the magic unfold.
Step 5: Build Your Site
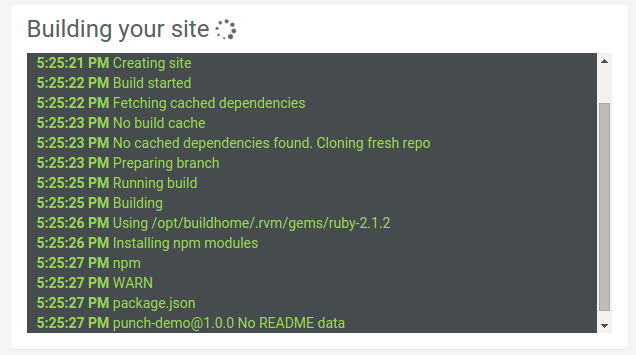
If everything went according to plan, Netlify will now build your site, with a nice status window you can either follow or just leave, as Netlify saves the information in the log file it saves with each build.
Step 6: The End
You should arrive at something along the lines of this result within a few minutes:
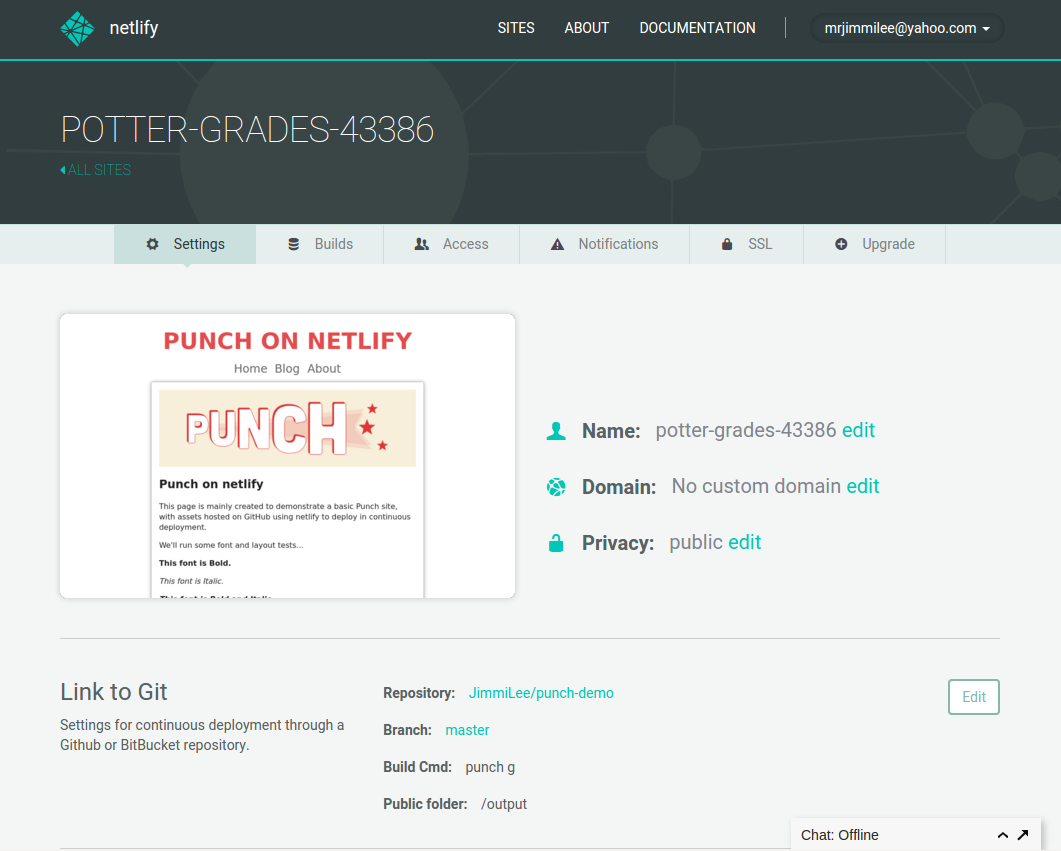
Once Netlify has built your site, it will assign a random name to it and you’ll be presented with the site and the control panel for the site, ready for additional customizing.
You can change the site to be private and password protected, which is great for work in progress. You can also assign a custom domain name and it’s easy to change settings for your site in general and gives you a good quick overview.
You can see our demo site here and the GitHub project for the demo site here.


