This guide was most recently updated on Wed, January 23rd, 2018. Below are the package versions used:
- Hugo 0.34
- Template https://github.com/netlify/victor-hugo
Screenshots may be outdated.
Today, let’s take a look at how to host a static website using Hugo on Netlify, including setting up continuous deployment.
In this tutorial we will be using Victor Hugo (a continually-maintained Hugo boilerplate) to build our static site.
To get started, let’s make sure you have all the tools you’ll need. Go ahead and download Victor Hugo here.
If you already have a Hugo site set up, you can skip straight to the Connecting to Netlify section.
Building Your Site
Hugo builds and organizes a skeleton for your site, which will set up a main directory; for simplicity’s sake, we’ll call this hugo. Additionally it sets up sub-directories within this hugo directory for the purposes outlined below. Here is a basic breakdown of the structure Victor Hugo builds for you:
|--site // Everything in here will be built with hugo| |--content // Pages and collections - ask if you need extra pages| |--data // YAML data files with any data for use in examples| |--layouts // This is where all templates go| | |--partials // This is where includes live| | |--index.html // The index page| |--static // Files in here ends up in the public folder| |--config.toml // Where your global configuration settings are set/stored|--src // Files that will pass through the asset pipeline| |--css // CSS files in the root of this folder will end up in /css/...| |--js // app.js will be compiled to /js/app.js with babelTo get started open terminal/command prompt, navigate to where your Victor Hugo folder lives:
$ cd /PATH/TO/hugoThen install the necessary dependencies by entering:
$ npm installTo start the server enter:
$ npm startLet’s create an About page.
In terminal, navigate to the site directory which can be done from terminal with a command like:
$ cd siteNow lets go ahead and initialize the about page using the following Hugo command:
$ hugo new about.mdIf you open the hugo directory in your file manager, you’ll see a list of subdirectories. Open site/content/about.md to see what you just created. You’ll should see something like this:
+++date = "2016-09-25T11:45:50-07:00"draft = truetitle = "about"
+++
Put some content in Markdown format below the toml front-matter (the section marked by +++ before and after it) and then save it.
Now, let’s add a new post.
To do so enter the following:
$ hugo new post/first.mdThe new file is located at content/post/first.md. It’s just begging to be spiced up, isn’t it?
+++date = "2015-09-25T11:49:03-07:00"draft = truetitle = "first"
+++
“Peace of mind produces right values, right values produce right thoughts. Right thoughts produce right actions and right actions produce work which will be a material reflection for others to see of the serenity at the center of it all.”― Robert M. Pirsig, Zen and the Art of Motorcycle Maintenance
*TIP: Create a few posts like this to get some content in place and see the formatting of multiple articles in lists.
Now that you have some content, it’s time to display it. Hugo has a repository full of themes that you can use (or you can always create a custom theme). For the purposes of this tutorial, let’s use the Strata theme.
Find the Strata theme in Hugo’s theme library (or you can click here). To avoid headaches and to make it easy to tweak the theme we are just going to download the zip instead of cloning the theme’s repo. To do so, click the Clone or download button then click the Download ZIP button on the right hand side of the page. In the hugo/site directory, create a new folder called themes, then unzip the Strata file into /PATH/TO/hugo/site/themes. Be sure to rename the folder from hugo-strata-theme-master to just plain hugo-strata-theme.
Setting up your first theme.
Most themes will document how to set them up in their README.md file. For the Strata theme, there are 5 main things we need to do.
-
To avoid conflicts with the theme, we are going to delete some of the initial boilerplate files, please delete all the files within the
layoutsdirectory atsite/layouts. Another conflicting file issrc/css/main.css— delete this file too. (If you’re building your own theme, please disregard these steps.) -
Then we must copy the contents of the example
config.tomlfile fromthemes/hugo-strata-themeto our site’sconfig.tomlfile located athugo/site. *NOTE: Be sure to update thebaseurlvariable in the config file to a relative path like below.baseurl = "/" -
We must update our landing page layout with the theme’s template layout located at
themes/hugo-strata-theme/index.html. For your convenience, here is the code from this theme (as of 9/9/16) to replace the contents of yourindex.htmllocated insite/layouts/index.html.{% raw %}{{ define "main" }}{% endraw %}{% raw %}{{ if not .Site.Params.about.hide }}{% endraw %}{% raw %}{{ partial "about" . }}{% endraw %}{% raw %}{{ end }}{% endraw %}{% raw %}{{ if not .Site.Params.portfolio.hide }}{% endraw %}{% raw %}{{ partial "portfolio" . }}{% endraw %}{% raw %}{{ end }}{% endraw %}{% raw %}{{ if not .Site.Params.recentposts.hide }}{% endraw %}{% raw %}{{ partial "recent-posts" . }}{% endraw %}{% raw %}{{ end }}{% endraw %}{% raw %}{{ if not .Site.Params.contact.hide }}{% endraw %}{% raw %}{{ partial "contact" . }}{% endraw %}{% raw %}{{ end }}{% endraw %}{% raw %}{{ end }}{% endraw %} -
To include our new about page into this theme’s navigation, open up the
config.tomlfile we edited earlier and update the menu variables to include the about page as follows:[[menu.main]] name = “Home” url = ”/” weight = 0
[[menu.main]] name = “About” url = “about” weight = 5
[[menu.main]] name = “Blog” url = “post/” weight = 10
You will now see the about page link rendered in the sidebar navigation but if you click it, it will throw an error that the about page cannot be found. This is because we never changed the status of the page from draft to production-ready. All we have to do is change the value of
draftfromtruetofalsein the front-matter. Yourabout.mdfile we created earlier should now look like:```+++date = "2016-09-09T10:15:23-04:00"draft = falsetitle = "about"+++## This is our sample Markdown content.``` -
Repeat this draft status updating with all of the post files we created earlier (referring to the
first.mdand other content you may have created). This will allow you to see these articles listed on the homepage (in the “Recent Blog Posts” section) and on the “Blog” page (accessed by clicking “Blog” in the side navigation).
Testing Your Site
Now that we’ve got your site setup, let’s take a look at what we’ve got (if you haven’t already been monitoring in real-time). Fire up the server in terminal with the command:
$ npm startVoilà! You should see your landing page styled to look similar to the screenshot below.

While your in awe of your new landing page, go ahead and check out your new “About” and “Blog” pages too.
If all looks good, it’s time to push your new hugo site to a GitHub repo (Netlify also supports linking to BitBucket, GitLabs and self-hosted repos).
Creating your Git Repo
Create a new repository on GitHub. To avoid errors, do not initialize the new repository with README, license, or gitignore files. You can add these files after your project has been pushed to GitHub.
Open terminal (or your command-line tool of choice) and make sure the current working directory is set to your local project. If not, navigate there like below:
cd /PATH/TO/hugoInitialize the local directory as a Git repository.
git initIf you’re not using the Victor Hugo template, then you may need to create .gitkeep files in any folder that is empty, as Git will ignore folders with no content. (The following command assumes you are on macOS or Linux)
touch archetypes/.gitkeep content/.gitkeep layouts/.gitkeep static/.gitkeep data/.gitkeepAdd the files in your new local repository. This stages them for the first commit.
git add .Commit the files that you’ve staged in your local repository.
git commit -m 'First commit'At the top of your GitHub repository’s Quick Setup page, click the clipboard icon to copy the remote repository URL.
In Terminal, add the URL for the remote repository where your local repository will be pushed.
git remote add origin YOUR_GITHUB_REPOSITORY_URLVerify your URL
git remote -vNow, it’s time to push the changes in your local repository to GitHub.
git push origin masterNow that your repo is on GitHub, let’s connect them to Netlify.
Getting started on Netlify
In this section, we will show you how easy it is to launch your first Hugo site on Netlify. If you are not already a Netlify user, go ahead and sign up for free here first.
Step 1: Add Your New Site
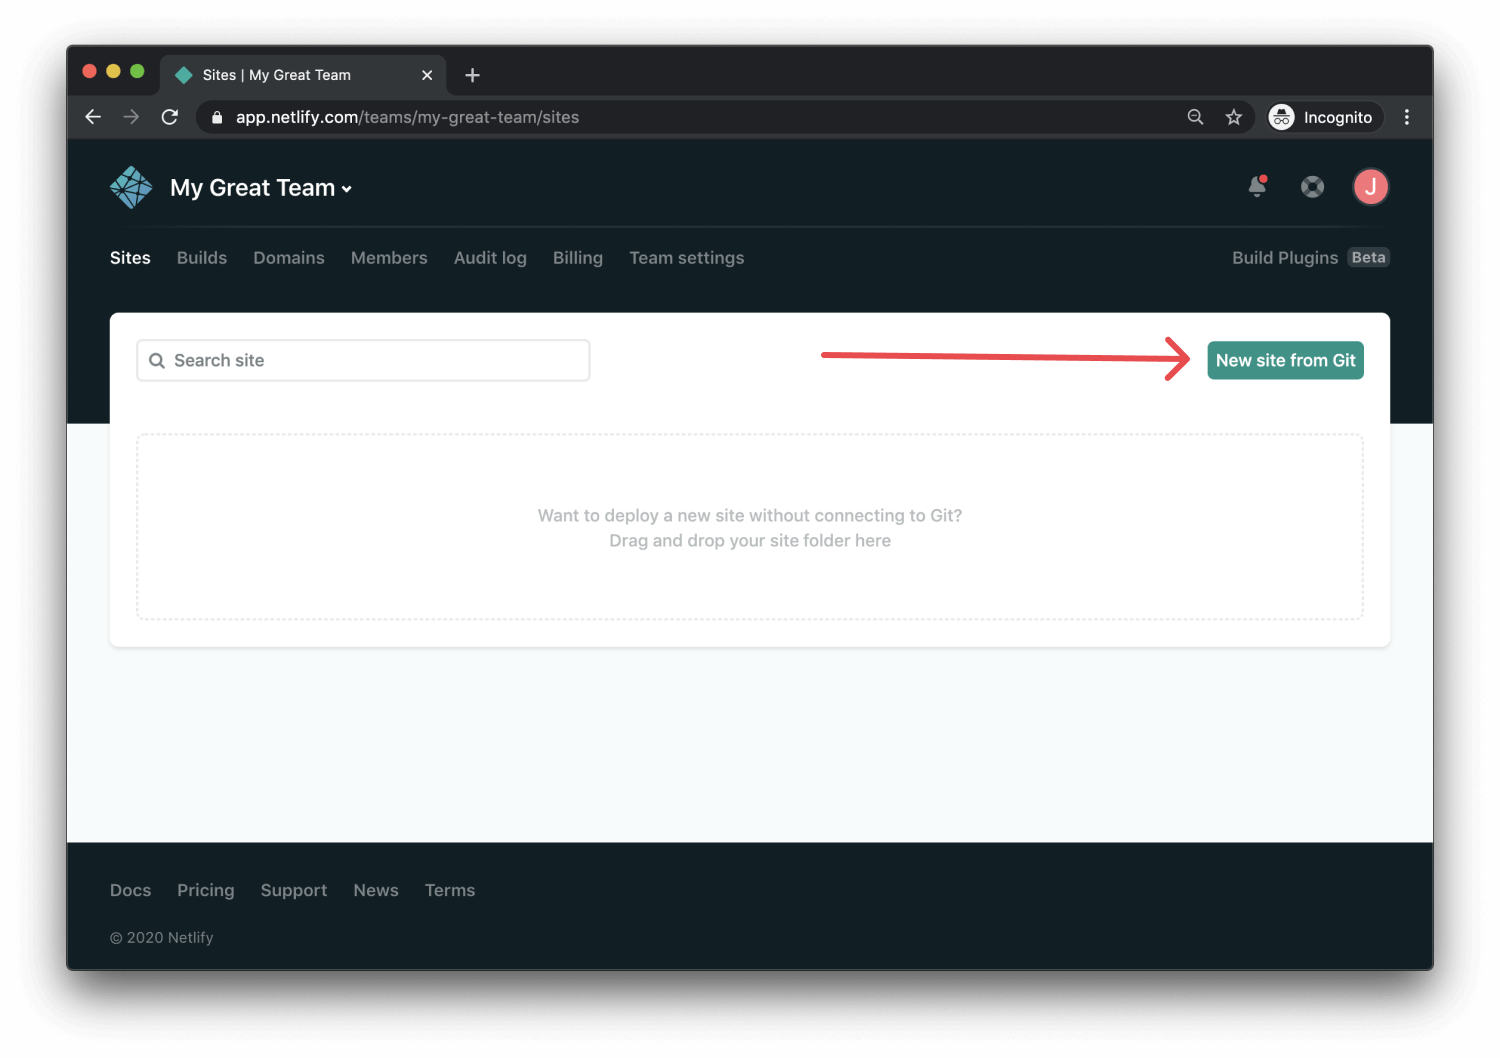
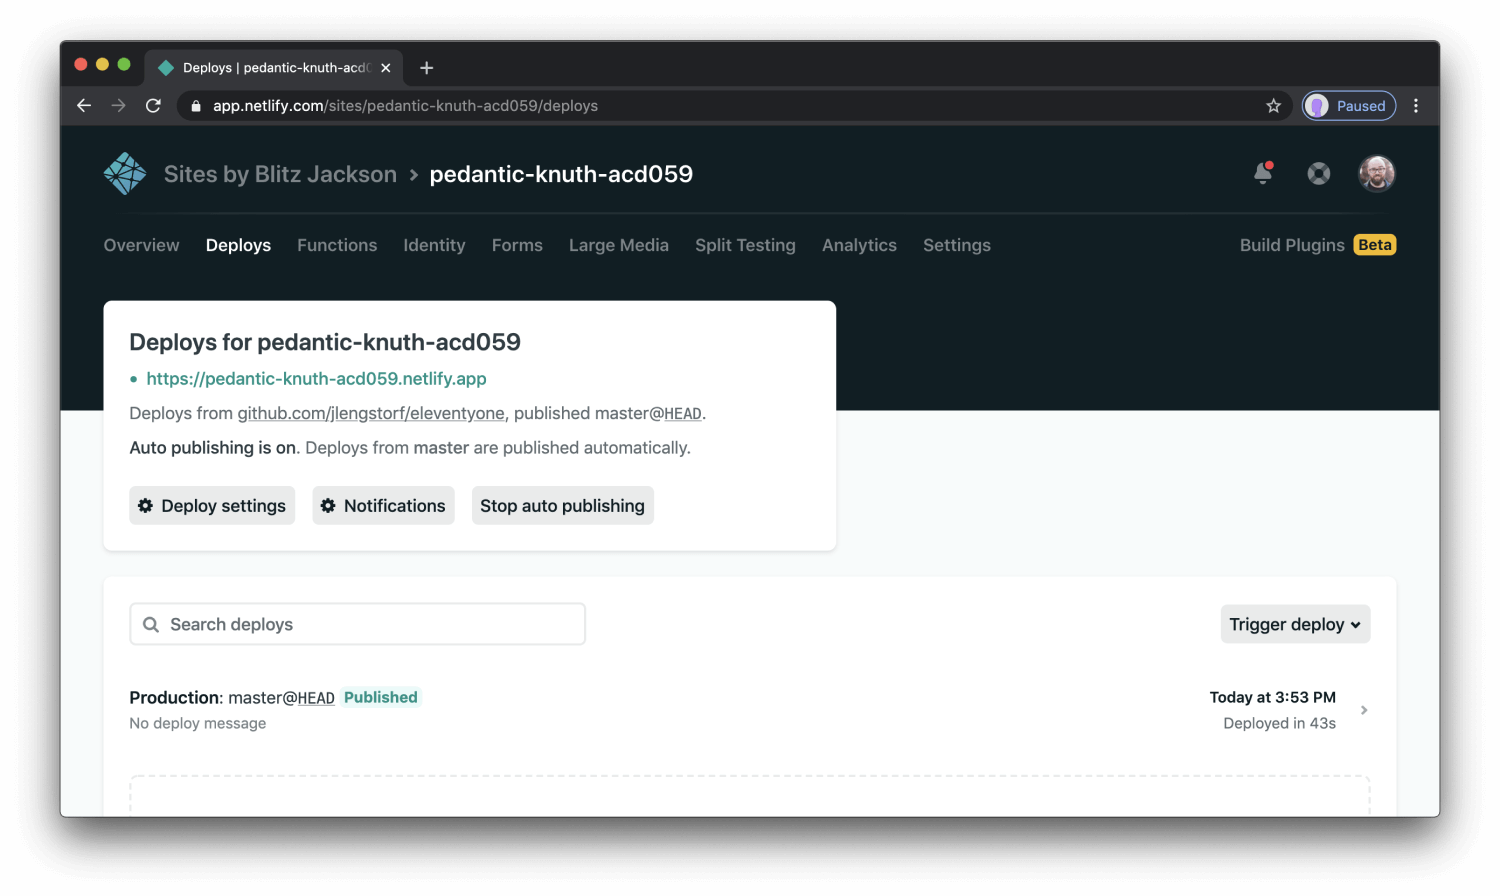
Creating a new site on Netlify is simple. Once you’ve logged in, you’ll be taken to https://app.netlify.com. If you’re just starting out, there’s only one option, Click the Add A New Project button shown above.
Step 2: Link to Your GitHub
Clicking “Add A New Project” brings you to this screen:
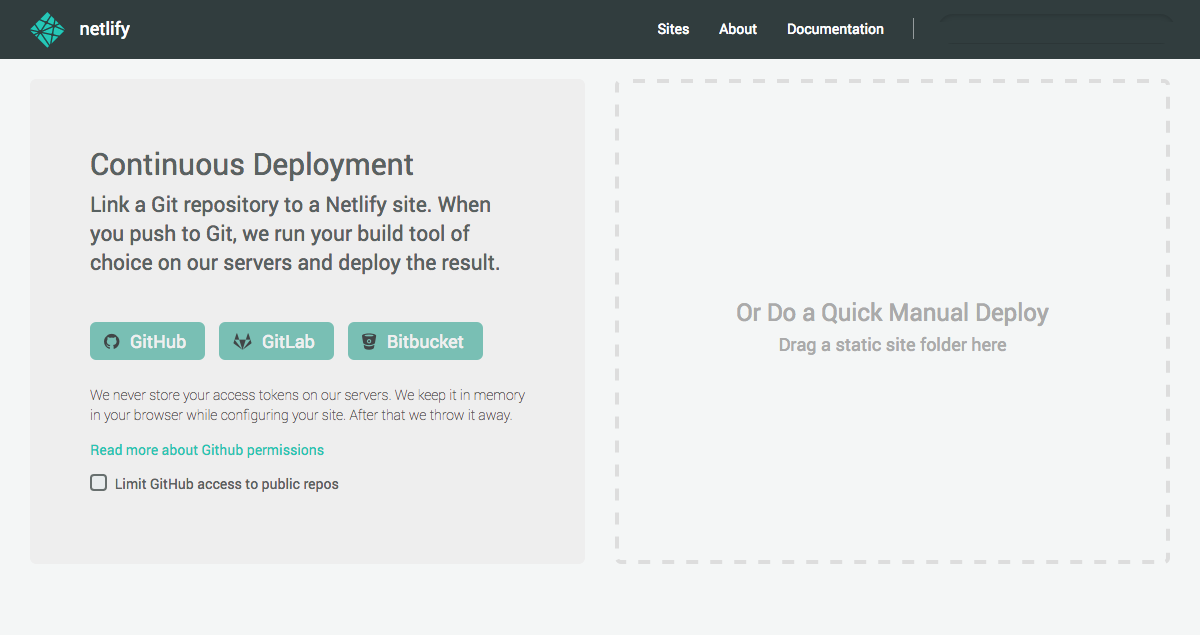
When you push to GitHub, Netlify does all the work. No more manual deploying of updates or changes!
Since your repo is already pushed to GitHub, all we need to do is link Netlify to GitHub. Click the GitHub button as illustrated in the screenshot above.
Step 3: Authorize Netlify

It’s time to allow Netlify and GitHub to talk to each other. Clicking the Authorize Application button will do just that. Like it says in the image below, Netlify doesn’t store your GitHub access token on our servers. If you’d like to know more about the permissions Netlify requests and why we need them, you can visit our documentation on Git provider permissions.
Step 4: Select Your Repo

Now that you’ve connected Netlify and GitHub, you can see a list of your Git repos. There’s the “hugo” repo we just pushed to GitHub. Let’s select it.
Step 5: Configure Your Settings
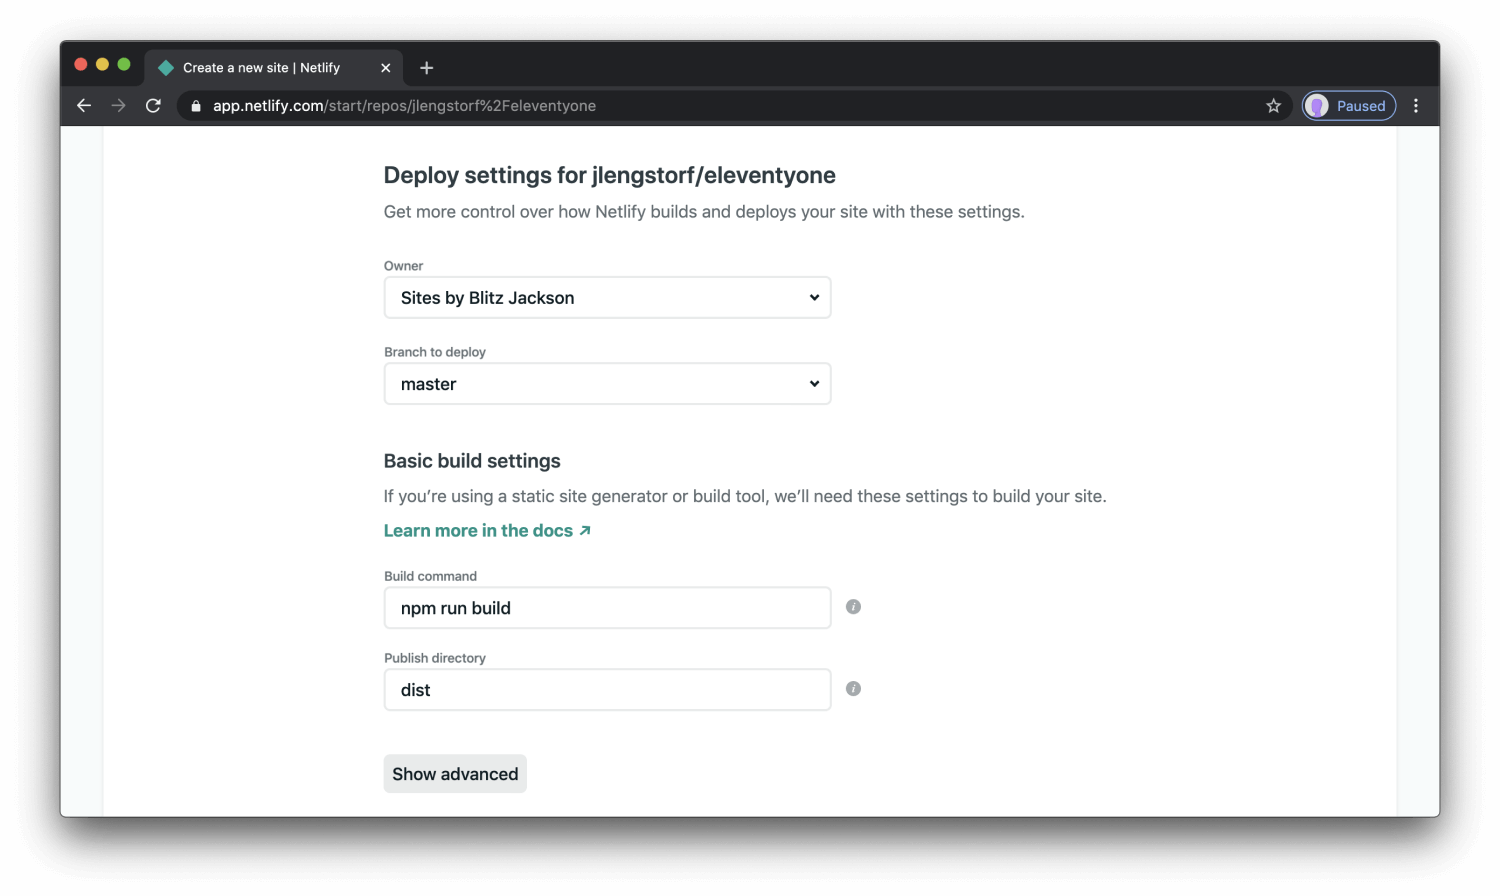
Here you can configure your options. Make sure your Directory is dist/ and your build command is npm run build. Then click the Build your site button to continue.
Step 6: Build Your Site
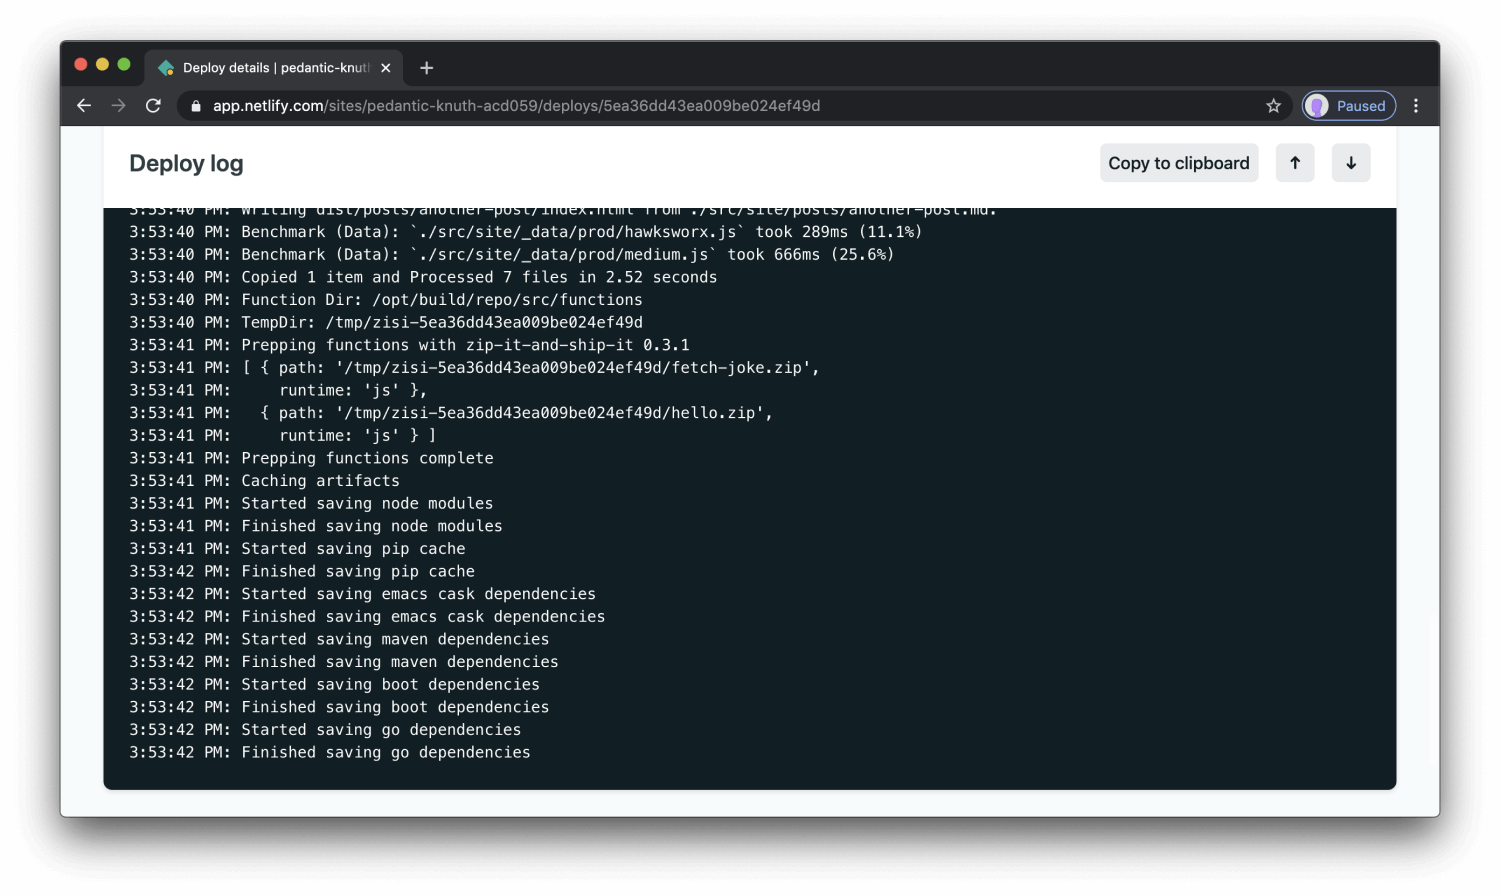
Now it’s time to sit back and relax. You did your part let Netlify take care of the rest — it’ll only take a minute.
Step 7: All Done
Netlify went ahead and gave your site a temporary name. Let’s quickly update that to make it look a little prettier:
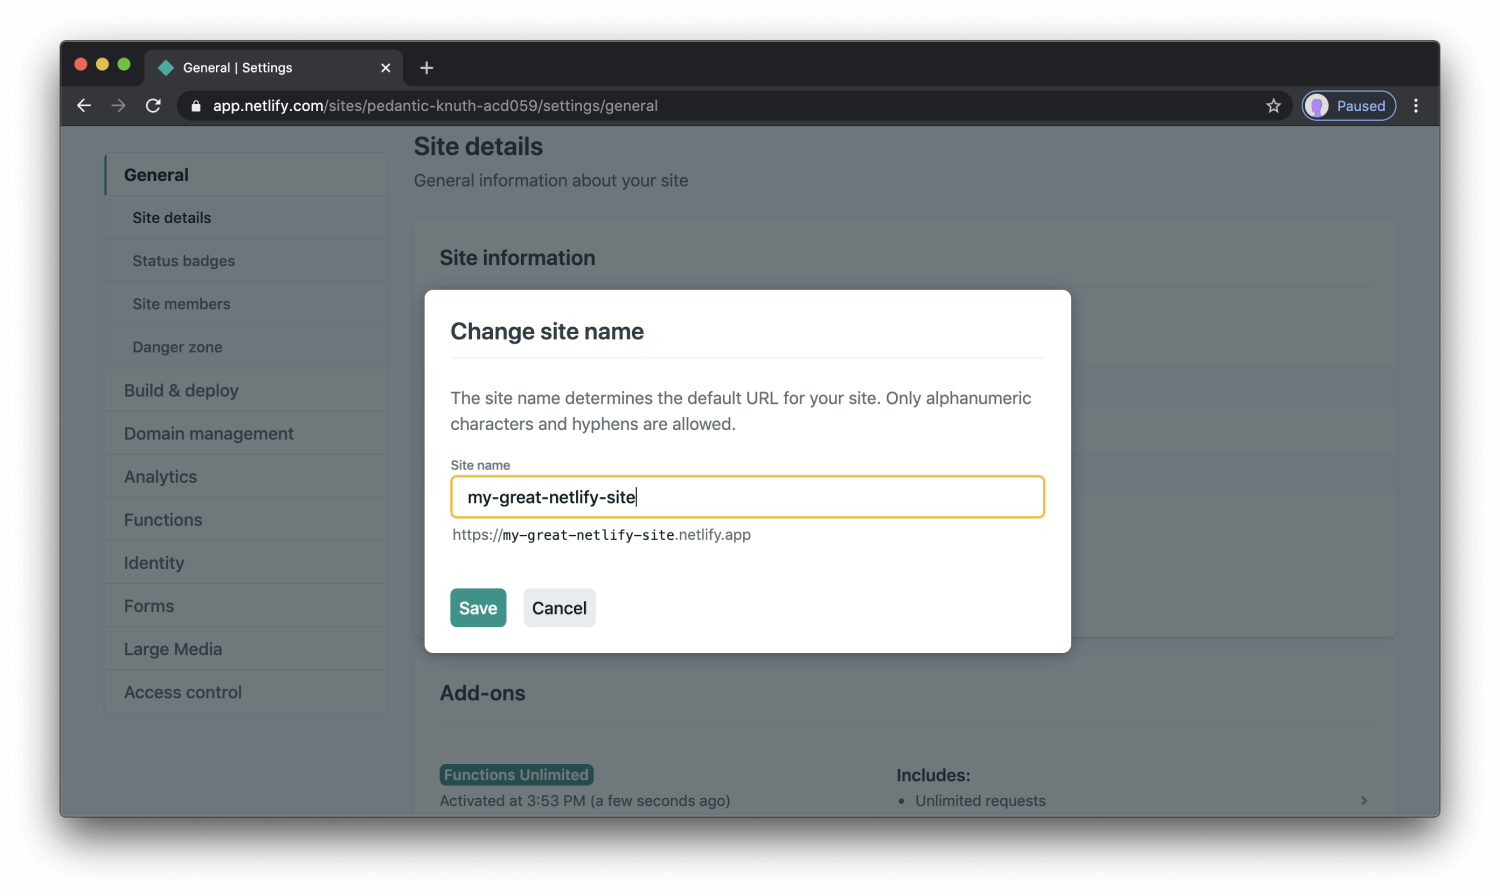
There, that’s better. Looks pretty good, huh? Wasn’t that easy? Take it a step further and setup your custom domain (Learn how to do that here). Congratulations, and thanks for using Netlify!


