One of the first questions I typically hear from anyone considering using the JAMstack is: how would you handle a basic requirement such as form submissions without server-side code?
Depending on your needs, there are multiple services that can be used. There are free options like Google Forms to paid options like Wufoo. These both have their benefits, but one of the drawbacks is that they must be embedded. Particularly for simple forms, this can seem like overkill and, in some cases, hurt the user experience.
Note: Wufoo does have an API that, with some work, could be used to submit forms without an embed.
One of the things that I love about Netlify, though, is how it solves these sorts of problems for me. Netlify’s support for forms makes it incredibly easy to handle form submissions using standard HTML forms. The form handling even makes it painless to implement basic spam protection. Plus, you can tie in notifications to every form submission — or even get more advanced by integrating Netlify with Zapier. Let’s see how!
Getting Set Up
Let’s build a very simple project that allows users to submit information via a form. In this case, let’s imagine we wanted a form that allows users to suggest their favorite memes from around the web. There can never be enough memes right?

In this example, we’ll use Jekyll, but keep in mind that, in the end, we’re just using an HTML form. So, none of the functionality is tied to Jekyll — feel free to use the tool of your choice.
First, we’ll create the new project:
jekyll new memesharecd memeshareTo keep things simple, let’s just create a new page for our form using Jekyll’s default theme. Create a new file named memeform.md in the root and include the following markup.
---layout: pagetitle: Share a Memepermalink: /memeform/---
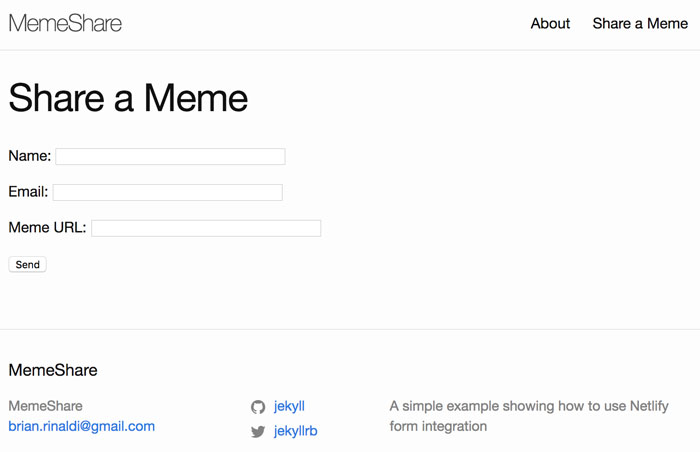
<form name="submitMeme" action="/thanks.html"> <p> <label>Name: <input type="text" name="name" size="40"></label> </p> <p> <label>Email: <input type="text" name="email" size="40"></label> </p> <p> <label>Meme URL: <input type="text" name="memeurl" size="40"></label> </p> <p> <button type="submit">Send</button> </p></form>Here’s a look at our beautiful form!
Of course, when someone successfully submits the form, we’ll want to acknowledge it, so let’s create a file named thanks.html with the following contents:
---layout: default---
<h2>Thanks for your submission!</h2>
Note: We used thanks.html and not thanks.md to keep the default Jekyll theme from adding a link to the “thanks” page in the main navigation.
We can already run this locally using jekyll serve and the form will submit, but it doesn’t do anything — there’s nothing to process the form submission. Even if we deploy it to Netlify at this point, it won’t see the form — so let’s add in the necessary elements.
Integrating Netlify’s Form Handling
To get Netlify to handle the form via its built-in form processing, all we really need to do is modify the opening form tag as to add the word netlify as follows:
<form name="submitMeme" action="/thanks.html" netlify>That was easy! Let’s call it a day.

Spam Protection
However, we probably don’t want bots to be able to spam our form, so let’s add in some basic spam protection that is also built into Netlify’s form handling. To do so, we tweak our form tag one more time and add in a hidden form field.
<form name="submitMeme" netlify-honeypot="bot-field" action="/thanks.html" netlify> <p style="display:none;"> <label>Don’t fill this out: <input name="bot-field"></label> </p>The netlify-honeypot attribute indicates which form field will be used for the spam protection. In our case, it is the bot-field we have below with a display:none.
Testing the Form
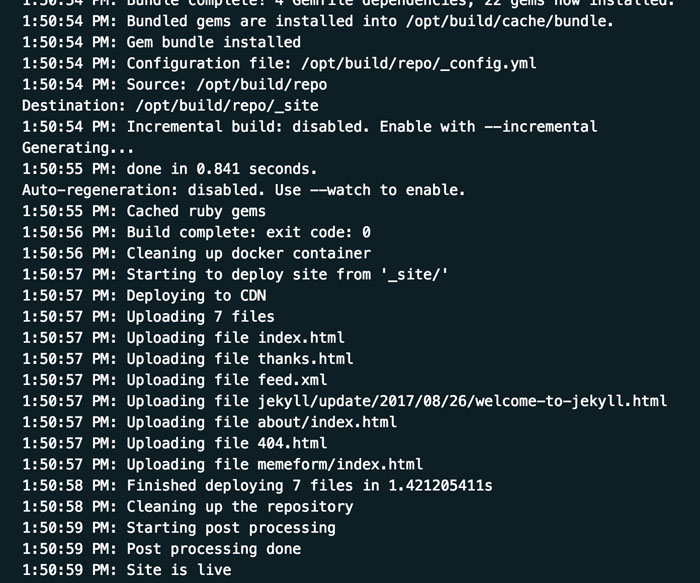
To get the form collection working within Netlify, all we have to do is deploy — there are no special settings or anything we need to do.
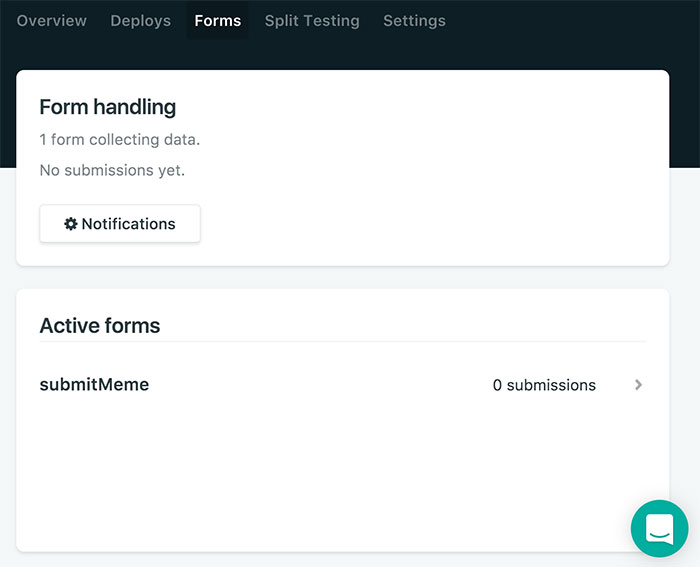
Once the site is deployed, if we go to form handling we’ll notice that Netlify is already aware of our form. The name submitMeme comes via the name property on the form tag in our HTML.
So let’s submit some data and see if this works.
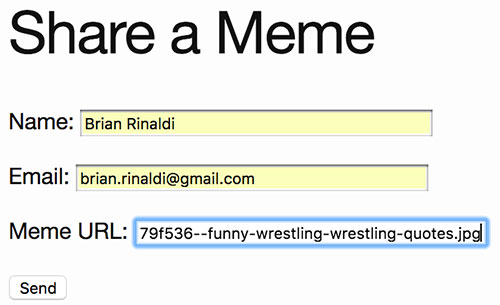
Note: Due to the spam protection, you may be asked to complete a captcha before finishing your submission.
Now let’s go back into the forms for our site and we’ll see that we have one submission:
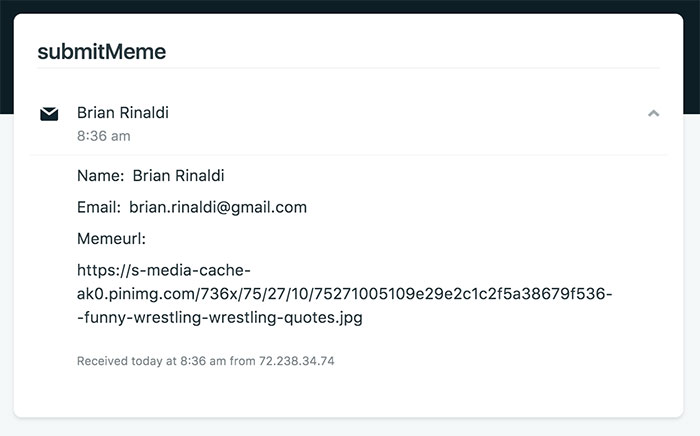
Notifications
But checking our forms all the time to see if a new submission has been entered would not be very practical. That’s why Netlify makes it easy for us to set up notifications for every form submission. Navigate to in Settings > Forms > Form notifications and let’s tell Netlify to send an email every time the form is submitted:
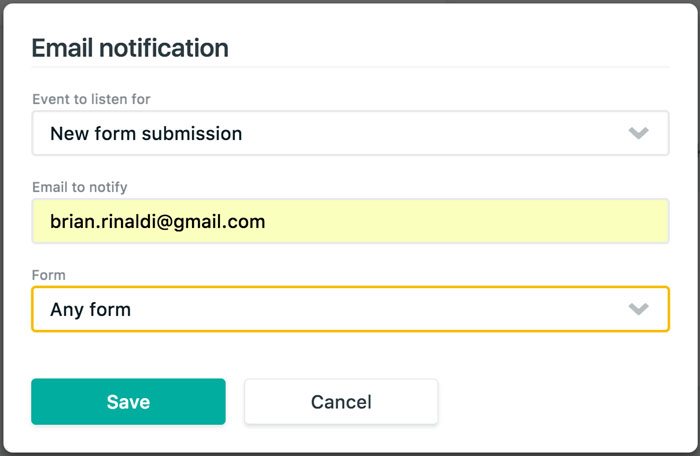
Done. Now I’ll receive an email with the details of every form submission.
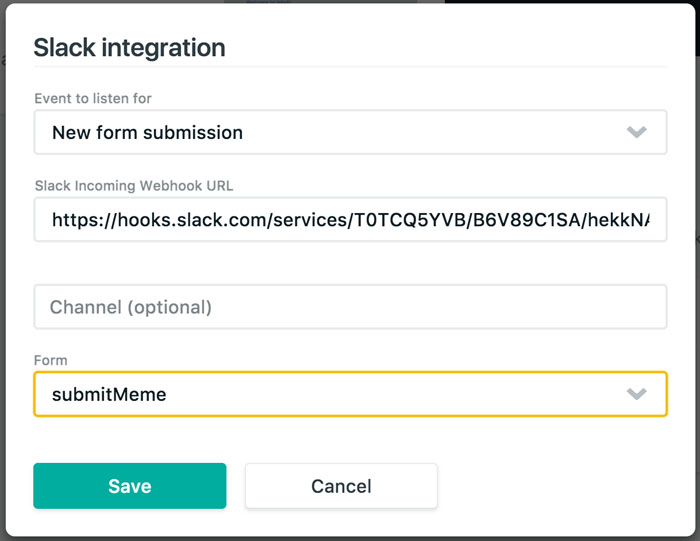
You can get much more advanced with notifications if you like by using the webhook for form submissions to connect it to an external service. In fact, there is even a built in webhook for posting to a Slack channel when a form is submitted. And there is nothing more useful and productive than posting memes to Slack. (I’m pretty sure that is Slack’s primary purpose.)
To set up the Slack integration directly within Netlify, you’ll need to first establish an incoming webhook for your Slack channel. After that, it’s just a few form fields and we’re ready to go.
Let’s submit a form and see the result!
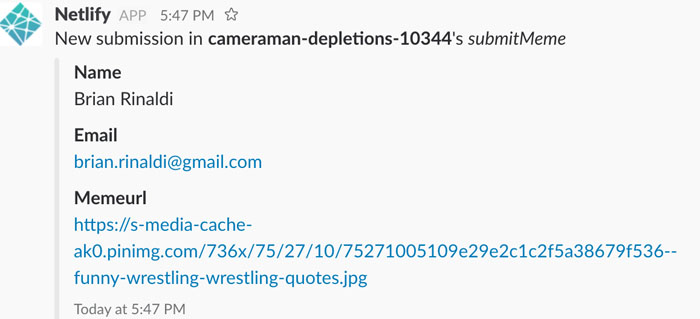
Hmmm…well, that would work for some forms, but I would like to get fancier with my messaging and actually display the submitted meme. Let’s look at one easy way to do this.
Integrating Zapier
Zapier is a really clever service that basically connects one service with another. For example, on one of my sites I use Zapier to connect Crowdcast with MailChimp, whereby every registration for one of my Crowdcast events gets signed up for my MailChimp newsletter automatically. Since this uses built-in integrations, it is all handled within the Zapier service, without any code.
Netlify offers a pre-built connection to Zapier. We just need to accept the invitation here and we’re ready to start tying the Netlify API to any number of other services.
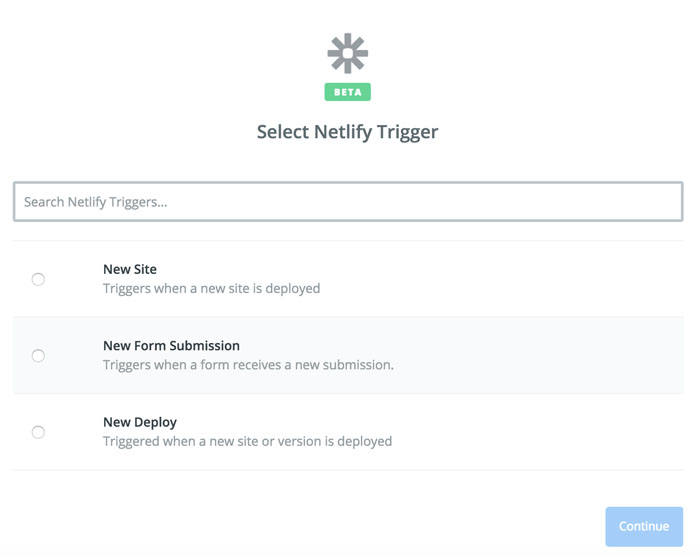
In our case, we want ask our “Zap” (as Zapier calls them) to trigger on a form submission.
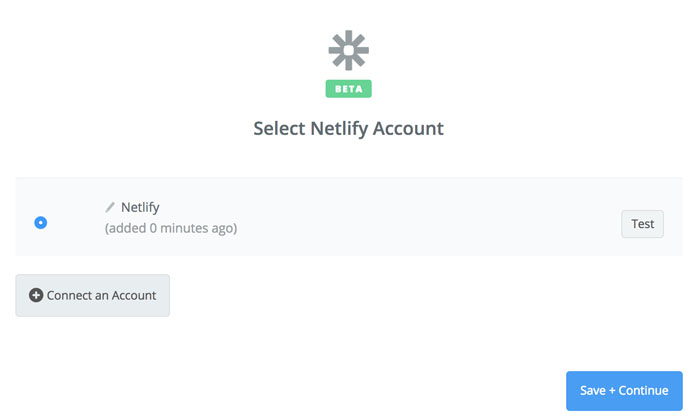
Next, we’ll connect our Netlify account.
Once we authorize the account, Zapier can see all of our sites. Let’s choose the meme sharing site (which, in my case, has the awesome default generated site name of cameraman-depletions-10344 — why would I change that?!?).

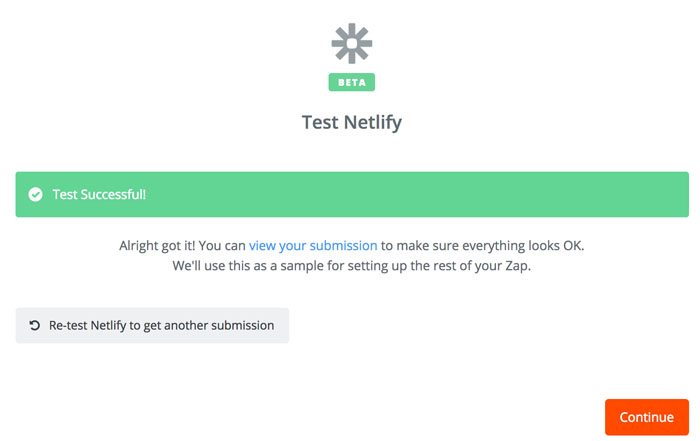
Once we choose the site, Zapier is able to see all of the site’s forms. We’ll choose “submitMeme” after which Zapier will test the integration. (Note that you must have at least one submission in order for the test to work.)
Now that our Netlify settings are done, we need to integrate Slack. First, we’ll choose an action — let’s post to a channel (note that you must be an authorized admin on the Slack channel in order to authorize the Zapier integration). We specify the channel to post to and the options. (I chose to post to a test channel so as not to legitimately annoy anyone with my tests.)
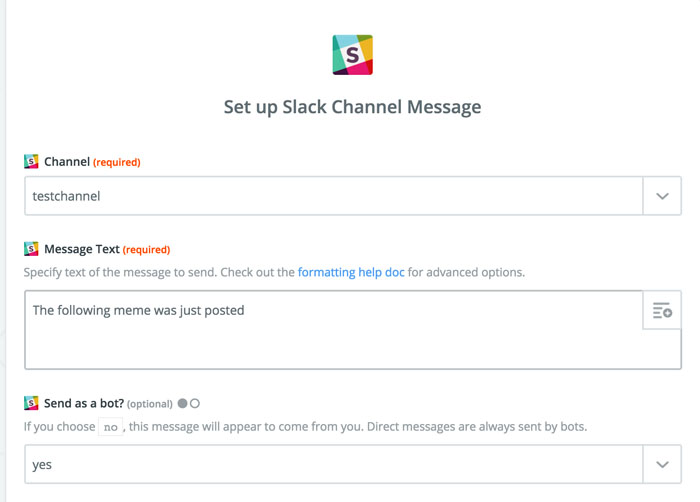
We can even select a form element to attach as an image. Just select the the memeurl field from the dropdown.
Now that we’re all set up, Zapier will test the integration using an existing form submission. The Slack channel we chose should display a notification like the one below:
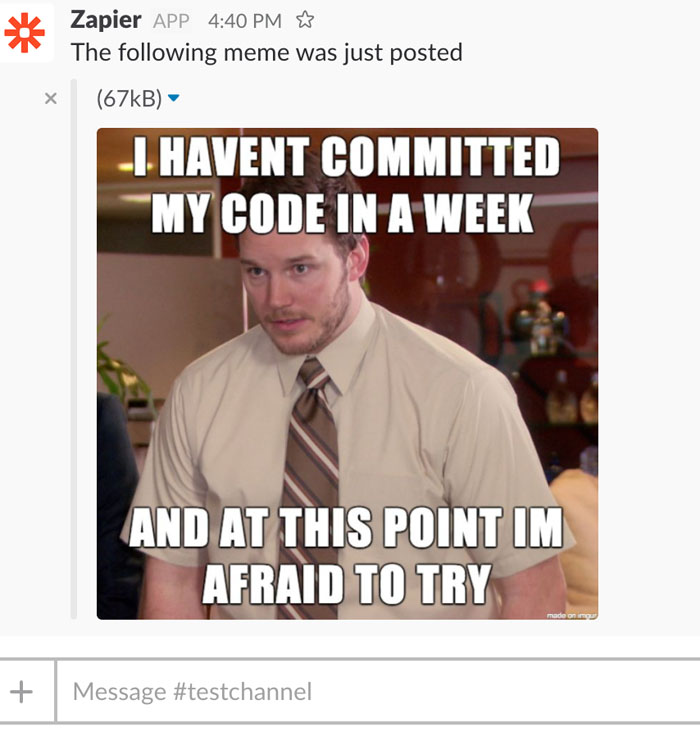
All we have left to do is save our Zap and turn it on — then watch as the memes roll in! Trust me, your colleagues will love you.
It’s important to note that Zapier limits the number of “zaps” and “tasks” (i.e. the number of times your zaps run) to 5 zaps and 100 tasks for free accounts.
Going Further
So, using Netlify’s form handling, we were able to easily handle form submissions from a static form, prevent bots from abusing our form, store those submissions and even send email and slack notifications of those submissions. All of this essentially required just a few minor tweaks to our form’s HTML.
But taking it a step further, we were able to tie our form submissions into Zapier and easily (and without any code) send customized Slack messages — or tie into any one of the hundreds of other Zapier integrations. It could be just as easy to make a form submission create a support ticket in our company’s ticketing system or add a contact into our CRM.
If we wanted to get even more advanced (and customized), we could utilize the Netlify API directly to pull form data and manage it. Since we built our site with Jekyll, there’s even a Ruby client that Netlify has built to help us get started.
The point is, using the JAMstack does not imply compromising what our site can do — even when it comes to things like forms (or memes).


