In Part 1 of this tasty tutorial, we built a functional restaurant site with a menu. In Part 2, we added the ability to update content through a CMS, which made managing the menu and image gallery a top shelf experience.
One of the most important features for this restaurant is the ability to collect reservations. Let’s add a form to receive reservation submissions. Later, we will use a serverless service make sure reservations get an auto-response when submitted.
Adding a reservation form
Once again, add a new route to your config.toml for making reservations.
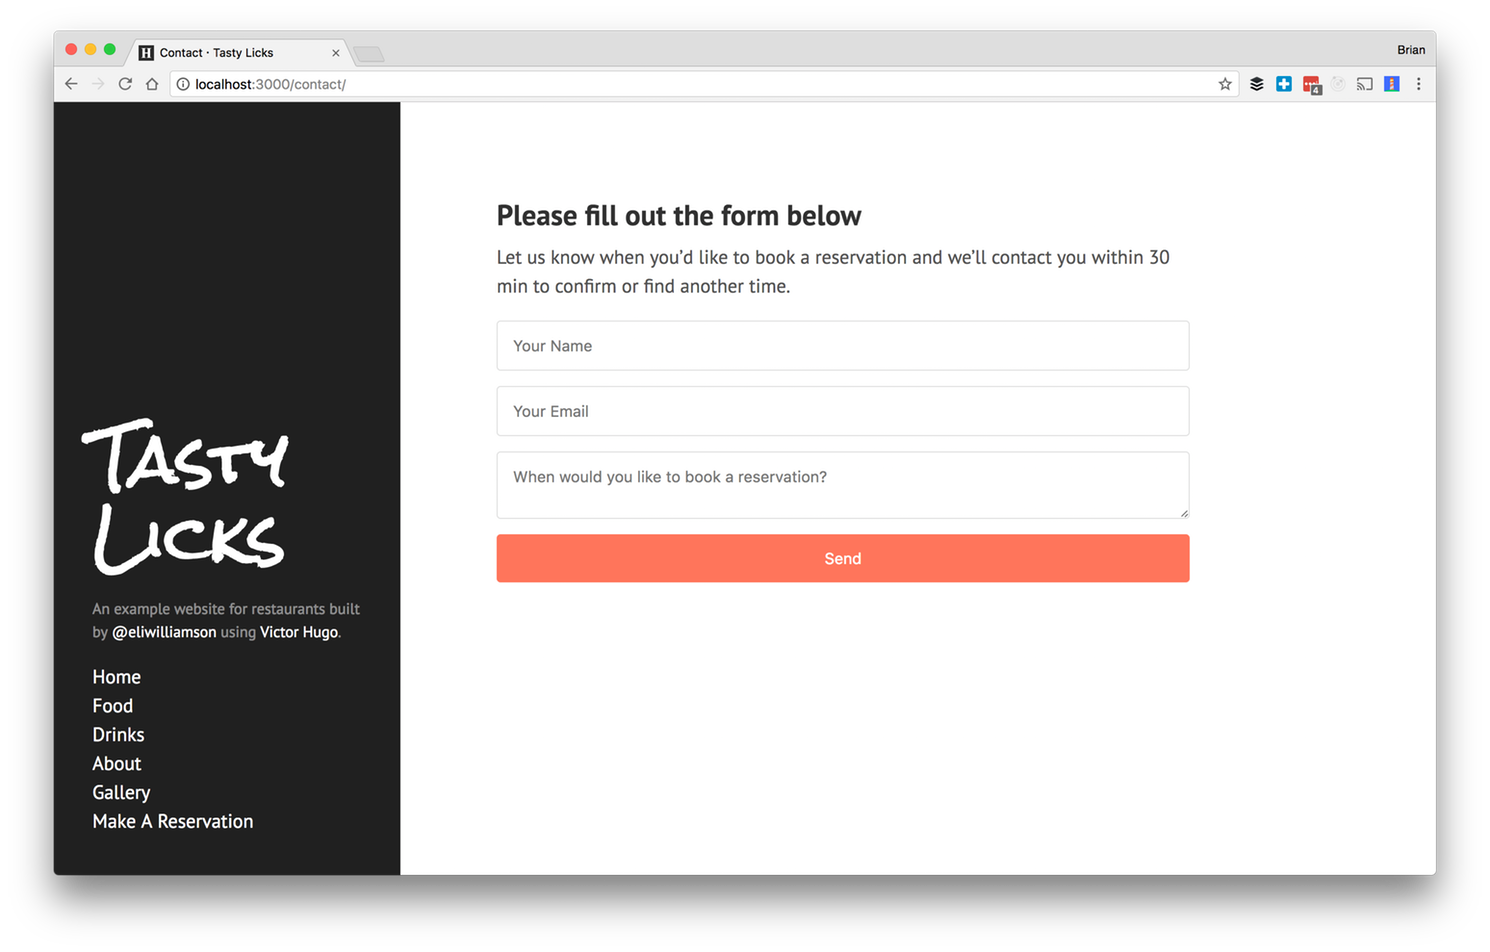
[[menu.main]] name = "Make A Reservation" url = "/contact" weight = 5Within site/content/pages you can add another page type, called contact.md. Markdown allows HTML, which is why we are adding the HTML form directly to the body of this page.
Making reservations work
You may have noticed that when submitting content to the form nothing happens, and if you did not notice it is probably because you were too busy serving up that tasty menu through Netlify CMS. We will now be going over how to make the form operate. There are a few options for handling form data and most of them deal with running a server. Running and hosting a separate server to collect data is not ideal. We can actually use an abstracted and server-less solution that’s (surprise!) a built-in feature of Netlify.
Netlify comes with built-in form handling. Code an HTML form into any page on your site, add a netlify attribute or data-netlify="true" within the
tag, and you can start receiving submissions in your Netlify site admin panel.
You will need to also set a name attribute on the form so Netlify can identify which form your submissions are coming from (in case you ever have more than one form on a site).
The action attribute determines what visitors see after submitting a form. If you set it to “thank-you”, they will see a generically styled success message with a link back to the form page. You can also instead choose to create a new thank-you.html in your static folder. You can replace the default success message with a custom page you create by entering the path of your custom page (like “/success”) as the value for the action attribute and place a success.html in your layouts folder, similar to the 404.html.
...<form name="contact" action="thank-you" netlify> <input type="text" placeholder="Your Name" name="name"> <input type="email" placeholder="Your Email" name="email"> <textarea name="message" placeholder="When would you like to book a reservation?"></textarea> <button>Send</button></form>You will now be able to make reservations on your restaurant’s page and see the submissions in the Forms tab in your Netlify dashboard.

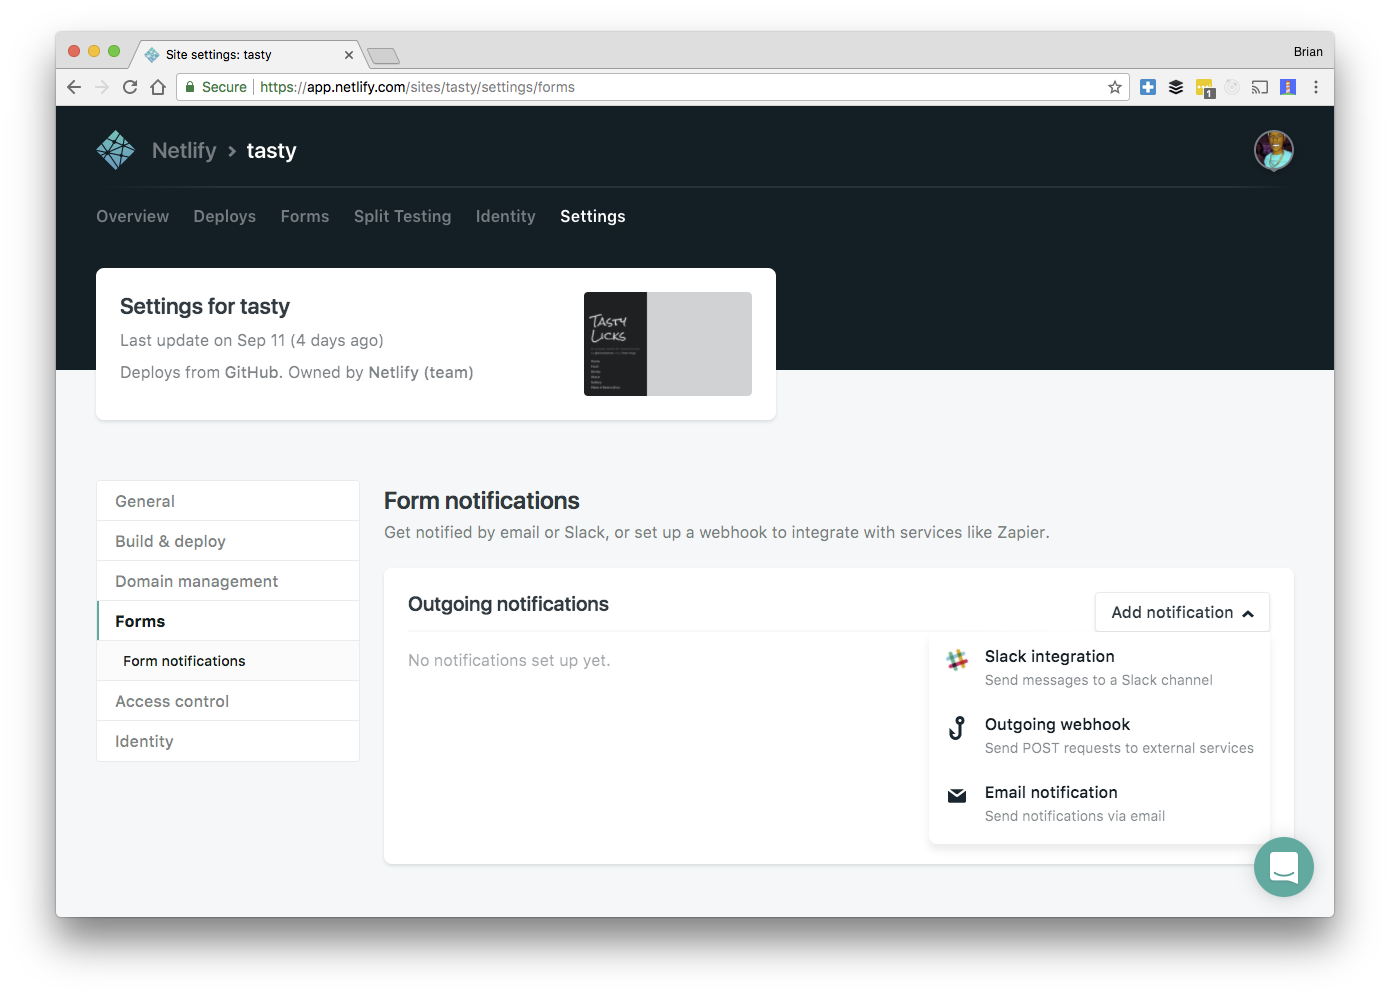
Be sure to check out the Netlify documentation for details on how to configure form submission notifications and use tools like Zapier to populate a spreadsheet or send an email.
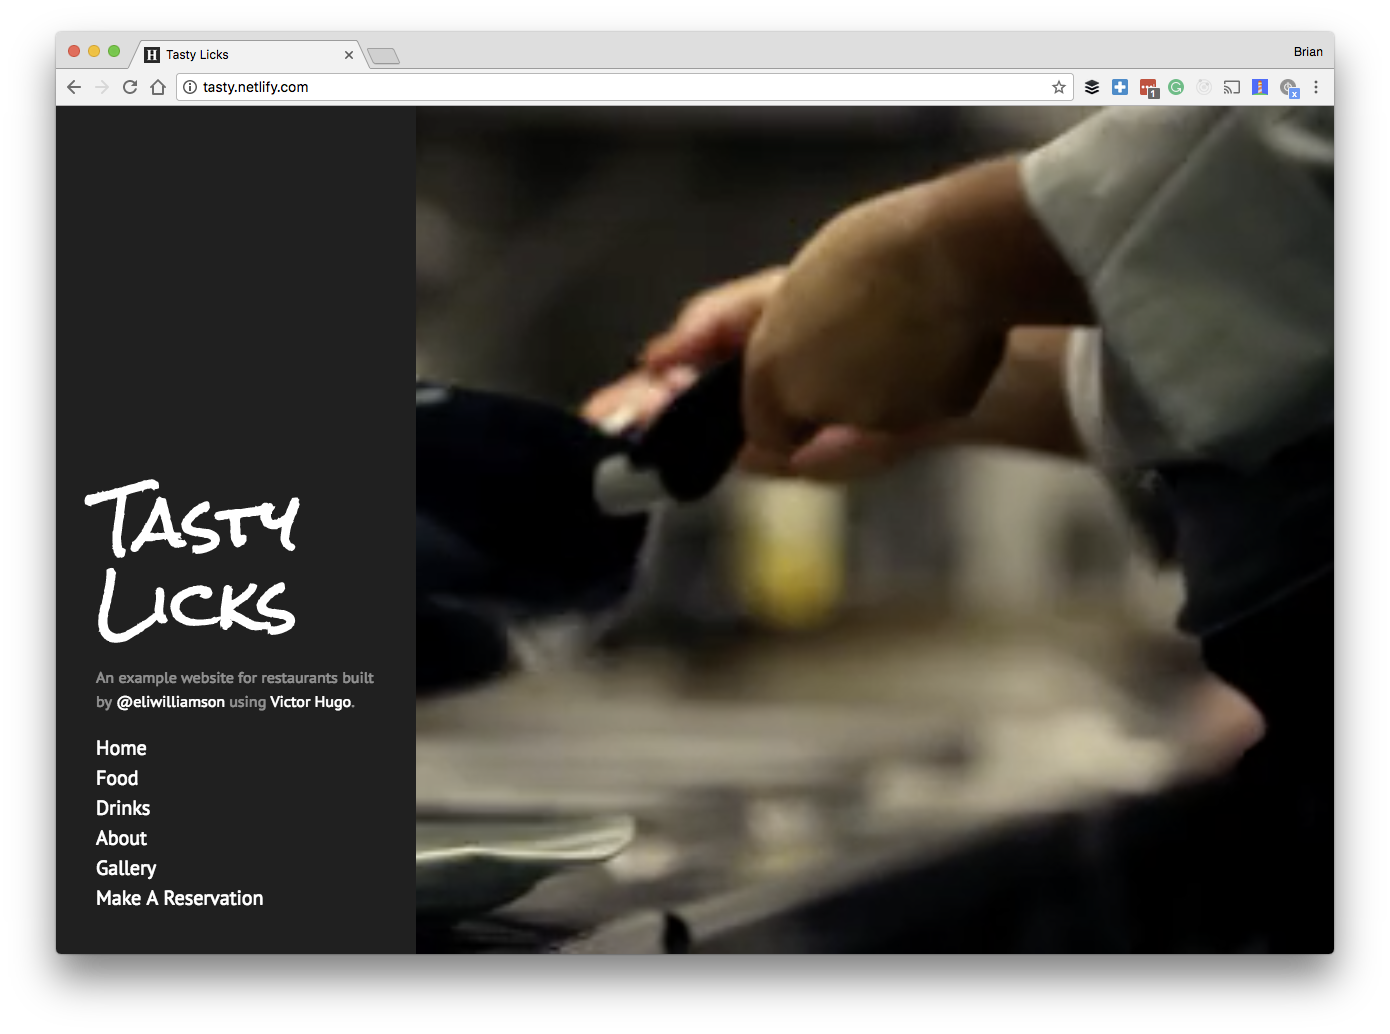
Share your site with the world
We now have a fully functional website and haven’t touched a single server. The coolest thing about this process is that there is no final deploy step since we have already connected Netlify to our cloned GitHub repository and Netlify has been deploying the whole time. It’s hard not to like what Netlify has been serving.
Your site is on a live Netlify URL, but you prefer to add a custom domain you can do that as well.
Feel free to make this template your own and take full advantage updating the copy and design to match your taste. Now that we are done here go spread the JAM!


