We are excited to announce the full public launch of our integration with Zapier, an online tool for handling automated tasks with minimal set up! Zapier and Netlify share a common goal to make the developer experience better and easier so you can focus on what really matters.
We are confident that this integration makes Netlify easier for anyone looking to connect their site with other tools and services. This Zapier integration will simplify integrations even further than when using code, webhooks, and API keys directly.
So, what exactly is Zapier?
Zapier connects over 1,000 different apps and tasks to automate your workflow and improve the developer experience by acting as a translator between different web APIs. Each connection between apps is called a “Zap.” Zaps connect services through triggers and actions, where you can choose an event from one service that will trigger an action in another.
The Netlify App currently has the following triggers and actions:
Triggers:
- New form submission: Triggers an action upon a new submission
- New deploy succeeded: Triggers an action upon a successful deploy of a new version of your Netlify site
Actions:
- New deploy of an existing site when triggered
Already thinking of ways to use these triggers and actions to save time and improve your workflow? Let’s talk about how they work!
How to use Zapier to enhance your Netlify workflow
First, head to Zapier to log in or create a new account.
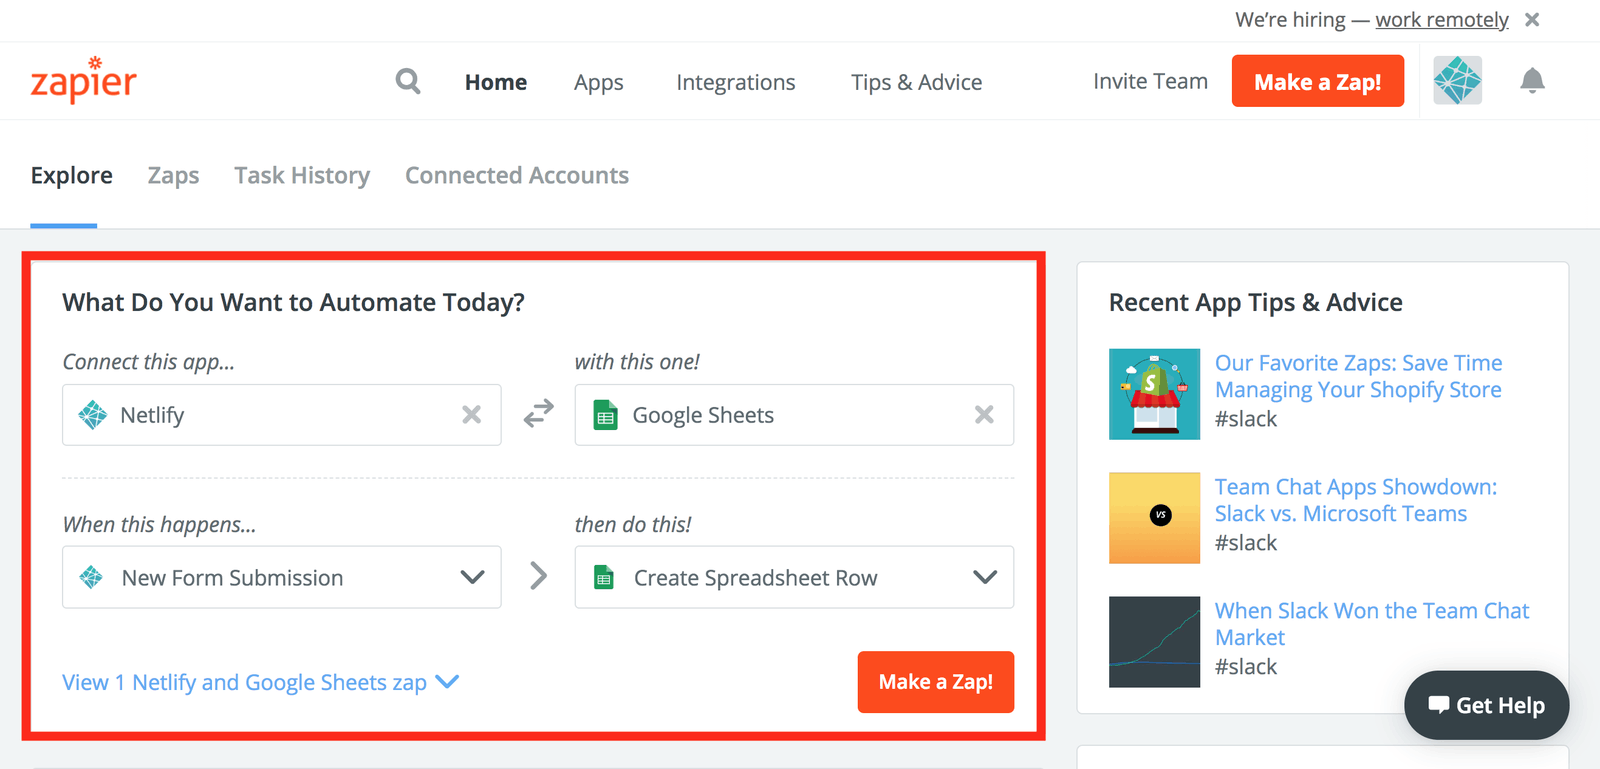
Once you have logged in, you can start making Zaps right away on the home page by connecting Netlify to another app. The example below highlights a Netlify-Google Sheets automation. Each time a new form is submitted on the Netlify site, a new row in a Google Sheet will update with the information from the submission.
We’ve also created some Zap Templates to get you started. You can click the Make a Zap! button in any template (even in this blog post!), and it will take you directly to the Zap setup interface.
Deploy on a schedule
Many Netlify customers ask if they can automatically trigger a deploy on a certain schedule. Previously, you could set up a cron job and a webhook, but with Zapier, you can accomplish the same thing with a few clicks:
a.zap-button {text-shadow: none}
Send form confirmation emails
Currently, site owners can receive notification emails when a form has been submitted. Now with Zapier, you can customize those emails and send confirmation emails directly to form submitters.
Get your dog photoblogging
If you are really feeling creative and automated, put a flic button next to your dog camera and set up your site to pull an image from the camera with each new deploy. With this Zapier integration, you can trigger a new deploy each time your dog presses the button. You’ll never need to manually update your dog blog again! Don’t forget to give him a treat for pressing the button!
How will you connect your Netlify app?
The above steps will get your site connected to 1,000+ apps to give you more ways to execute automatic deploys to ensure an always updated site, to better organize your form submissions, and to ultimately make the developer experience better.
For more ideas and inspiration, check out the Netlify page on Zapier.
Happy automating!