Guides & Tutorials
How to Deploy Next.js Sites to Netlify
UPDATE: As of March 16, 2021, Next.js sites are natively supported on Netlify! The instructions in this post are no longer necessary.
Did you know you can deploy a Next.js site to Netlify, including support for dynamic routes, Preview Mode, and more? Learn how in this tutorial!
Step 1: Put Your Next.js Site Code in a Git Repo
While this is technically optional, the magic of Netlify is that every push to the main branch your GitHub, GitLab, or Bitbucket repo triggers a new build and deploy of your site.
For a pared down example, check out this minimal Next.js site repository.
Step 2: Create a New Netlify Site From Your Next.js Site Repo
Now that our code is available in a repo, we can configure Netlify to deploy our Next.js site any time a new commit is pushed.
This is possible in two ways: using the Netlify CLI, and using the Netlify app UI.
Option 1: Use the Netlify CLI
Netlify provides a powerful CLI that allows you to interact with your account. This means you can deploy a Next.js site to Netlify without ever leaving the command line! I love this option because it's fast and I can do it at the same time as I push the repo code to GitHub for the first time.
If you don't already have it, install the Netlify CLI globally and log in:
# install the Netlify CLI globally
npm install -g netlify-cli

# log into your Netlify account
ntl login
Next, navigate to the site's root directory and run ntl init:
# move into the site's root directory
cd ~/path/to/your/nextjs-site/

# create a new Netlify site
ntl init
The CLI will guide you through configuring your new site:
- Choose "Create & configure a new site"
- Use the arrow keys to choose the Netlify team you want to deploy to
- Choose a name for your site or leave it blank to have one auto-generated (you can change this later)
- Set the build command to
next build - For the directory to deploy, enter
out
Heads up! The directory to deploy can be anything you want except the current directory (
.). Using the current directory would also publish your source code publicly.
Option 2: Use the Netlify UI
If you prefer not to use the command line, you can create a new Netlify site using the app UI. First, visit https://app.netlify.com/start in your browser.
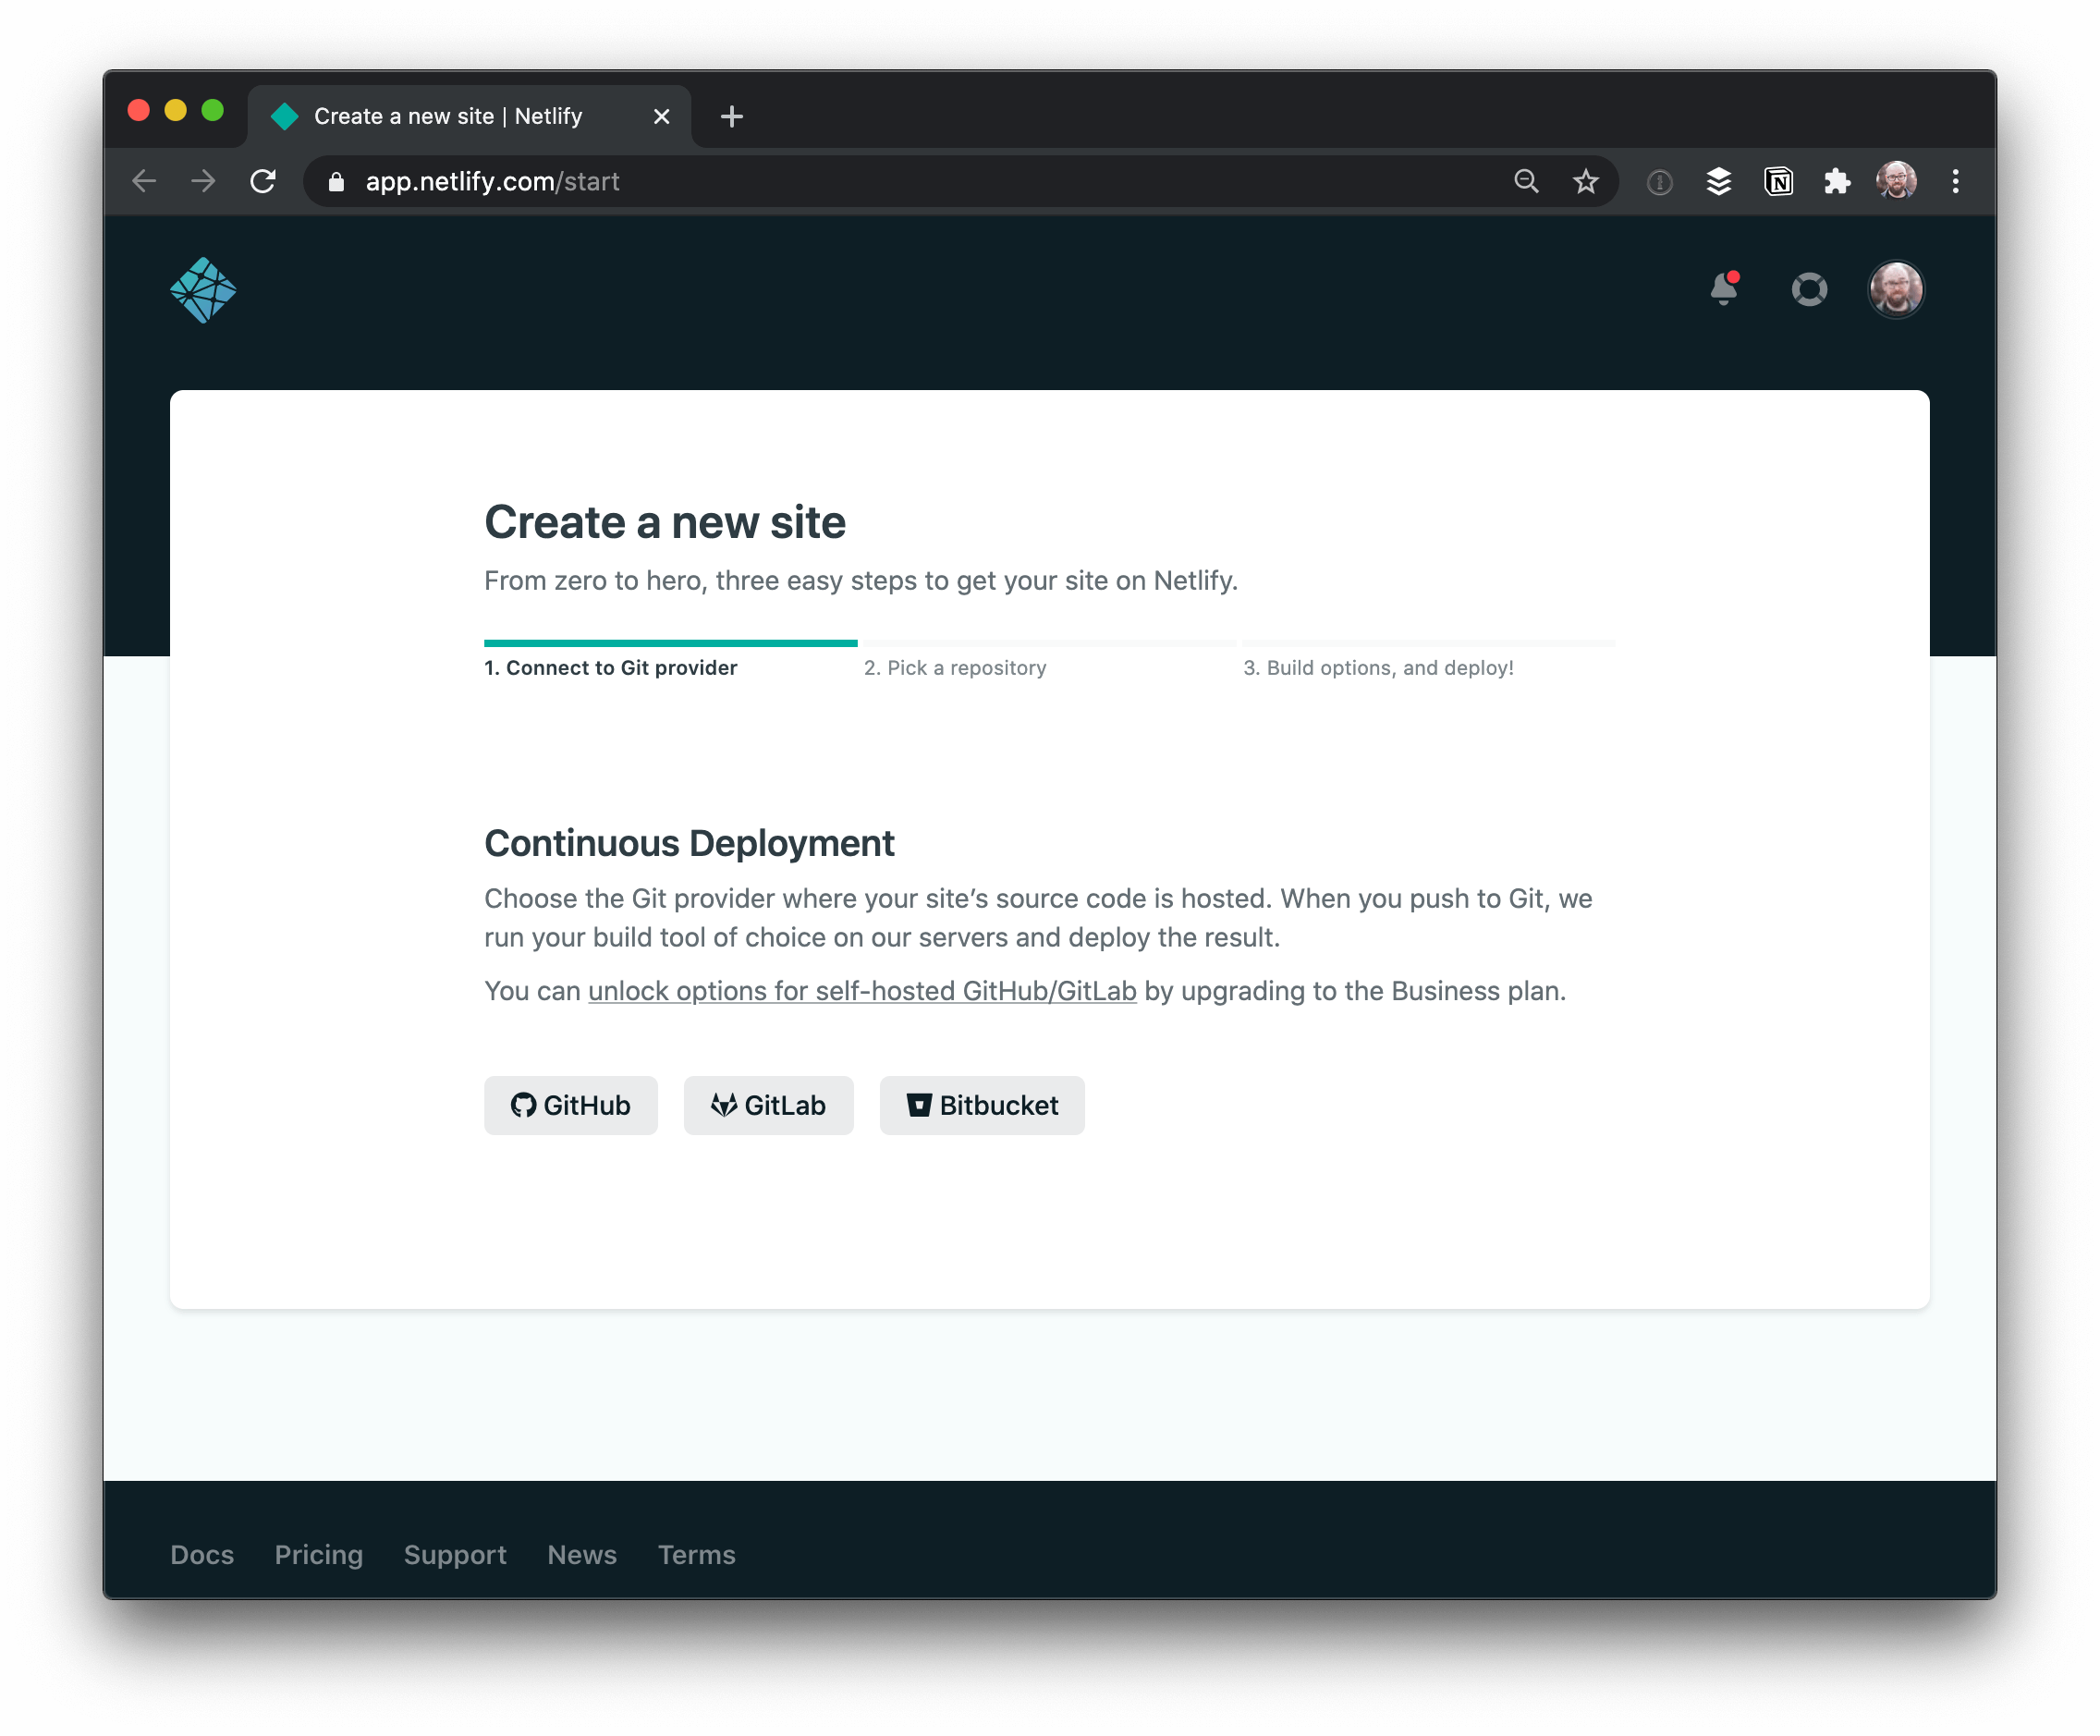
Choose your preferred Git provider from the options and authorize Netlify to access the repo you want to deploy.
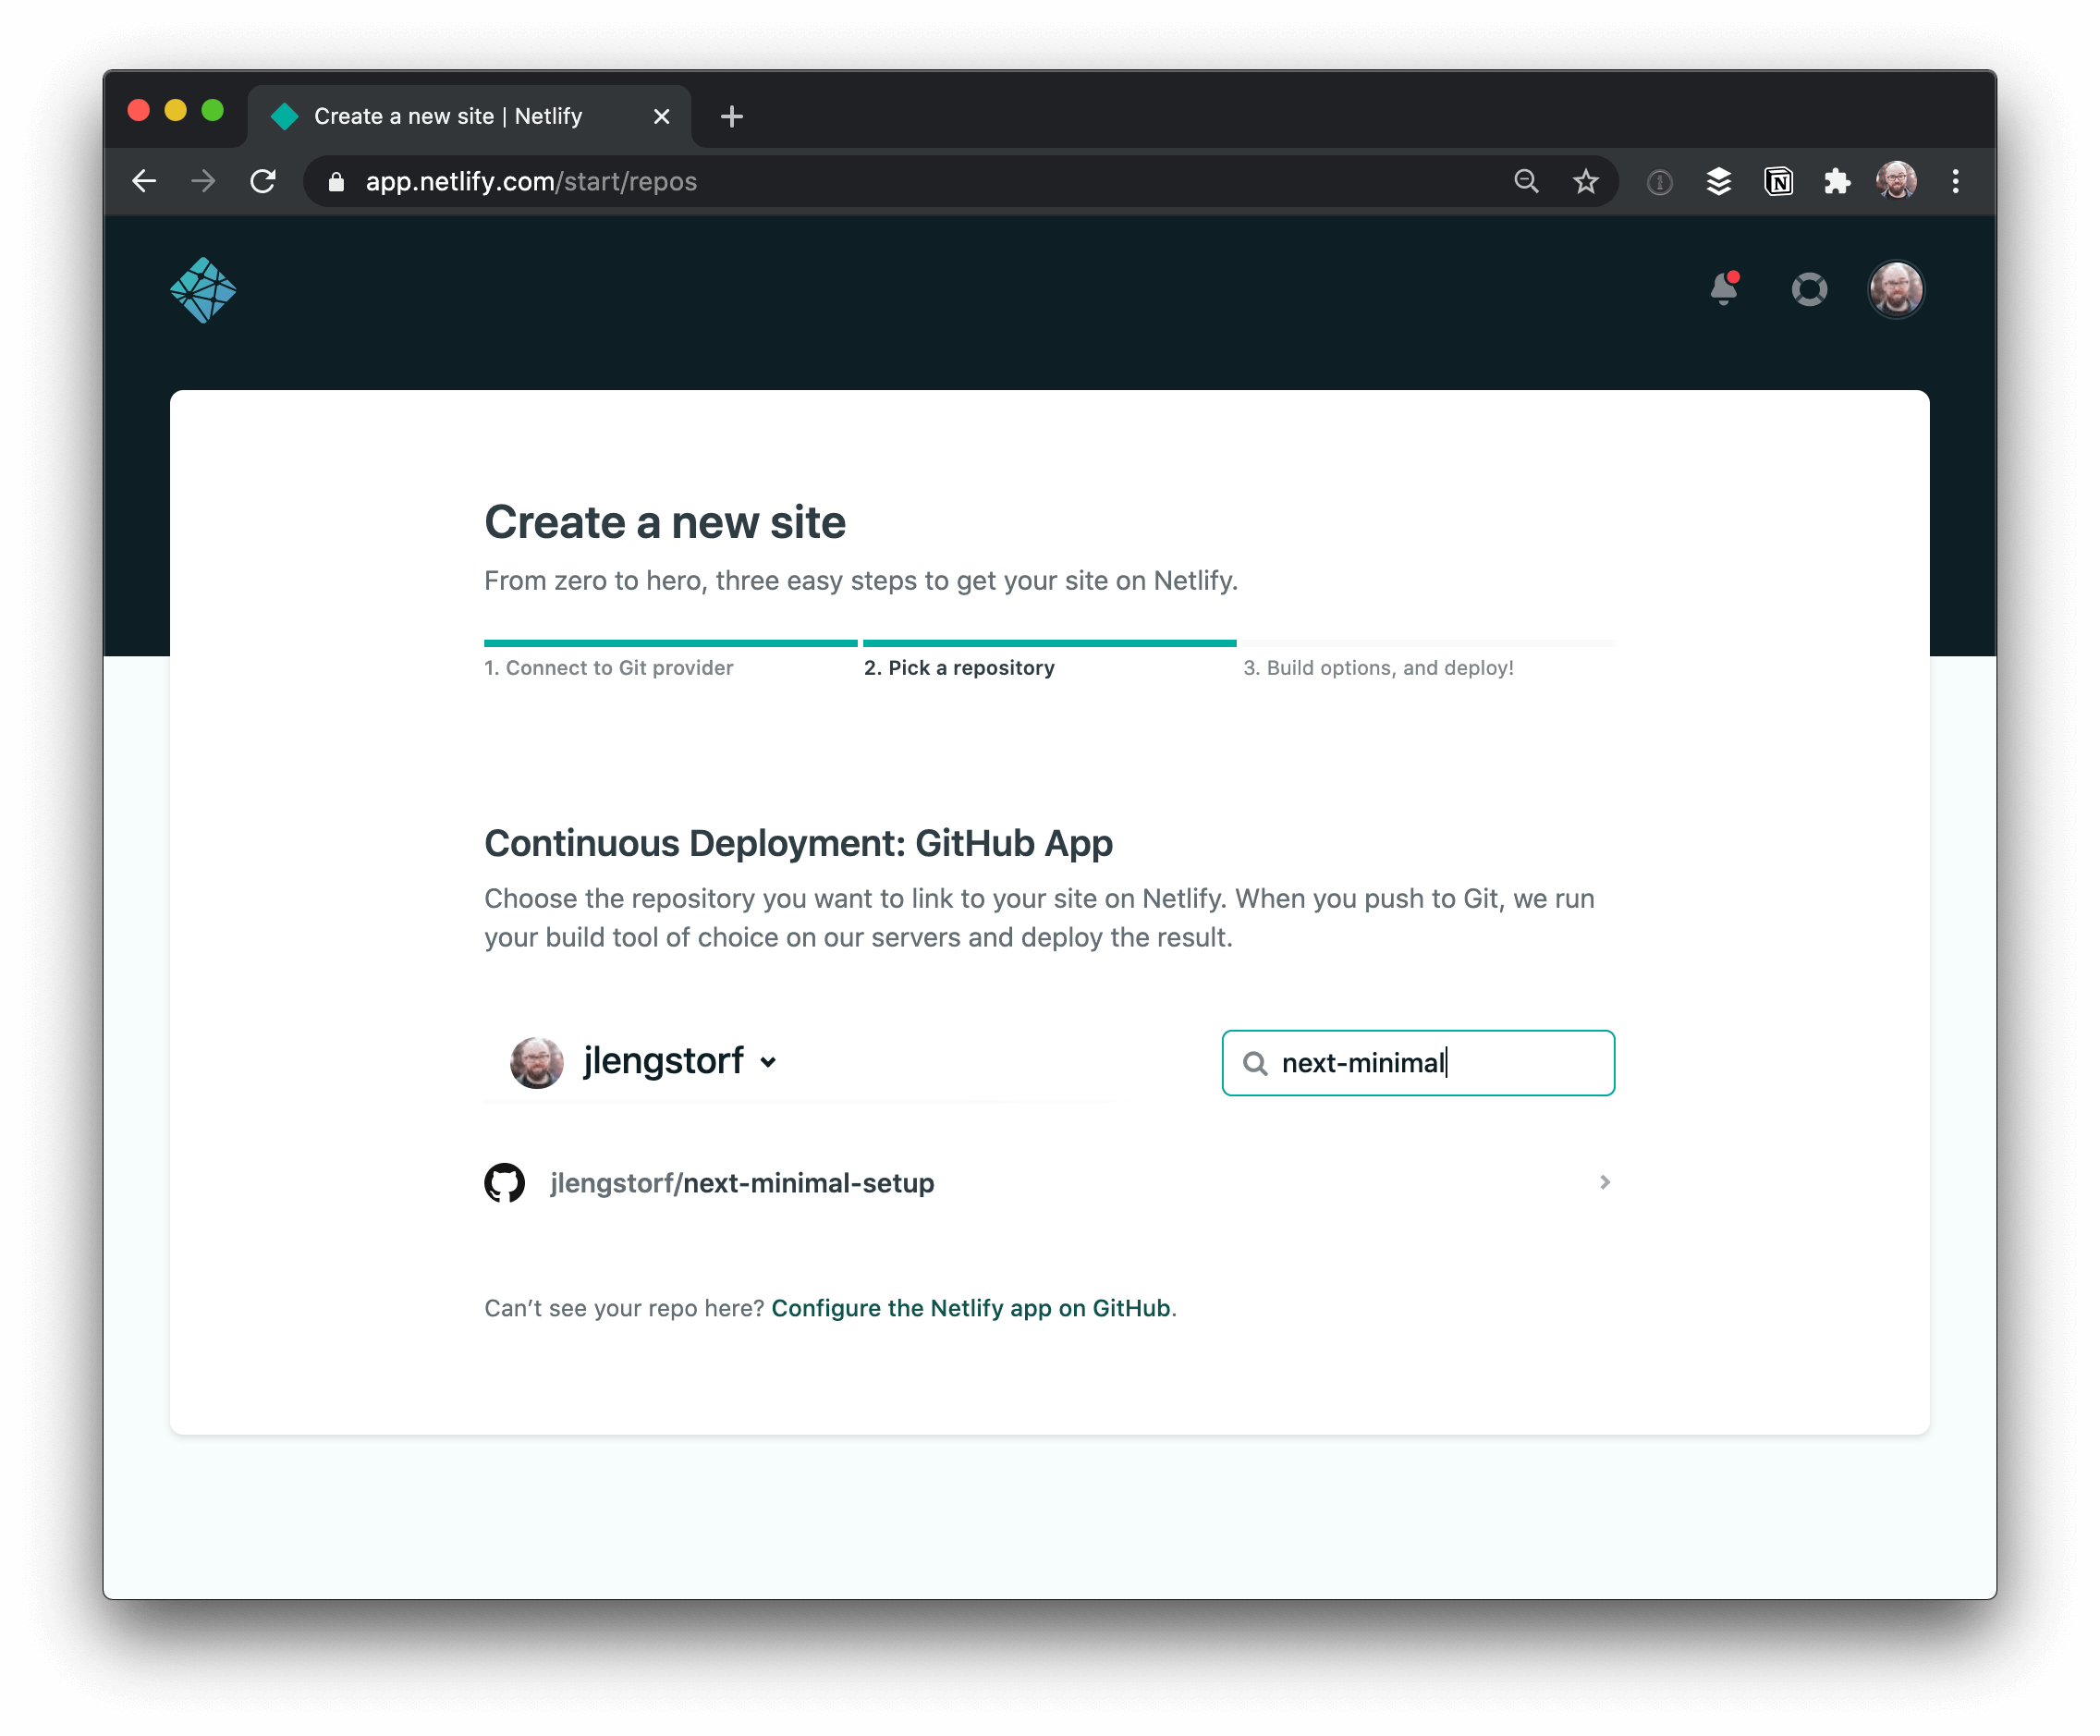
In the next screen, select your Next.js repo from the list.
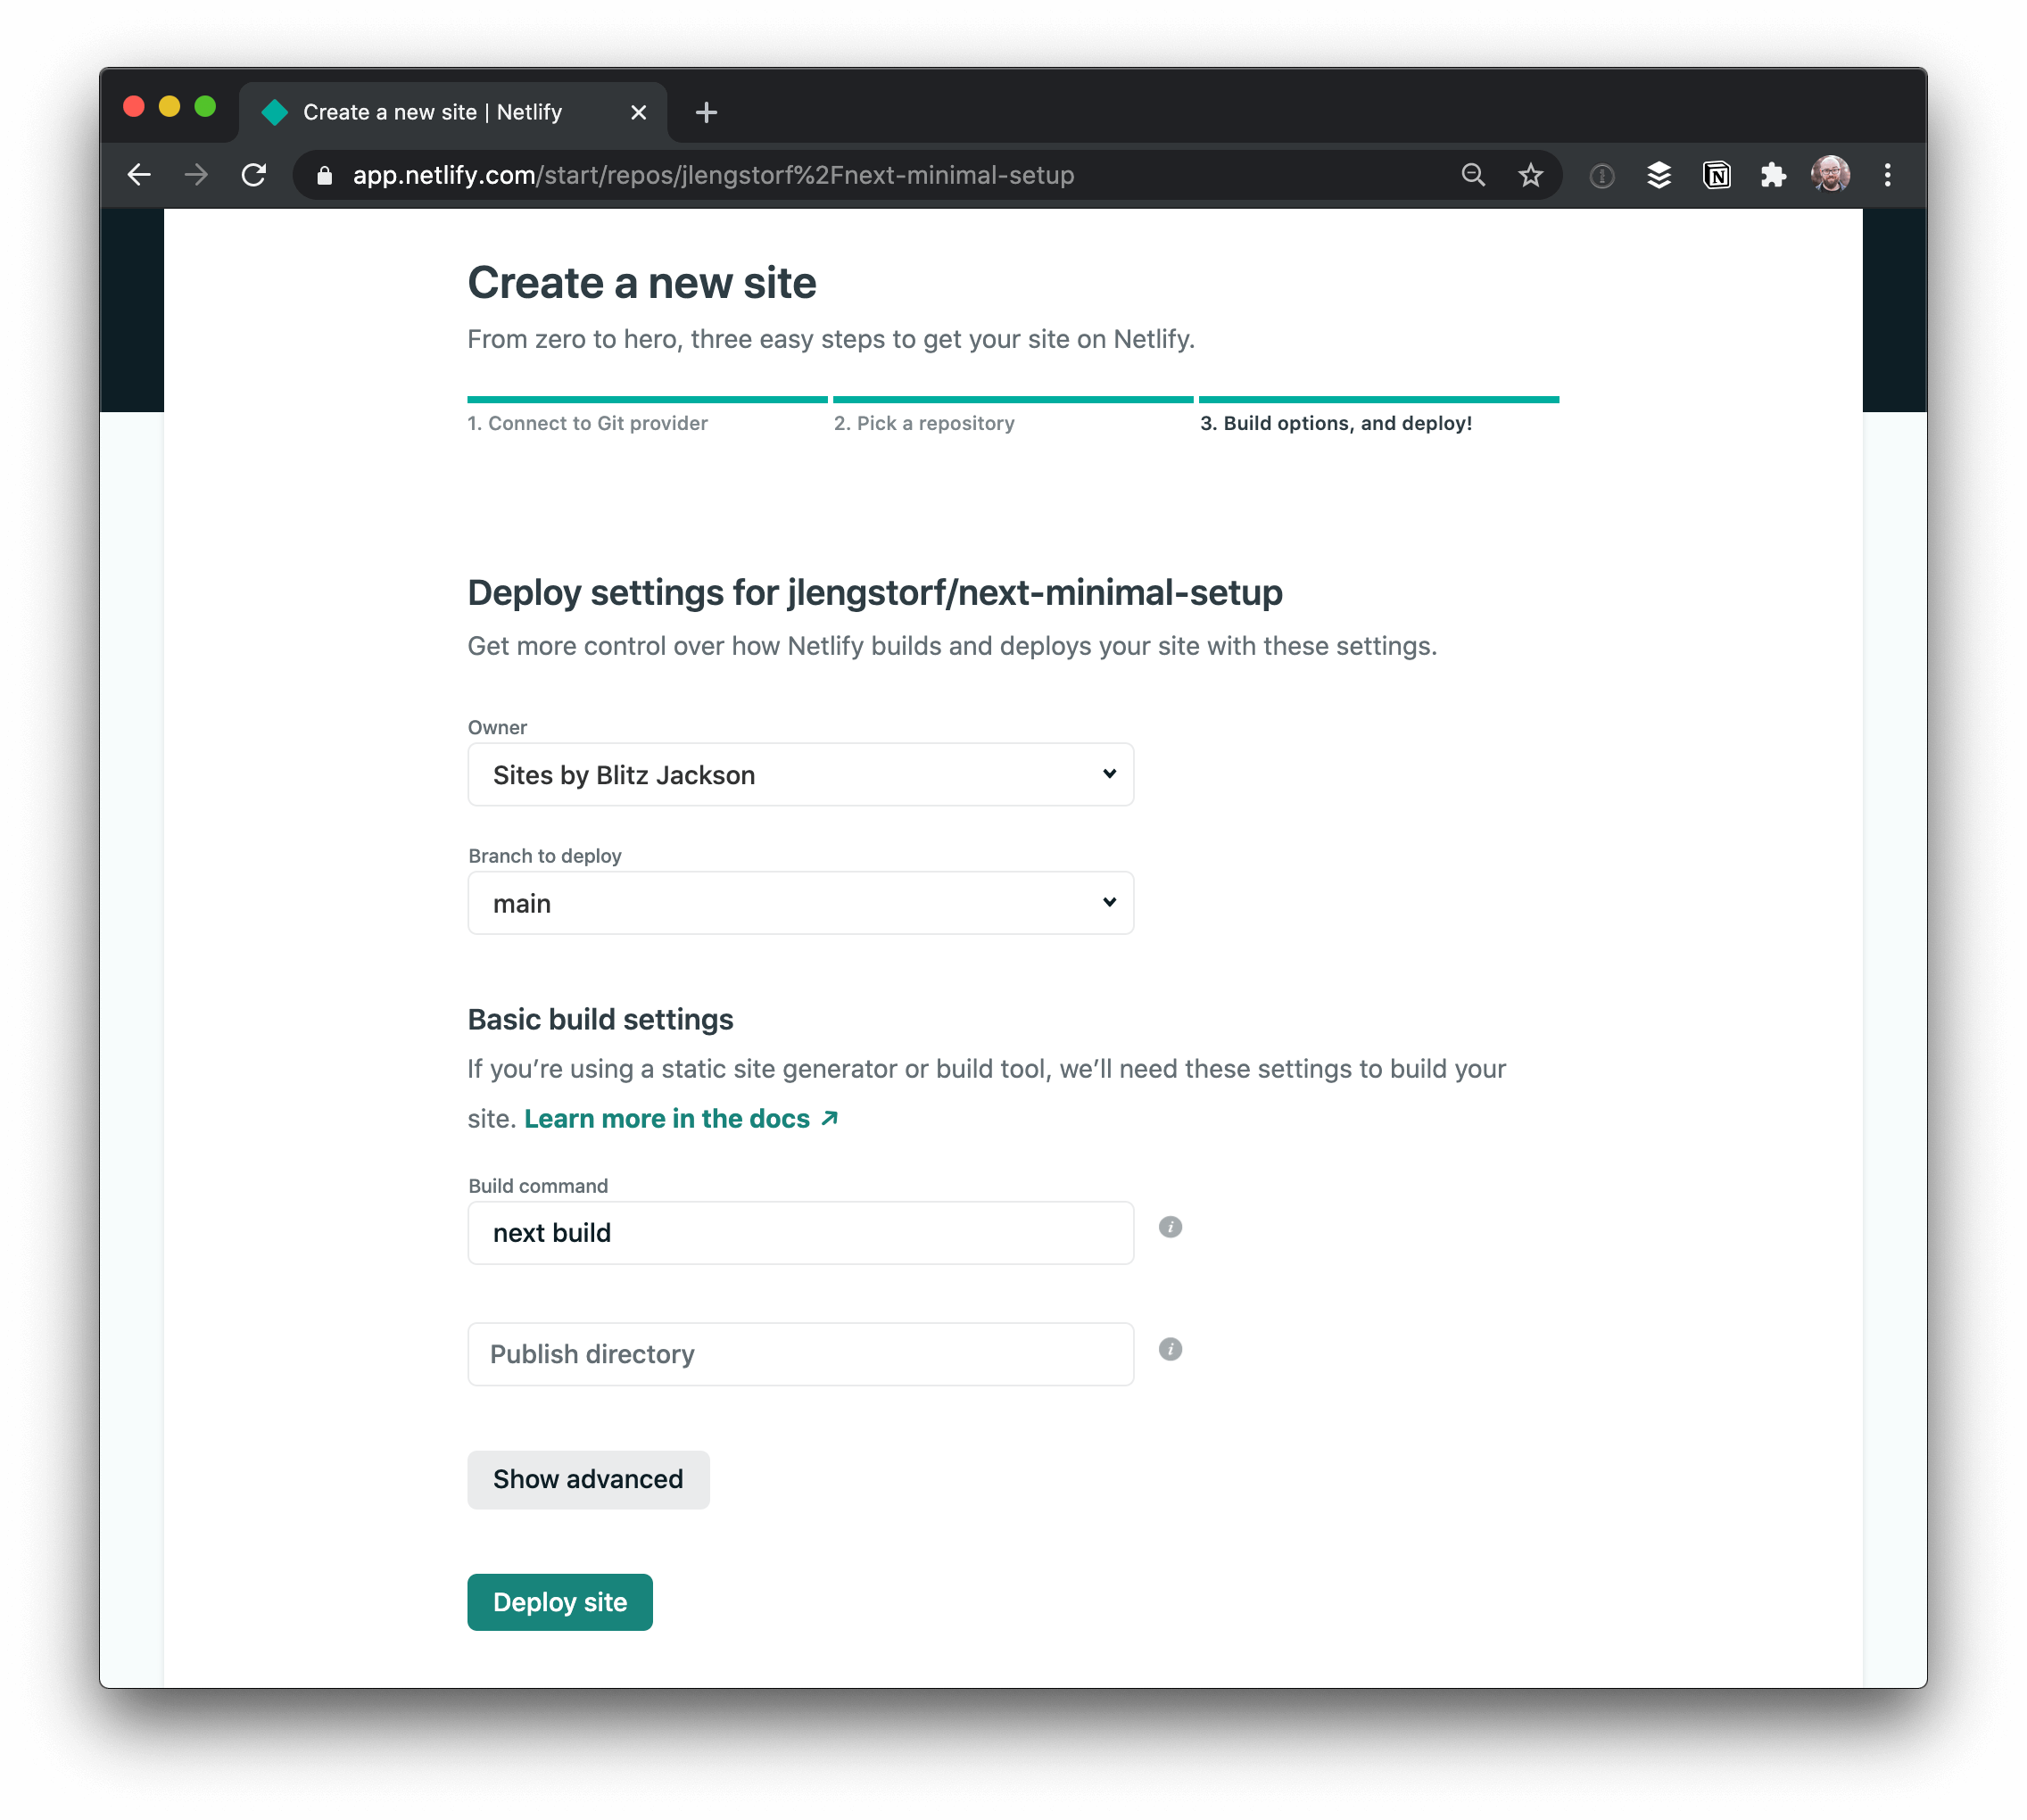
The third screen asks for details about where to create the site and how to build it.
- Choose the team and branch to deploy from the dropdowns
- Set the build command to
next build - Leave the publish directory blank
- Click "Deploy Site"
Step 3: Add the Next on Netlify Plugin
Now that the site is configured, add the Next on Netlify plugin to enable Next's dynamic features including dynamic routes, API routes, and Preview Mode.
Install the Next on Netlify plugin (one-click install)
That's All!
Now that you’ve deployed your Next.js site on Netlify, you have all the benefits of Netlify — including instant rollbacks, Netlify Identity, continuous deployment whenever you push to your repo, and much more — as well as the benefits of Next.js like Preview Mode, dynamic routing, and API routes.
We're so excited to see what you build with Next.js on Netlify!