The Netlify engineering team runs our end-to-end tests with Cypress. For a long time, we’ve run our Cypress tests using a GitHub action. Recently, we’ve run into a couple issues with that workflow, and decided to migrated our logic to a Netlify Build Plugin. In this blog, we’ll talk about why we decided to migrate from GitHub actions to a Netlify Build Plugin, and how the migration went.
Here’s how our GitHub action works: We have a workflow that is triggered when we’re adding reviewers to a PR, so these tests run on the version of the deploy preview that should be the one almost ready to be approved and merged. We also have a workflow that runs on our production branch for every PR merged, in case it wasn’t totally up to date with our main branch and some bug was introduced in between.
With these workflows, we’ve been having a couple of issues:
- If, for some reason, someone decides to assign reviewers to a PR (which triggers the Cypress tests) before the deploy preview is ready, the tests fail because the URL is not yet available.
- If some of our tests are flaky and fail on production, we only get an email from GitHub about the check that failed and it can easily get missed by people.
To improve this, we’ve migrated the logic of our GitHub action to a custom Netlify Build Plugin to have more control over what happens with the output of running the tests.
In the end, we have a Build Plugin that does the following:
- It runs the test when a deploy succeeds so the base URL is available
- It updates a status check on GitHub so you can be notified in your PR if your tests succeeded or failed
- The outcome of the tests is displayed in the deploy logs and deploy summary
- A Slack message is sent to our frontend guild channel when the tests fail, only on production, so it’s easier for people to look into it.
There is already an existing Cypress Build Plugin but we decided to build our own as we are also running some Percy visual regression tests and would like a plugin that combines both Percy and Cypress.
So far, we’ve only worked on the Cypress part but thought we could share our process if you’re interested in moving from using a GitHub action to a Netlify Build Plugin.
Plugin setup
To develop our plugin locally, we started by creating a plugins folder at the root of our app. Then, we created a new folder named cypress that is going to contain the plugin files.
Inside this cypress folder, we have an index.js and manifest.yml file. The index.js file contains the actual logic for what we want the plugin to do, and the manifest.yml file contains extra details about the plugin, such as its name and additional values required by the plugin.
To recap, here is the basic structure:
plugins/ cypress/ index.js manifest.ymlAt the moment, our manifest.yml only contains a name: cypress property because we have a simple set up.
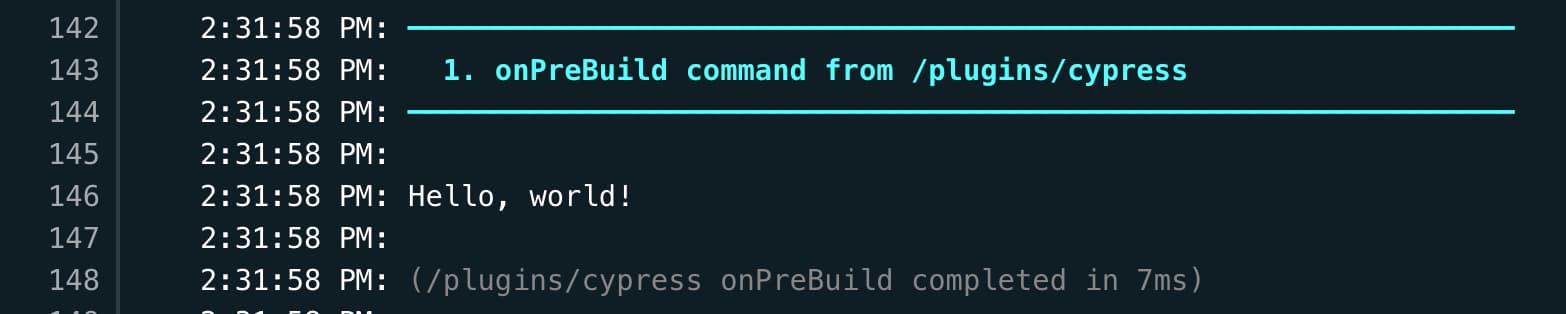
Our first draft of the plugin was printing Hello, world! before the build starts, so we could quickly check that the plugin was working.
module.exports = { onPreBuild: () => { console.log('Hello, world!'); }};Before we can test this, we need to add the plugin to our netlify.toml file.
As we want to run it on production and deploy previews, we can use the context property to specify that:
[[context.production.plugins]]  package="/plugins/cypress"
[[context.deploy-preview.plugins]]  package="/plugins/cypress"
Once these changes are committed and pushed, the deploy preview logs should be showing something like this:
Build events
Now that we know the plugin is set up properly, we can look into the different build events to find the most appropriate one for our use case.
As we need to make sure the deploy preview is ready before we run our Cypress tests using its URL, the onSuccess event seemed the best. We are not interested in running our tests if the deploy fails.
Check out the docs for all the available events.
The basis of our plugin now looks like this:
const cypress = require('cypress');
module.exports = {    onSuccess: async () => {        return cypress.run();    }};
You’ll notice this code sample makes onSuccess an async function. Right now it’s not necessary but we’ll make some API requests later on so we’ll need our onSuccess to be asynchronous
Build events can pass down some parameters, including inputs, netlifyConfig, git, utils and packageJson.
We are going to need utils to be able to update the plugin status, and netlifyConfig to access some environment variables.
Let’s look into how to use them next.
Environment variables
There are 2 ways to access environment variables in a plugin. You can use either netlifyConfig or process.env, it depends on the variable you want to access.
For example, when using Cypress, you need to provide a base URL that you’d like your tests to run on. As we are running our tests in deploy previews, we need to access to right deploy preview URL. This value is available in the netlifyConfig object as netlifyConfig.build.environment.DEPLOY_PRIME_URL.
When you want to access an environement variable that is not dependent on the deploys but is defined at the site level, you can use process.env.
Using process.env accesses variables stored as part of the site’s settings on Netlify.
For example, this is what it would look like to run Cypress with a base URL and a token only on one of the sites generated by the repository.
const cypress = require('cypress');
module.exports = {    onSuccess: async ({netlifyConfig}) => {        if (!netlifyConfig.build.environment.SITE_NAME !== 'app') {            console.log('Cypress skipped');            return;        }
        return cypress.run({            config: {                baseUrl: netlifyConfig.build.environemtn.DEPLOY_PRIME_URL,            },            spec: './cypress/e2e/**/**.spec.js',            env: {                access_token: process.env.CYPRESS_ACCESS_TOKEN            }        })    }};
This way, our Cypress tests run only on the current deploy preview of our main app without affecting our Storybook site. If any of our tests uses Cypress.env('access_token'), it will access the token passed in the plugin.
You could also imagine that you’d like to execute certain tasks only if the environment is deploy-preview or production with netlifyConfig.build.environment === 'production'.
Displaying information in the deploy summary
Another property we have access to is utils. It lets us display some information in the deploy summary at the top of the deploy page, using utils.status.show.
We liked the way the existing Cypress build plugin showed information with icons, so we went with the same approach.
const summary = [    'tests:',    `✅ ${result.totalPassed}`,    `🔥 ${result.totalFailed}`,    `⭕️ ${result.totalPending}`,    `🚫 ${result.totalSkipped}`,];

let text = `    ✅ Passed tests: ${result.totalPassed}    🔥 Failed tests: ${result.totalFailed}    ⭕️ Pending tests: ${result.totalPending}    🚫 Skipped tests: ${result.totalSkipped}`;
utils.status.show({    title: 'cypress plugin',    summary: summary.join(' '),    text,});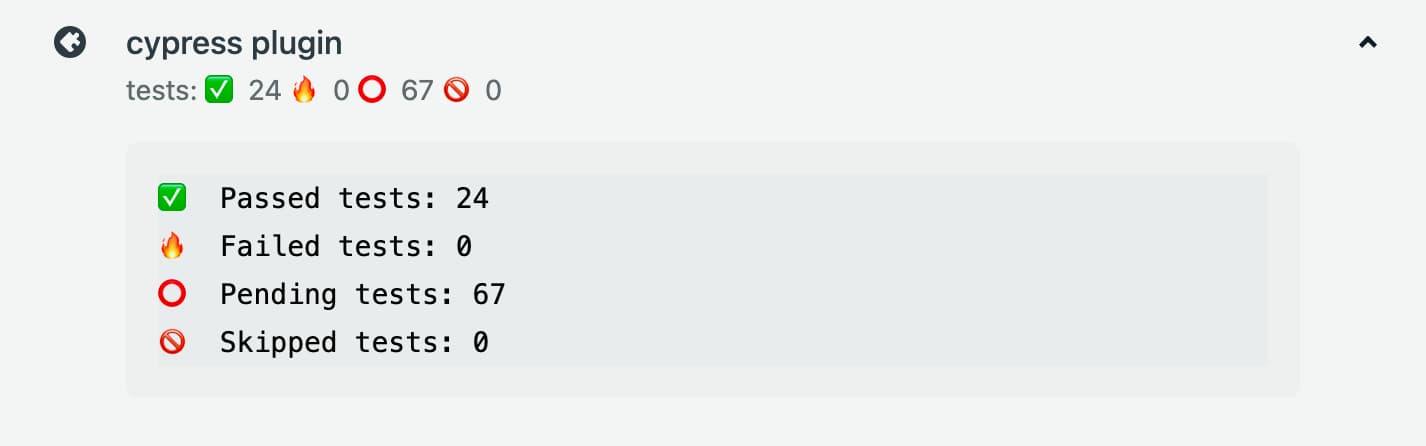
Updating status checks on GitHub
So now that we saw how to run our tests when a deploy succeeds and how to use environment variables, let’s look into how we can execute API requests.
To post status checks on Github, we’re gonna trigger some POST requests using the GitHub API.
For example, we’d like to fail the check on GitHub when Cypress tests fail.
For this, we need to modify our code sample shown in the previous section to store the result of our tests in a variable.
const cypress = require('cypress');
module.exports = {    onSuccess: async ({netlifyConfig}) => {        const result = cypress.run({            config: {                baseUrl: netlifyConfig.build.environemtn.DEPLOY_PRIME_URL,            },            spec: './cypress/e2e/**/**.spec.js',            env: {                access_token: process.env.CYPRESS_ACCESS_TOKEN            }        })    }};
This way we can have access to different properties such as the number of tests that failed, using result.totalFailed.
if(result.totalFailed){    const sha = utils.git.commits[0].sha;    const authorization = `token ${netlifyConfig.build.environment.NETLIFY_BOT_GITHUB_STATUS_TOKEN}`;    const deployURL = netlifyConfig.build.environment.DEPLOY_PRIME_URL
    const response = await fetch(        `https://api.github.com/repos/netlify/netlify-react-ui/statuses/${sha}`,        {            method: 'POST',            headers: {                authorization,            },            body: JSON.stringify({                'failure',                target_url: deployURL,                context: 'cypress',                'Cypress tests failed',            }),        }    );

    const data = await response.json();    const { status, statusText, ok } = response;
    if (!ok) {        const error = new Error(`${status} ${statusText}`);        error.data = data;        throw error;    }    return data;}
Posting Slack messages
Finally, we also want to post Slack messages to our main frontend channel to notify the guild that Cypress tests have failed, but only when it happens in the production environment.
This will look similar to the section above as this is done by doing a POST request to the Slack API.
if (netlifyConfig.build.environment.CONTEXT === 'production') { return await fetch( `https://hooks.slack.com/services/T02UKDKNA/${channelID}/${cypressPluginSecret}`, { method: 'POST', headers: { 'Content-type': 'application/json', }, body: JSON.stringify({ blocks: [ { type: 'section', text: { type: 'mrkdwn', text: message, }, }, ], }), } );}When the tests fail in production, here’s what will be posted on Slack:

Overall, in terms of running the tests, using a GitHub action or a Netlify plugin is pretty similar. However, using a plugin can allow you to have more control over what triggers the tests, and what happens with the output.
With our GitHub action, we were triggering the tests when adding a reviewer, which sometimes triggered them more than once if you needed multiple reviewers. Even though we adapted our action to skip running the tests if no changes in the PR were detected, it was sometimes showing the tests as skipped when it should have run them.
Also, with our custom plugin, if the tests happen to fail on production, we could trigger an automated rollback, which would not be possible using a GitHub action, because it does not have access to the context the tests are running on.
However, our first goal was to also run Percy in this plugin, but we do not want to run the visual regression tests on every deploy as it would be a waste of screenshots. This is where having access to events like “reviewers added” from a GitHub action is easier than an onSuccess build event. There are ways we’re investigating to make this work though!
Stay tuned!


