The Netlify CLI allows you to run a local development server, run your functions or plugins locally, deploy your site, and much more; but did you know it can handle multiple Netlify accounts?
Let me show you how!
This post assumes you already have the CLI installed and you’ve already logged in with an account. If not, you should check out our getting started with the Netlify CLI guide.
Switching between accounts
Let’s say you have 2 accounts on Netlify, one for your team, and one for your personal projects.
To be able to run netlify dev on sites linked to each account, you can connect the CLI to both, and switch between them!
For this, use the command netlify switch in your terminal.
It should list the current accounts connected. If you’d like to connect a new one, select I would like to login to a new one.
This will open a browser window, asking you to log in with Netlify and grant access to Netlify CLI.
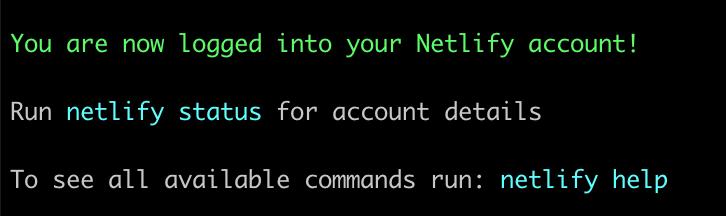
Once you’ve authorised, you can close the browser tab, go back to your terminal, and you should see the following message:
Run netlify switch again, you should see your 2 accounts and be able to switch between them!
Have more accounts? No problem! Follow these same steps for each account you’d like to connect!
If you’d like to know more about all the commands available, you can find additional information on the dedicated Netlify CLI site.
Have fun!


