We created an Astro Quickstart Template that lets you hit the ground running with a site deployed to Netlify but what about when you’re ready to do more like pull in data with a serverless function, create a contact form or redirect users? Well, now we have a template for that too! The Astro Toolbox template gives you all the code you need to incorporate Netlify Functions, Netlify Forms, and Redirects.
Here’s the info:
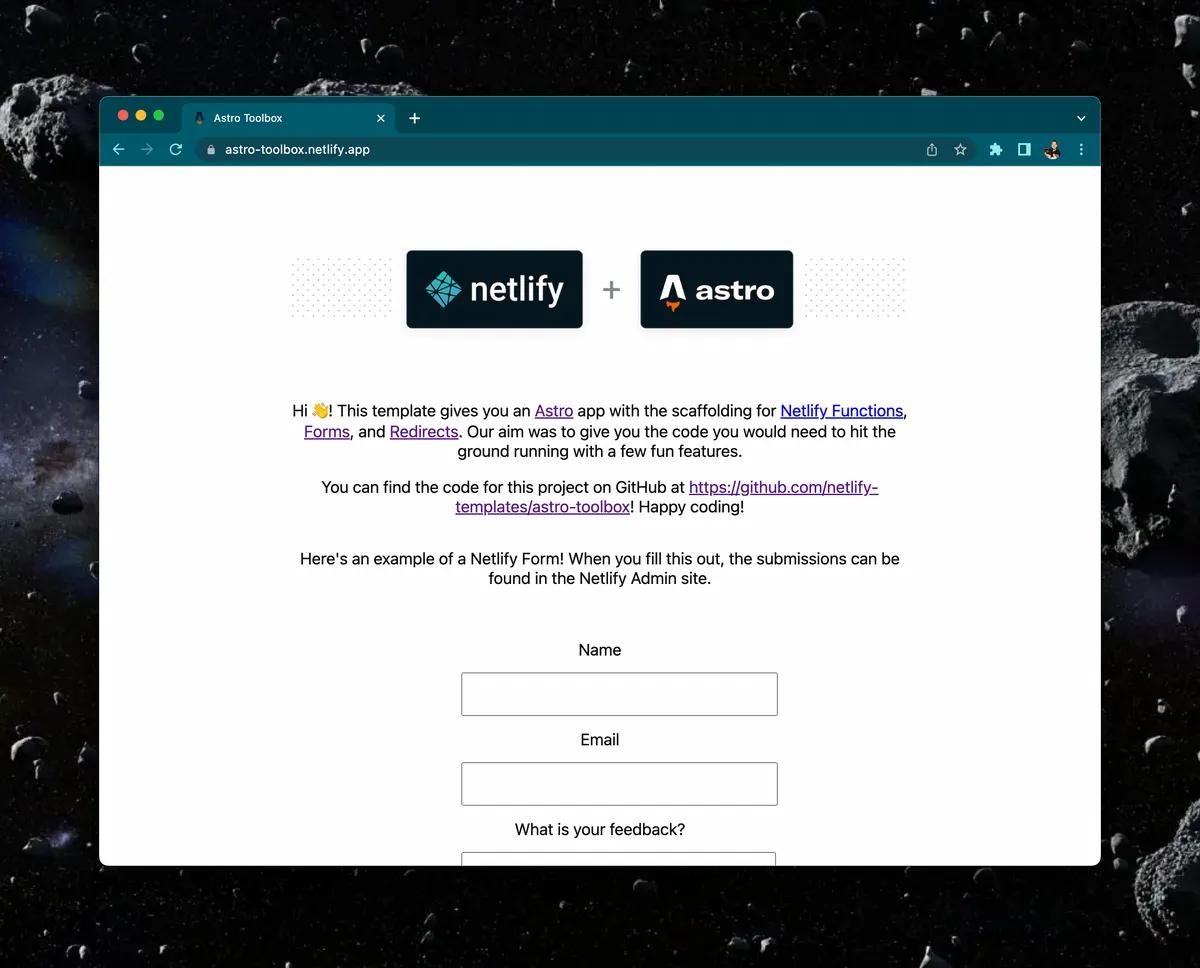
- Live Demo
- Template Codebase Repo
- Check out the video walkthrough here: https://youtu.be/GrSLYq6ZTes
Click this button to clone the repo, make a new Netlify project from it, and get it deployed ASAP!

Let’s make this template your own, get it up and running then dig into each of the features!
Clone, Deploy, & Develop!
The Netlify CLI offers a quick way to clone the template to a GitHub account, create a Netlify project with it, and deploy it with the command sites:create-template. Once the CLI is installed, this command can be run like this or with the URL of the template of your choosing. Here’s what that would look like with the Astro Toolbox template.
npm install netlify-cli -g netlify sites:create-template https://github.com/netlify-templates/astro-toolbox
Once this command is run you can click the
- Admin URL - to see the project dashboard on Netlify
- URL - to see the project live online
- Repo URL - to go to the project repo on GitHub
To work on the project locally clone your new repo to a local directory with the command git clone <your repo URL>, change into that directory, then run netlify init to link it to your Netlify project.
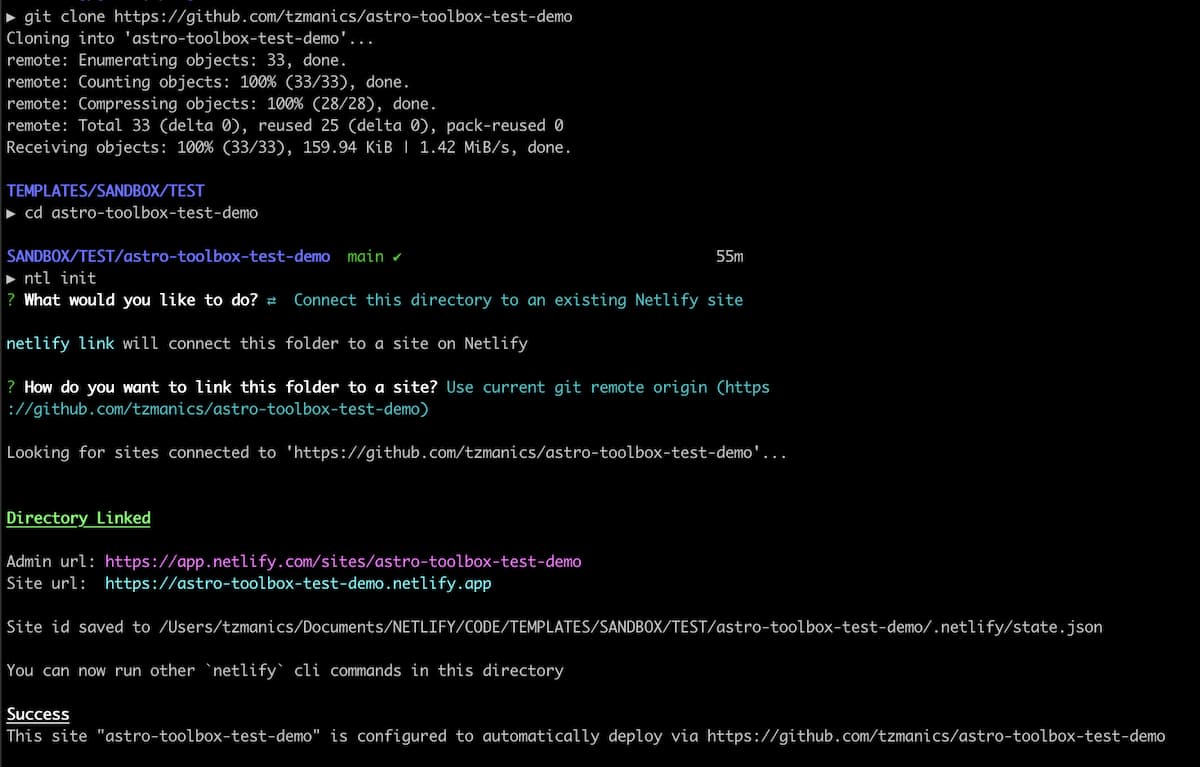
Now you can run netlify dev and head to http://localhost:8888 to see the project and try out any changes.
All The Pieces
Now that we have the project as our very own, let’s dig into each of the Netlify features we get to play with (and by “play with” I obviously mean do very serious business things).
Netlify Forms
There are two new files created to bring forms into the Astro app: a feedback form component and an optional success page.
The Form Component
components/FeedbackForm.js - has all the code needed for a Netlify form.
Inside the form component there are a few special attributes
netlify: which lets Netlify know that this form should be treated as a Netlify formnetlify-honeypot: to activate the one of Netlify’s spam filtersaction="/success": which will take users to the custom success page
Then inside the form there is a hidden p class to keep away those bots. Learn more about this honeypot strategy here.
<p class="hidden"> <label> Don’t fill this out if you’re human: <input name="bot-field" /> </label></p>One other input field will be marked as hidden to
<input type="hidden" name="form-name" value="feedback" />This field is here because with JavaScript-rendered forms our buildbots won’t find it in the pre-built files so this will help them find it (here’s more info on that in the docs).
The Success Page
pages/success.js (optional) - if you would like a custom page to let users know the submission was successful, otherwise there is a default one from Netlify. This page for our example lets users know the submission was successful but this can be anything your little heart desires as long as you link to it inside the forms action= attribute.
Forms Dashboard
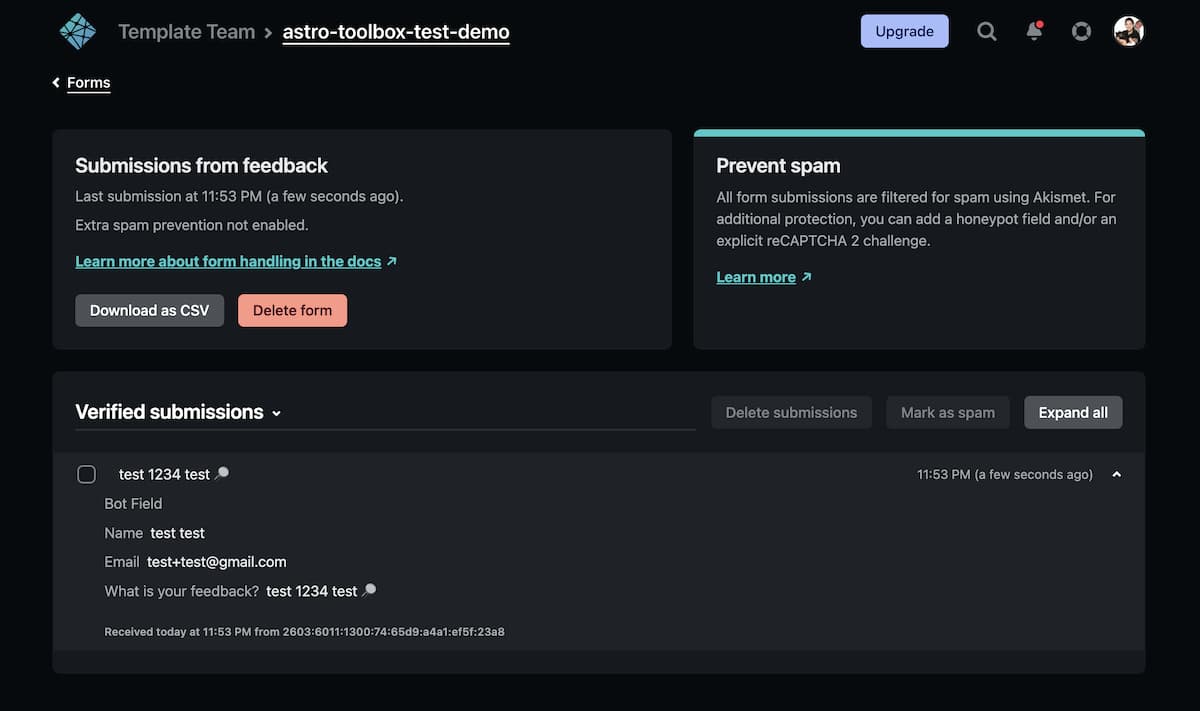
As soon as the form is deployed it can be viewed from the ‘Forms’ dashboard on the project’s top navigation menu.

When submissions start rolling in they can be viewed from the forms dashboard as well as deleted, marked as SPAM, and exported as a CSV file. Beyond the dashboard Netlify Form submissions can also be handled with serverless functions by utilizing the Netlify Form API.
Netlify Functions
Using serverless function like, Netlify Functions, can make your application more robust by pulling in information from data sources or using different API libraries. In this example we have a list of jokes in a JSON file that we use the function to pull from and display a random joke with each click of the button. For this example, the functions and their data live in the default folder netlify/functions that Netlify automatically looks for, but if you want them to live somewhere else you can specify it in the netlify.toml configuration file. In that directory we have the JSON file of jokes and joke.js function file.
import jokes from "./jokes.json";
export const handler = async () => {  const randomIndex = Math.floor(Math.random() * jokes.length);  const randomJoke = jokes[randomIndex];  return {    statusCode: 200,    body: randomJoke,  };};
This function uses the Netlify Functions async format to grab and return a random joke from the JSON list of jokes. You can learn more about this function in the project repo and more about Netlify Functions in the Netlify docs.
Redirects
There is a lot that can be done with redirects, you can learn more about all that here. In this example we kept it pretty simple by shortening the URL to call the function from /.netlify/functions/joke.js to /api/joke.js to save keystrokes. We set this up in the netlify.toml configuration file but it can also be set in a specific redirects file, more info on that here.
...[[redirects]] from = "/api/*" # simplify all calls to serverless functions to = "/.netlify/functions/:splat" # all function calls will go to this path status = 200 # ok code force = true # ensure to always redirectBeyond testing redirects using netlify dev local development process, the Deploy Summary on each individual Deploy page will show that there has been “1 redirect rule processed”.

Blast Off!
We’ve covered cloning, deploying, development, serverless functions, forms, and redirects. Now, you can make it your own and get your fantastic project out into the world. Here are the project resources again:
We can’t wait to see what you create! Have a template you’d like to see in the future? Drop us a note at templates@netlify.com. Until next template, happy coding 👩🏻💻!