Developers, rejoice! Netlify Log Drains can now export traffic and functions logs directly to any of these five external monitoring providers:
Additionally, you can use the general HTTP endpoint option to “create your own” Log Drains integration. The general HTTP endpoint solution now supports both JSON and NDJSON formats for increased logging provider compatibility!
Benefits of Log Drains
Log Drains open up the possibility to not only store traffic and functions logs for a longer period of time, but depending on where you send your log data, you may be able to take advantage of advanced observability and debugging workflows.
External providers that are purpose-built for debugging and alerting make it easier to:
- Search across log data
- Slice and dice results by attributes
- Build custom dashboards for reporting trends over time, and even
- Configure alerts based on errors or thresholds
Log Drains also give developers the ability to send Netlify data into a more unified location. This is ideal for large teams who are monitoring multiple applications and want to have all of their logs and errors in a single system.
Learn more about Log Drains in the Netlify docs.
Configuring Log Drains for Sumo Logic
Sumo Logic is a unified platform for observability. It has industry-leading log parsing and monitoring capabilities, and allows you to manage all of your organization’s data from various sources and inputs into a larger performance and health umbrella.
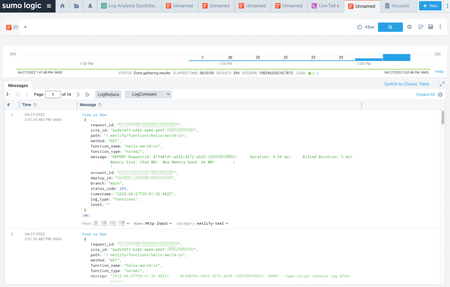
When you’re using Sumo Logic as your Log Drains integration, you’ll need to first create an HTTP Logs and Metrics Source in Sumo Logic. Copy the HTTP Source Address. You’ll use this address in the Netlify UI to configure the integration.
Then, in the Netlify UI under Site Settings > Log Drains, you’ll select Sumo Logic as your provider and paste your HTTP Source Address into the full URL field under Service Settings. Click Connect to complete the configuration. Data will be sent to Sumo Logic!
Find more detailed setup instructions in the Netlify docs.
Configuring Log Drains for Logflare
Logflare is a relatively newer monitoring solution known for excellent ease of use. They also have a new beta feature called Endpoints that lets you write ANSI SQL against your logs and create API endpoints from the results!
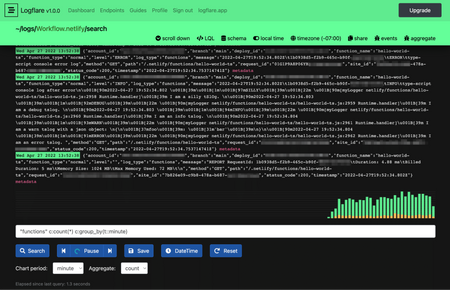
To use Logflare as your Log Drains integration, you will need both your Logflare Ingest API Key and a Source ID. You’ll find your Ingest API Key in the Logflare UI on the dashboard view. When you create a new source in Logflare, you’ll find the ID for that source listed beneath the source Name on the dashboard.
Copy both the Ingest API Key and the ID for the source where you’d like to export your Netlify logs.
Then, in the Netlify UI under Site Settings > Log Drains, you’ll select Logflare as your provider, and paste the key and ID under Service Settings. Click Connect to complete the configuration. Data will be sent to your source in Logflare!
Read the full instructions in the Netlify docs.
Get started with Log Drains
Log Drains are available for Netlify customers on Enterprise plans. If you’re already on an Enterprise plan, you can get started with Log Drains today. Within the Netlify web UI, you’ll find the option to configure Log Drains in your Site Settings.
Curious about what else is included with an Enterprise plan? Along with advanced features like Log Drains, Enterprise plans also include options for premium 24×7×365 support, more powerful build compute, and access to the High-Performance Edge network. Contact us to start a conversation about your project and determine whether this plan might be right for your team.