Part of the appeal of Netlify is that it enables unprecedented productivity and control for web development. The experience afforded to developers from our workflow and conventions is fueled by many features which have become so core to how we build for the web, that using them has become second nature. And so, even though many of these features were invented right here, even we take them for granted at times.
So we asked our Developer Experience team to reflect for a moment, and tell us which features they particularly love and why. Here’s what they said:
Cassidy’s picks
Starter templates (and the Deploy To Netlify button)
I love the idea of experimenting with new technologies, but scaffolding and figuring out how everything needs to get set up can take a while (and can really take a lot of time away from actually coding up projects). Jamstack Templates is a great resource for this! You can just click the handy “Deploy to Netlify” button, and it will clone the project for you and you can customize and tweak it to your heart’s content.
The “Deploy to Netlify” button function is also awesome in itself, letting you make your own templates and reusable repos with one click. If you ever want to make your own templates, you can learn how to set it up in the docs here.
And if you want to try out deploying with a deploy To Netlify button, you can try the one below, which will create an example Next.JS blog site for you!

Instant Rollbacks
Look, we all make mistakes. That’s why the eraser industry is still thriving. One of my favorite things that Netlify has is a “digital eraser” of sorts: Instant rollbacks!
If you push a deploy that has some issues with it, you can instantly roll back to any previous deploy you have. It doesn’t require any rebuilds either, because of Netlify’s atomic deploys, which allow you to access any previous version of the site. You can check out the docs for this feature here!
Divya’s picks
Ignore Builds
Though Netlify works hard to prevent unnecessary builds, it doesn’t always know when a build is undesired (like in the case of dependabot version bumps). In cases like these, Netlify offers users control over how and what gets built with the ignore setting in the configuration. With this, users have a more fine-grained control over their site builds and can appropriately ignore any and all unnecessary builds.
You can discover more about making the most of your build minutes in this post about automatically ignoring unnecessary builds.
Role Based Access Control
Role Based Redirects is a pro-feature that is available with the Business plan and enables adding role-based permissions to your pages and/or sites from your redirects file. This process can also be achieved by checking a user’s role in a Netlify function and redirecting appropriately but nothing beats doing the same thing in one line. For more on this awesome feature, check out this blogpost.
Jason’s picks
Serverless functions without the configuration headache
Serverless functions promise to remove all the challenges of building and managing servers, but on many platforms the process of setting them up requires a ton of configuration. On Netlify, creating a serverless function requires one line of configuration in your netlify.toml:
[build]+ functions = "functions"Then we can create a new function at functions/hello-world.js:
exports.handler = async () => { return { statusCode: 200, body: "This is a serverless function!" };};And that’s it! You’ve successfully created your first serverless function — push this change to your Netlify site and you can call it by visiting yoursite.com/.netlify/functions/hello-world in the browser.
For more information, check out the docs for Netlify Functions.
Local development with the Netlify CLI
Building a project locally makes the whole process feel faster and less cumbersome, and with Netlify CLI it’s even more powerful!
Install the CLI with:
npm install -g netlify-cliIn any project that’s set up with Netlify, you can start the project locally:
ntl devThis loads environment variables from the Netlify app, runs serverless functions, and enables you to quickly test your site locally as you build it.
That’s just the tip of the iceberg of what’s possible with the CLI, so check out the docs to learn more!
Phil’s picks
The Redirects API
This feature holds the key to all sorts of powerful uses, and yet it appears so simple that it is easy to overlook.
Netlify serves your sites from its distributed CDN and lets you give it some configuration to handle things like redirects, rewrites and some other logic with our Redirects API.
You can define rules for how the CDN handles requests on your site in either your netlify.toml file, or in a _redirects file which lives in the root directory of your site. Like this:
# Redirect all requests to your "/journal"# path to the the "/blog" path
/journal/*   /blog/:splat   301
This makes it simple enough to get control over your URLs and to ensure that links don’t get broken when you evolve your site over time. But since the API supports returning any HTTP response code, you can also do rewrites or proxies like this:
# Invisibly proxy requests to# your API to anywhere on the web
/api/price/*   https://some-external-api.com/get-price/:splat   200
This makes it easy to define the API which services your sites such that you are not coupled to the tool or service which you are using behind the scenes. You can switch out your API for a new service or one of your own, without breaking your user interface. Very handy!
One more thing about redirects….
The Netlify Redirects API supports a concept of shadowing. This means that unless you force a redirects rule to apply, it will default to serving the assets in your site which would satisfy an incoming request. That means that redirect rules can be fallbacks for when you don’t have a page in your site which corresponds to a request.
So what? Well, this means that with a single rule in your redirects file, you can handle the gradual migration from one system to another. Like this:
# Every request will get proxied to the corresponding path# in your old site, unless we can serve it from this site.
/*   https://legacy-site.com/:splat   200
Migrations made easy, with no request left behind! (You can read more about using redirect and proxies to migrate to Netlify and see a short video demo of this in practice)
Branch deploys
With Branch Deploys, the days of requesting new environments for testing, staging, QA, and production are a thing of the past. This feature has been part of Netlify for so long that I almost take it for granted (until I think back to my days working with big brand clients who all had their own processes for requesting infrastructure for hosting environments with several weeks of lead time).
Thanks to Branch Deploys, requesting a new hosting environment is as simple as making a new branch in your Git repository, and the using your site’s Netlify admin at Settings > Build & deploy > Deploy contexts to build “All” branches or, if you prefer you can choose “Let me add individual branches”. That’s it! Immediate, unlimited environments!

Every branch gets built and deployed to its own subdomain which corresponds to its name. It takes moments! And what’s more, since all deployments are served from the same infrastructure, all of your environments can get the same characteristics and CI/CD workflow. A real boon for confidence throughout the development process.
I never (ever) had it so good!
Sarah’s picks
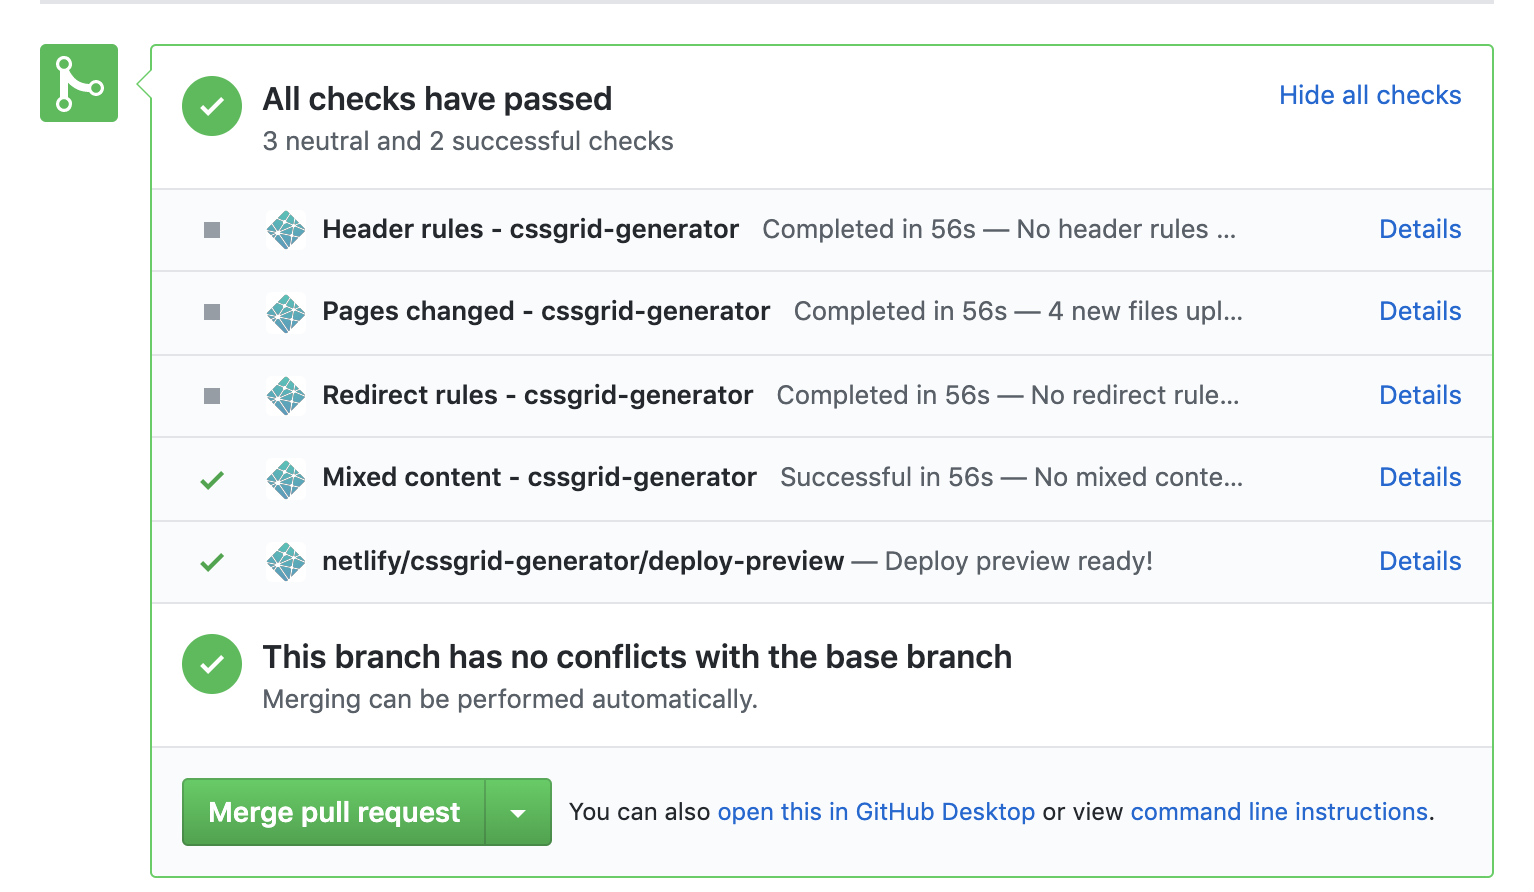
Deploy Previews
This gem is why I adopted Netlify before I worked here for my open source projects. Netlify will automatically set up deploy previews for your site, and if you’re active on GitHub like me, this is incredibly time saving! When someone submits a PR and you’re doing a code review, you can check out a preview of the built site by clicking the last link on the tests Netlify provides:
The old joke goes: If debugging is the process of removing software bugs, then programming must be the process of putting them in.
Deploy previews allow me to see what changes have been made on a given PR with ease, as well as if everything is working properly or if we’ve had any regressions to functionality. I can do a code review without building the site locally, and quickly see how everything works with the changes in the PR, and so can all of my fellow maintainers!
Some clients of ours will even use the deploy previews for visual regression testing, ensuring that dev and production don’t have unforeseen changes, with tools like Applitools.
Stop Builds
One of my favorite things about Netlify is that not only are builds and deploys seamless, but we also have complete control of them. One of the ways I can control my builds is that Netlify auto-publishes by default, but I can pause this any time I like. In the UI, I can go to Settings > Build & deploy > Continuous deployment > Build settings, select Edit settings, and then toggle Builds to Stop builds.

If a member of your team pauses builds, Netlify will highlight it in the UI several ways, and also email your teammates, to make sure they know why builds have stopped. If you would prefer to deploy manually from here, you can still run your builds locally in the CLI.
There’s tons more info here!
If you don’t want to fully stop builds but rather make sure your builds take a smaller amount of time, you can optimize your builds by keeping a keen eye on what’s building for development and production. There are some packages that take a long time to install (Cypress is a good example of a useful package you might not need built for production), consider setting your $NODE_ENV environment variable to production and making them devDependencies.
Build Hooks and Webhooks
You can trigger a new build or deploy via a URL! This is especially useful when you’re working with something like a CMS where you don’t necessarily want to manually deploy every time someone creates a new post, and you haven’t updated any code so a deploy wouldn’t be triggered otherwise.
You can find this handy feature in your site dashboard at Settings > Build & deploy > Continuous deployment > Build hooks.

Here are the docs, and I put together an article for how this works with a CMS like Contentful.
You can also configure webhooks to trigger events on publish, for instance this handy Slack Notification Webhook that lets you post to a slack channel to let the team know the status of your builds.
Tara’s picks
Customizing Builds with Netlify Build Plugins
Do you have a netlify.toml configuration file for your Netlify project? If so, you’re one step away from integrating awesome Netlify Build Plugins. Build plugins allow you to utilise other parts of the Netlify build and deploy process, and can help you pre-render your SPA, check for visual diffs, fetch and cache feeds from RSS and JSON, and so much more.
You can check out each plugin’s repo for specifics but this is generally how you would add a plugin to your project:
[build]  command = "npm run start"  publish = "dist"
[[plugins]]  package = "netlify-plugin-prerender-spa"
  [plugins.inputs]    source = "dist"
You can find a list of Build Plugins in this repo. We also have post with more information on using Build Plugins: What’s a Netlify Build Plugin: Part 1 – Using Build Plugins.
If you have an idea of a way you’d like to automate your build process you can even create your own Build Plugin!
Deploy contexts
We’ve already seen Branch Deploys mentioned in this post, and Deploy Contexts relates to those. This feature give you greater control over how your builds run, and what configuration you might pass to them when they occur in different contexts.
Netlify define 3 pre-configure contexts for your convenience, they are:
production: this context corresponds to the main site’s deployment, attached to the Git branch you set when the site is created.branch-deploy: this context corresponds to deploys from branches that are not the site’s main production branch.deploy-preview: this context corresponds to the previews Netlify builds for pull/merge requests.
You can pass configuration values to your build for when they run in any of these contexts in your netlify.toml file.
# Production context:# All deploys from the main repository branch# will inherit these settings.[context.production]  command = "make production"  [context.production.environment]    ACCESS_TOKEN = "super secret"
# Deploy Preview context:# All deploys generated from a pull/merge request# will inherit these settings.[context.deploy-preview.environment]  ACCESS_TOKEN = "not so secret"
# Branch deploy context:# All deploys that are not from a pull/merge request# or from the production branch will inherit these settings.[context.branch-deploy]  command = "make staging"
In addition to the pre-defined contexts, you can also define contexts for specific branches. You get very granular control over your builds!
# Specific branch context:# Deploys from this branch will take these settings# and override their current ones.[context.my-feature-branch] command = "make feature"You can even access the current context in your code thanks to the CONTEXT environment variable, so behaviours in your code can be conditional on the current context.
Where next?
Asking our team to each highlight just 2 features caused a lot of thought and debate. It was entertaining to watch! There are so many more things we wanted to call out. We even snuck one more in, we couldn’t help ourselves. Consider it an off-by-one error.
If you want to learn more, you can find lots of information in our documentation, or we’d recommend joining the discussion about current and possible future features over in the Netlify community forums.
And if you’ve never deployed a site on Netlify and would like to experiment with the features mentioned in this article, you can create your first site from a simple example site template in less than a minute, by clicking on the button below.
Why not try it to see what the DX team are making such a fuss about?