Guides & Tutorials
Building a Markdown blog with Next 9.4 and Netlify
This guide was most recently updated on Wed, June 3rd, 2020 to be compatible with Next 9.4+.
What’s Next? Well, it’s not in the past, amirite? Ha! Ha ha! Okay but for real, Next.js is a framework for building React applications, and you can bet your bottom that you can make great Jamstack applications on Netlify with it! Next has become rather popular because of its file-based routing, how easy it is to get started, and how flexible it is. In fact, it’s so flexible that there aren't many “rules” in place for how you want to implement your projects and sites. That being said, here’s how to build a Markdown blog with the latest Next (9.4.4, at the time of writing), and how to deploy it to Netlify.
If you’d like to skip all of the jabber and just go straight to deploying, go ahead and check out the repo for this project. It’s got a nice Deploy to Netlify button that’ll do all of the hard work for you, and you can get right to customizing it to your heart’s content!
Heads up, this tutorial assumes you know React, JavaScript, and CSS. If you need help on any of those fronts, feel free to ask questions in the Netlify Community!
Setting up our Next.js project
When you want to start a new Next app, open up your terminal and run:
npm init next-app
You’ll be prompted for your project name, as well as a starting template. Go ahead and pick the “Default starter app” for this one.
Now, navigate inside your project, and add a siteconfig.json at the top level. Fill it in with a title and description, here’s what mine looks like:
{
  "title": "Demo Blog",
  "description": "This is a simple blog built with Next, easily deployable to Netlify!"
}
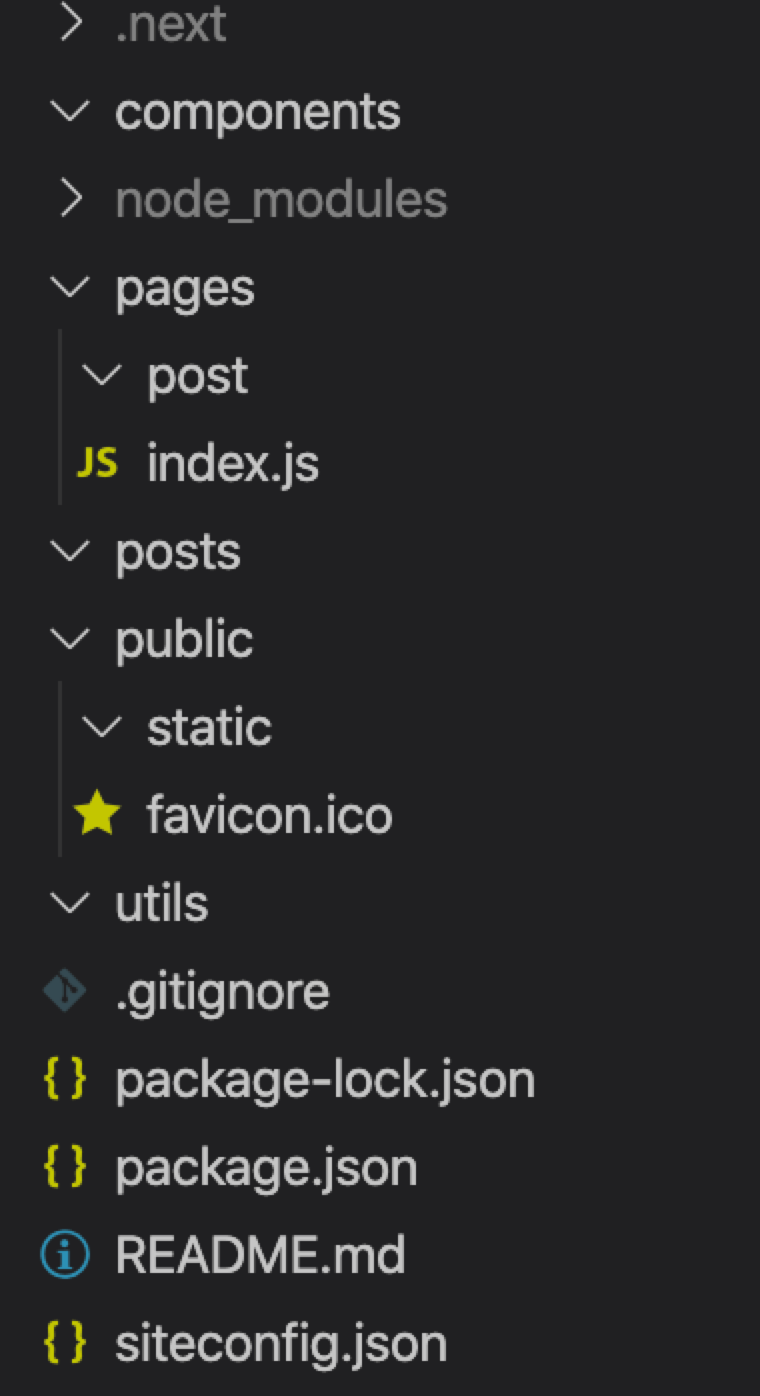
Luckily Next doesn't add too much bloat to their starter, and the only directory that exists at first is a simple pages/ and public/ directory. Go ahead and set up your folder structure so it looks like this:
components/
pages/
  post/
posts/
public/
  static/
This is how it should look in your editor all together:
Let’s code!
Now that we have everything set up, go and replace everything in your index.js with this:
const Index = ({ title, description, ...props }) => {
  return <div>Hello, world!</div>
}

export default Index

export async function getStaticProps() {
  const configData = await import(`../siteconfig.json`)

  return {
    props: {
      title: configData.default.title,
      description: configData.default.description,
    },
  }
}
If you’d like, at this point you can stick your own custom favicon in the public folder and replace the one that came with the code. I have a little Netlify logo as one, so I’ll use that. If you're not sure how to do this, I personally use this Favicon & App Icon Generator site.
In your terminal, run npm run dev, and voila! You have a Next app up and running!
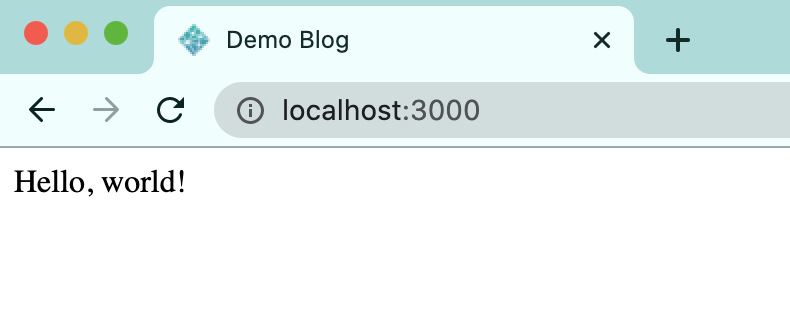
Chances are if you know React, this index.js file isn’t too surprising. I’d like to explain that getStaticProps function for you, though. It was released in Next 9.3. That function lets you fetch data, and return it as props to the page component. You can use getStaticProps to fetch local data (as you can see here, fetching from the siteconfig.json file), or external APIs and libraries. This function will only work on page components in the pages directory! The page will be rendered at build time, and you can pass that data to its child components. Let’s implement some of those child components now, so you can see it work in action.
Components!
Now, we want to get some real routing and components showing up here. Let’s start with components, and make three JS files inside our components folder, called Header.js, Layout.js, and PostList.js.
- The
Header.jsfile will contain our site header and navigation. - The
PostList.jsfile will, as you can guess, list our blog posts. - The
Layout.jsfile is the juicy one. It’s going to pull in our Header, populate the<head>HTML tag, contain all content that the site holds, and throw a footer in there as well.
Let’s implement Layout.js first, and get it on our homepage. Open up Layout.js and put this in there:
import Head from 'next/head'
import Header from './Header'

export default function Layout({ children, pageTitle, ...props }) {
  return (
    <>
      <Head>
        <meta name="viewport" content="width=device-width, initial-scale=1" />
        <title>{pageTitle}</title>
      </Head>
      <section className="layout">
        <div className="content">{children}</div>
      </section>
      <footer>Built by me!</footer>
    </>
  )
}
Notice the Head component from next/head here. In Next, whenever you want to include tags in the <head> of your rendered HTML page, you use this element! I only included one <meta> tag and the <title> in this example, but you can populate it to your heart’s content.
The rest of the file is just rendering some basic blocks for our layout. Now, let’s head over to index.js and replace our “hello world” <div> with this:
const Index = ({ title, description, ...props }) => {
+  return (
+    <Layout pageTitle={title}>
+      <h1 className="title">Welcome to my blog!</h1>
+      <p className="description">
+        {description}
+      </p>
+      <main>
+        Posts go here!
+      </main>
+    </Layout>)
}
And make sure to import the Layout component at the top of index.js as well:
import Layout from '../components/Layout'
Alright, let’s check out our site in the browser!
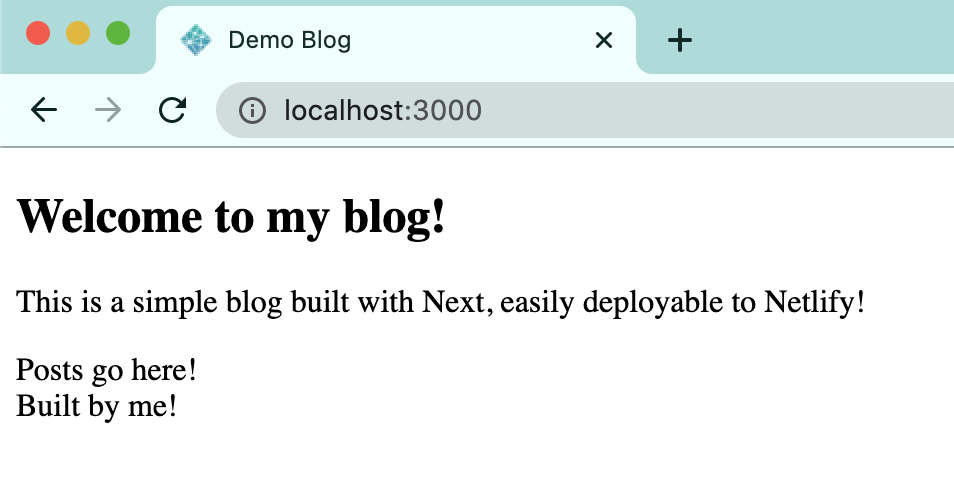
Not too shabby! Notice how the description in the paragraph there and the title on the browser tab comes from our getStaticProps. We’re using real data!
Let’s add in a Header component now. Open up Header.js and add this in there:
import Link from 'next/link'

export default function Header() {
  return (
    <>
      <header className="header">
        <nav className="nav">
          <Link href="/">
            <a>My Blog</a>
          </Link>
          <Link href="/about">
            <a>About</a>
          </Link>
        </nav>
      </header>
    </>
  )
}
Alright, let’s take this apart a bit. Notice the usage of the Link tag. Client-side transitions between your routes are enabled with this. There’s a pretty nice API built in there (check it out here), but the 2 things that you need to know for this example is that href is the only required prop (and it points to a path from inside the pages directory, and you have to put an <a> component in there to build the links properly for your site’s SEO.
Okie dokie, now that we’ve made this component, let’s pull it into our Layout component. Plop a <Header /> tag right at the top of the <section> tag we have in there. We already imported the Header component earlier, so that should be all you need to do to make it load!
export default function Layout({ children, pageTitle, ...props }) {
  return (
    <>
      <Head>
        <meta name="viewport" content="width=device-width, initial-scale=1" />
        <title>{pageTitle}</title>
      </Head>
      <section className="layout">
+        <Header />
        <div className="content">{children}</div>
      </section>
      <footer>Built by me!</footer>
    </>
  )
}
Let’s check it out in the browser.
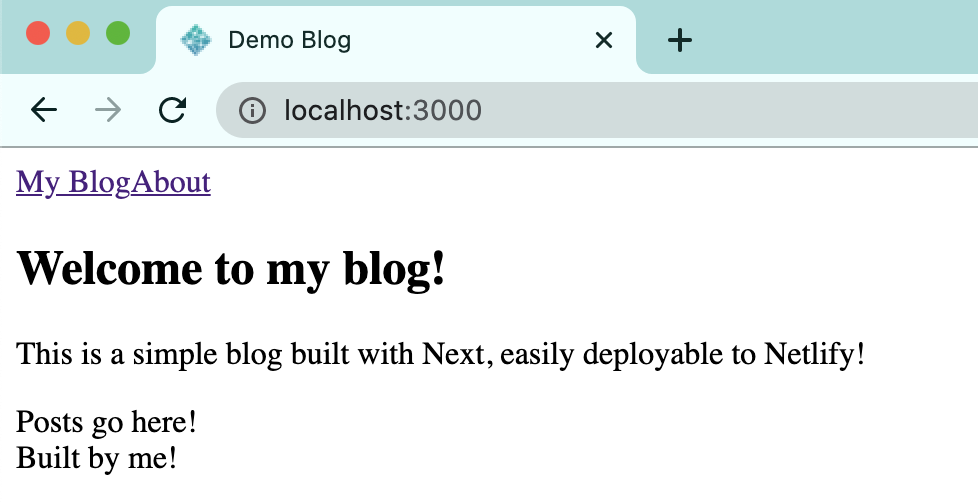
Oh heck. We have navigation, people! You might notice though that if you click on that About link, we get a 404. We should fix that.
Adding more page components
Okay, so now that we have navigation going, we’re going to need to be able to have things to navigate to (especially once we have posts going).
Create an about.js file in the pages folder, and fill it with something like this:
import Layout from '../components/Layout'

const About = ({ title, description, ...props }) => {
  return (
    <>
      <Layout pageTitle={`${title} | About`} description={description}>
        <h1 className="title">Welcome to my blog!</h1>

        <p className="description">
          {description}
        </p>

        <p>
          I am a very exciting person. I know this because I'm following a very exciting tutorial, and a not-exciting person wouldn't do that.
        </p>
      </Layout>
    </>
  )
}

export default About

export async function getStaticProps() {
  const configData = await import(`../siteconfig.json`)

  return {
    props: {
      title: configData.default.title,
      description: configData.default.description,
    },
  }
}
This looks a lot like our index.js file, and that’s cool for now. You can populate it with whatever, and you can even add more files in here if you want. But, for now, let’s just go back to our browser and click on the About link in the navigation.

Oh me oh my, we have pages! Are you thrilled? I’m thrilled. Let’s get more thrilled and talk about dynamic routes.
Dynamic Routes
So, right now, when you want to navigate between pages, we know that we just have to make a file for it, and the route exists. If we made an ilovenetlify.js file in the pages directory, we could go to localhost:3000/ilovenetlify and it would just work. But what about when we have blog posts that have dynamic titles, and we want to name our routes after those titles? Well, don’t fret, Next has a solution for you.
Go ahead and make a file in pages/post called [postname].js, Oh gee, there’s square brackets in the file name! That’s how Next knows that you have a dynamic route. The file path pages/post/[postname].js will end up being localhost:3000/post/:postname in the browser! That’s right, we have both a nested route, and a dynamic route here. Someone call the web development police, we’re onto something!
Processing Markdown
Before we populate [postname].js, we have to install a few other things into our project.
npm install react-markdown gray-matter raw-loader
- React Markdown is a library that will parse and render Markdown files.
- Gray Matter will parse the YAML “front matter” of our blog posts (the parts of our Markdown posts with the metadata we’ll need).
- Raw Loader is a loader that will allow us to import our Markdown files with webpack.
Now, make a next.config.js file at the top level, and populate it with this:
module.exports = {
  target: 'serverless',
  webpack: function (config) {
    config.module.rules.push({
      test: /\.md$/,
      use: 'raw-loader',
    })
    return config
  },
}
Note: You will probably have to restart your dev server after adding this file!
Still with me? Now that we have these libraries set up, we can actually set up our [postname].js to use it all. Stick this in the file:
import Link from 'next/link'
import matter from 'gray-matter'
import ReactMarkdown from 'react-markdown'

import Layout from '../../components/Layout'

export default function BlogPost({ siteTitle, frontmatter, markdownBody }) {
  if (!frontmatter) return <></>

  return (
      <Layout pageTitle={`${siteTitle} | ${frontmatter.title}`}>
        <Link href="/">
          <a>Back to post list</a>
        </Link>
        <article>
          <h1>{frontmatter.title}</h1>
          <p>By {frontmatter.author}</p>
          <div>
            <ReactMarkdown source={markdownBody} />
          </div>
        </article>
      </Layout>
  )
}

export async function getStaticProps({ ...ctx }) {
  const { postname } = ctx.params

  const content = await import(`../../posts/${postname}.md`)
  const config = await import(`../../siteconfig.json`)
  const data = matter(content.default)

  return {
    props: {
      siteTitle: config.title,
      frontmatter: data.data,
      markdownBody: data.content,
    },
  }
}

export async function getStaticPaths() {
  const blogSlugs = ((context) => {
    const keys = context.keys()
    const data = keys.map((key, index) => {
      let slug = key.replace(/^.*[\\\/]/, '').slice(0, -3)

      return slug
    })
    return data
  })(require.context('../../posts', true, /\.md$/))

  const paths = blogSlugs.map((slug) => `/post/${slug}`)

  return {
    paths,
    fallback: false,
  }
}
Whew, this is a long one, so let’s break it down.
- In
getStaticProps, we pull in the Markdown files that are in thepostsdirectory. We also get oursiteconfig.jsonagain, to get the site’s title for the browser tab. We use Gray Matter to parse the front matter in our blog posts. We then return all of this to be props for the component. - We also have a
getStaticPaths, which was also new in Next 9.3. This function defines a list of paths that have to be rendered to HTML at build time. So, what we do here is take in all of our Markdown files in thepostsdirectory, parse out the file names, define a list of slugs based on each file name, and return them. We also return afallbackwhich is false, so that 404 pages appear if something’s not matching properly. - In the
BlogPostcomponent itself, we use the values given to us ingetStaticPropsto populate aLayoutcomponent with our blog post content.
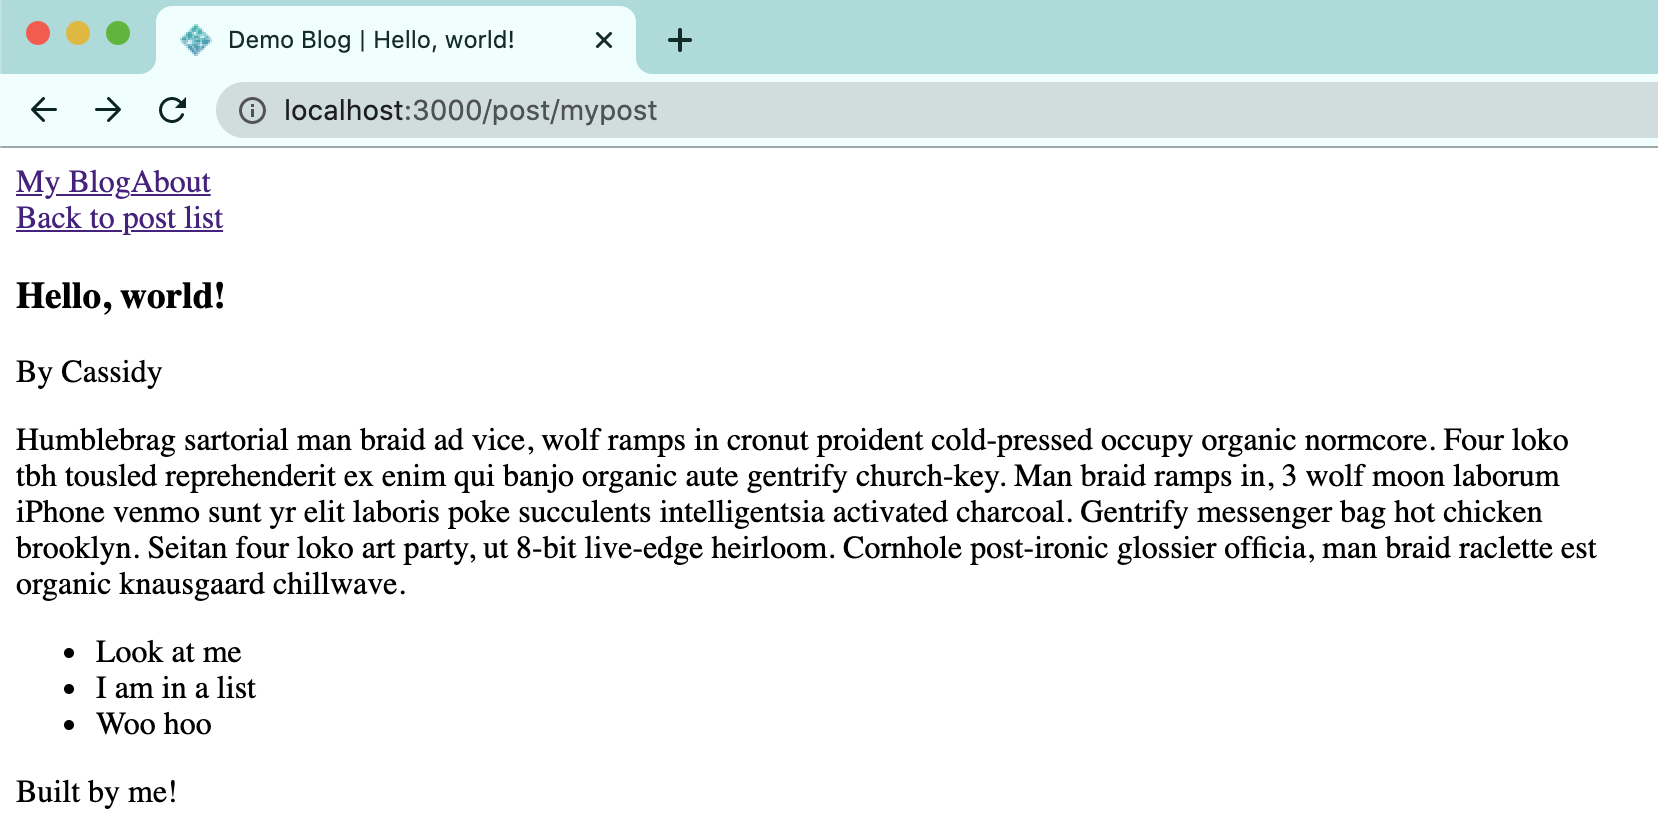
Alrighty! We have done a lot of work without seeing a lot of results yet. Let’s change that. Make a mypost.md file in the posts/ directory at the top level, and populate it with something that looks like this:
---
title: 'Hello, world!'
author: 'Cassidy'
---

Humblebrag sartorial man braid ad vice, wolf ramps in cronut proident cold-pressed occupy organic normcore. Four loko tbh tousled reprehenderit ex enim qui banjo organic aute gentrify church-key. Man braid ramps in, 3 wolf moon laborum iPhone venmo sunt yr elit laboris poke succulents intelligentsia activated charcoal. Gentrify messenger bag hot chicken brooklyn. Seitan four loko art party, ut 8-bit live-edge heirloom. Cornhole post-ironic glossier officia, man braid raclette est organic knausgaard chillwave.

- Look at me
- I am in a list
- Woo hoo
I used Hipster Ipsum for this, but you can fill it with whatever. In the front matter at the top, we only have a title and author because that’s all we use in our BlogPost component. You can add whatever you want in here (like a date, for example), as long as you use it in the component.
We’ve done it! Navigate to localhost:3000/post/mypost and witness all of your hard work!
Listing our posts
Now that we are able to make Markdown blog posts with dynamic routes, we should try to list all of the blog posts that we make on our blog’s homepage. Good thing we already made PostList.js earlier in our components/ directory! Write this code into that file:
import Link from 'next/link'

export default function PostList({ posts }) {
  if (posts === 'undefined') return null

  return (
    <div>
      {!posts && <div>No posts!</div>}
      <ul>
        {posts &&
          posts.map((post) => {
            return (
              <li key={post.slug}>
                <Link href={% raw %}{{ pathname: `/post/${post.slug}` }}{% endraw %}>
                  <a>{post.frontmatter.title}</a>
                </Link>
              </li>
            )
          })}
      </ul>
    </div>
  )
}
Now, notice how we want to use post data that’s passed in as a prop. We’ll have to do this from index.js. Head back over there, and put <PostList /> in the <main> tag, and import it at the top like so:
+ import PostList from '../components/PostList'

const Index = ({ posts, title, description, ...props }) => {
  return (
    <Layout pageTitle={title}>
      <h1 className="title">Welcome to my blog!</h1>
      <p className="description">{description}</p>
      <main>
+        <PostList />
      </main>
    </Layout>
  )
}
What do we do when we want to get external data, say for example, our post data? We use getStaticProps! Scroll down there and modify the function to look like this:
export async function getStaticProps() {
  const configData = await import(`../siteconfig.json`)

  const posts = ((context) => {
    const keys = context.keys()
    const values = keys.map(context)

    const data = keys.map((key, index) => {
      let slug = key.replace(/^.*[\\\/]/, '').slice(0, -3)
      const value = values[index]
      const document = matter(value.default)
      return {
        frontmatter: document.data,
        markdownBody: document.content,
        slug,
      }
    })
    return data
  })(require.context('../posts', true, /\.md$/))

  return {
    props: {
      posts,
      title: configData.default.title,
      description: configData.default.description,
    },
  }
}
We added a posts variable in here that pulls in the Markdown files, parses them (like we did before), and then passes that posts variable into the props for Index. Now the rest of your index.js file should look like this:
import matter from 'gray-matter'

import Layout from '../components/Layout'
import PostList from '../components/PostList'

const Index = ({ posts, title, description, ...props }) => {
  return (
    <Layout pageTitle={title}>
      <h1 className="title">Welcome to my blog!</h1>
      <p className="description">{description}</p>
      <main>
        <PostList posts={posts} />
      </main>
    </Layout>
  )
}

export default Index
We imported matter to parse the front matter, we passed in posts as a prop, and then drilled that down into PostList so that we can get a list of real posts. Let’s look at our browser!
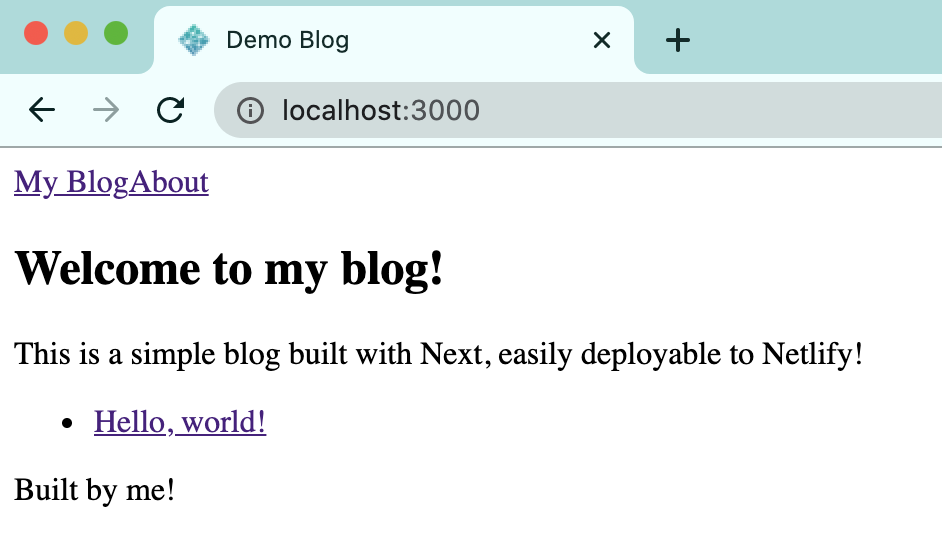
Hooray!! We have a post list!! Now, whenever we add a Markdown file to our posts directory, it will appear here in the listing.
Optional customization
I won’t get into styling right now, but if you’d like to see the final demo with it built in, go ahead! Next 9.4 supports styled-jsx, Sass, CSS Modules, and more out of the box, so you can use whatever you prefer.
In Next 9.4, they released the ability to add absolute imports to your code (I talk more about that in this blog post). If you'd like to clean up your imports (nobody likes writing all of that ../../etc), you can add a jsconfig.json to the top level of your project that looks like this:
{
  "compilerOptions": {
    "baseUrl": "./",
    "paths": {
      "@components/*": ["components/*"],
      "@utils/*": ["utils/*"]
    }
  }
}
Now with this, whenever you want to access your components, you can type @components/something instead of ../../components/something. Check out the demo project to see it in action!
Deploying to Netlify
We have been on QUITE the journey, folks. Let’s get our blog online for the world to see. Make a file at the top level of your directory called netlify.toml, and fill it with this:
[build]
  command = "npm run build && npm run export"
  publish = "out"
The command here is referring to the "Build Command" that Netlify will use to build and bundle up your final site. The publish is referring to the directory in which the build will be located after bundling! Next.js always exports to the out directory unless you configure it otherwise.
Then, open up your package.json and add this to the scripts underneath "start":
"export": "next export"
Amazingly, this is all you need to get your project set up for Netlify! Push your code to a repository on your favorite platform.
Now, log in to Netlify, and click “New site from Git” and follow the prompts to select your repo. Because you have your netlify.toml file already made, the build settings should already be filled out for you:
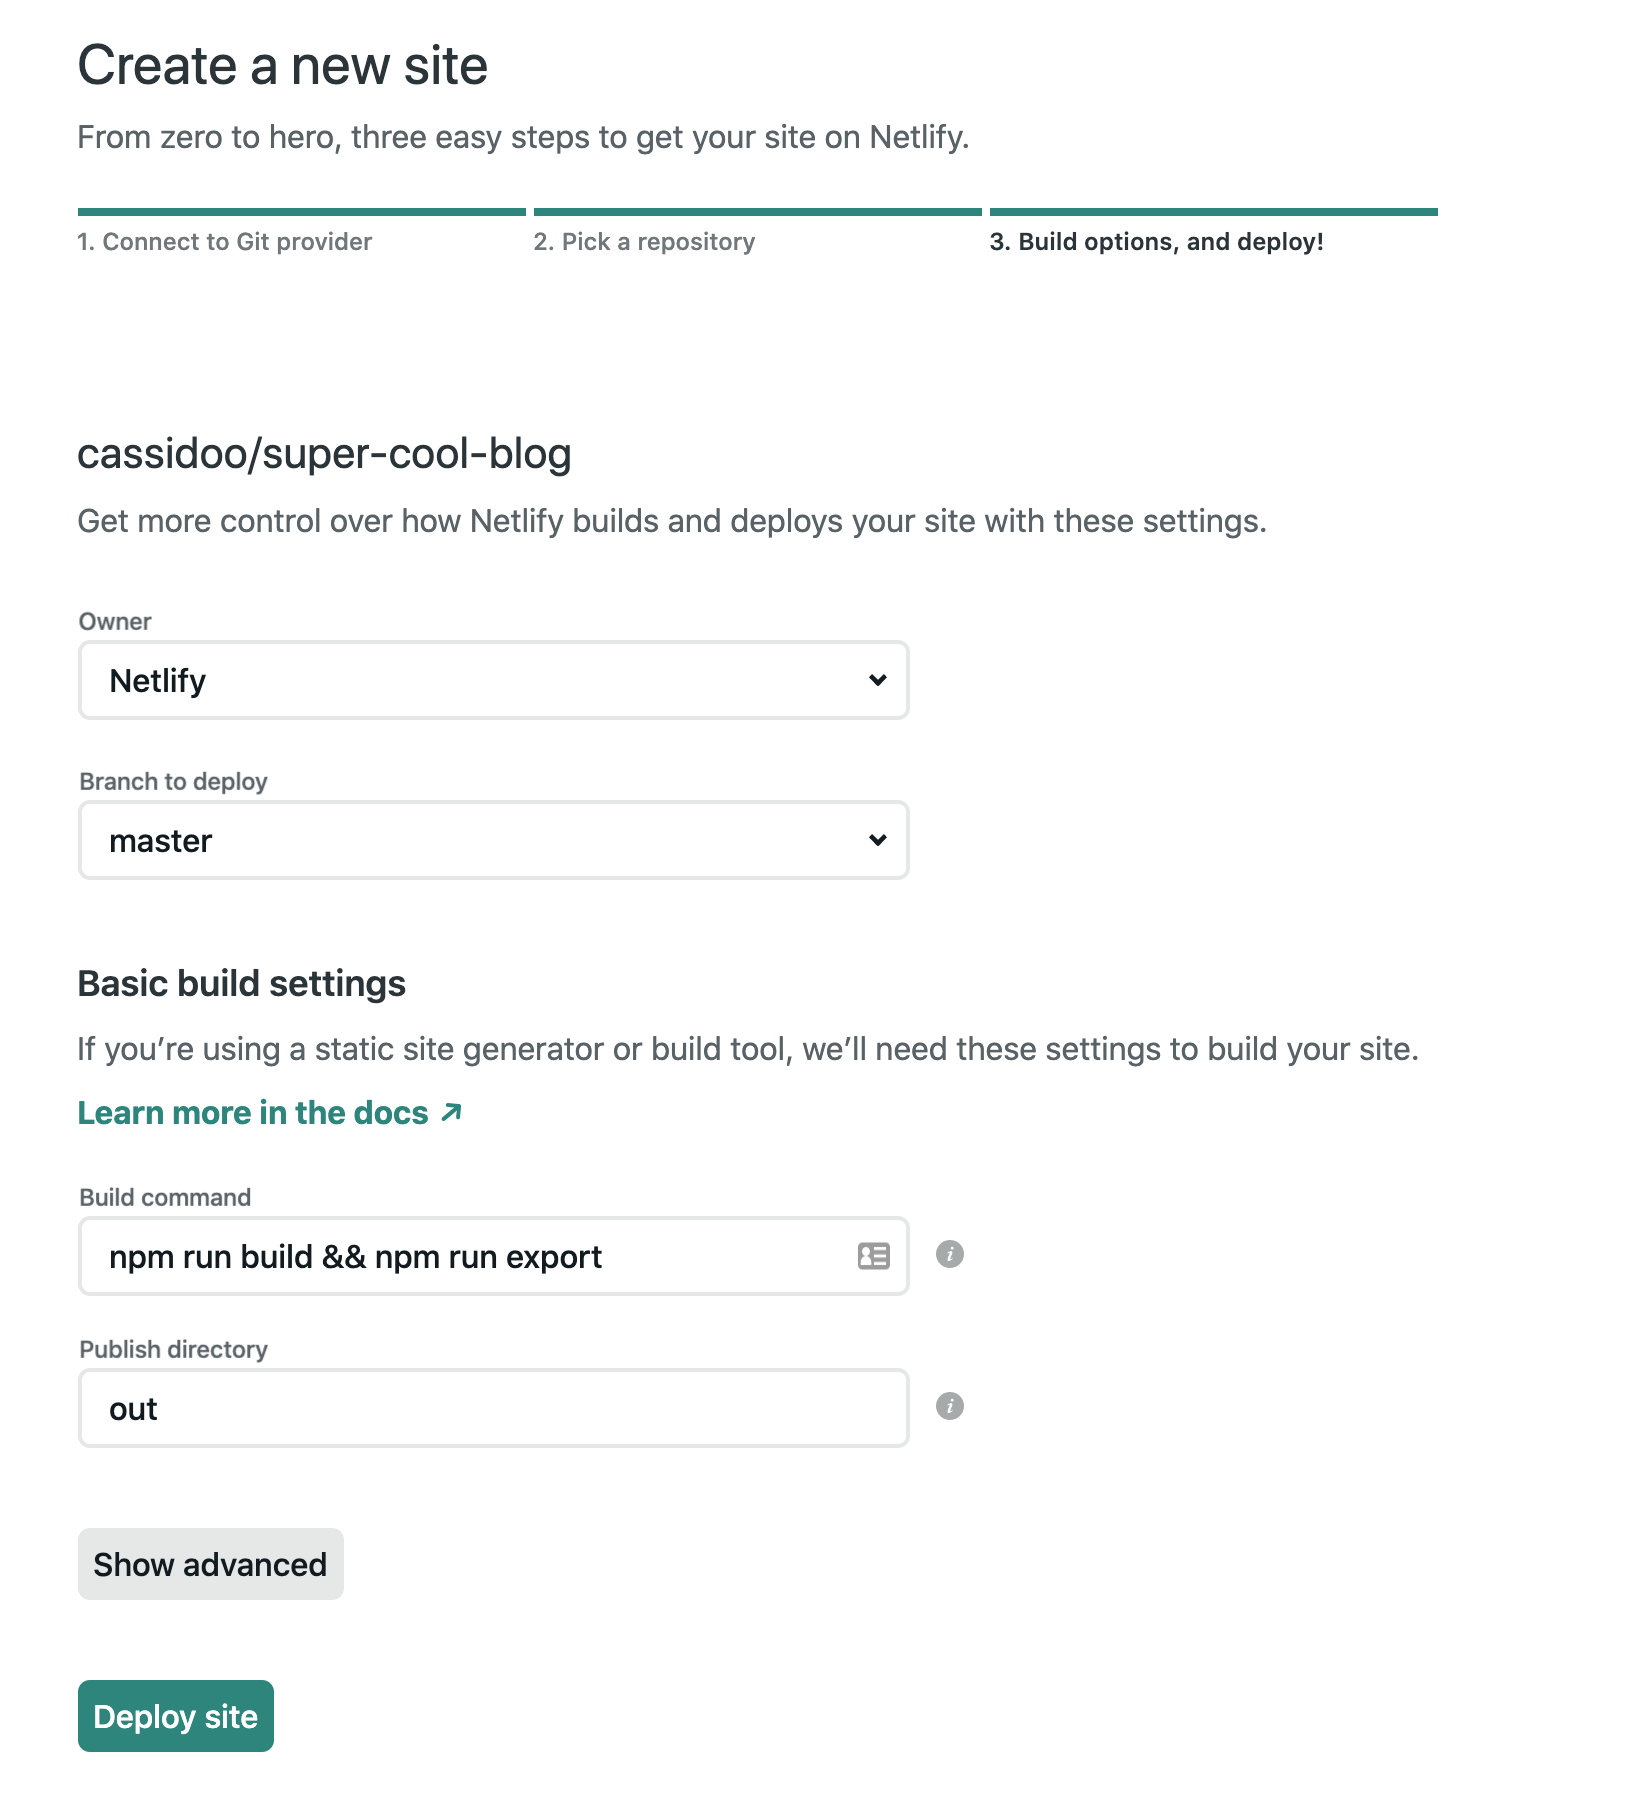
Click that shiny “Deploy site” button, and within a few moments your site is live!! You did it!! And, whenever you make changes to your project and push them to your GitHub repo, your site will rebuild automatically. How cool is that??
Once again, if you want to see the final version I put together (with styles included), you can check it out here, or deploy it directly with a single click!
You did it!
Congratulations. It was a long journey, but you’ve made a Next 9.4-powered, Markdown blog, complete with dynamic routing and the latest and greatest functions in Next to build an optimized static site. And, of course, you deployed it to Netlify, and it’ll keep updating as long as you keep updating it.
I’m proud of you, and I hope you learned something today! If you ever have questions, head over to our Community and we’ll get you sorted!


